The Making of a Wood Optimus Prime
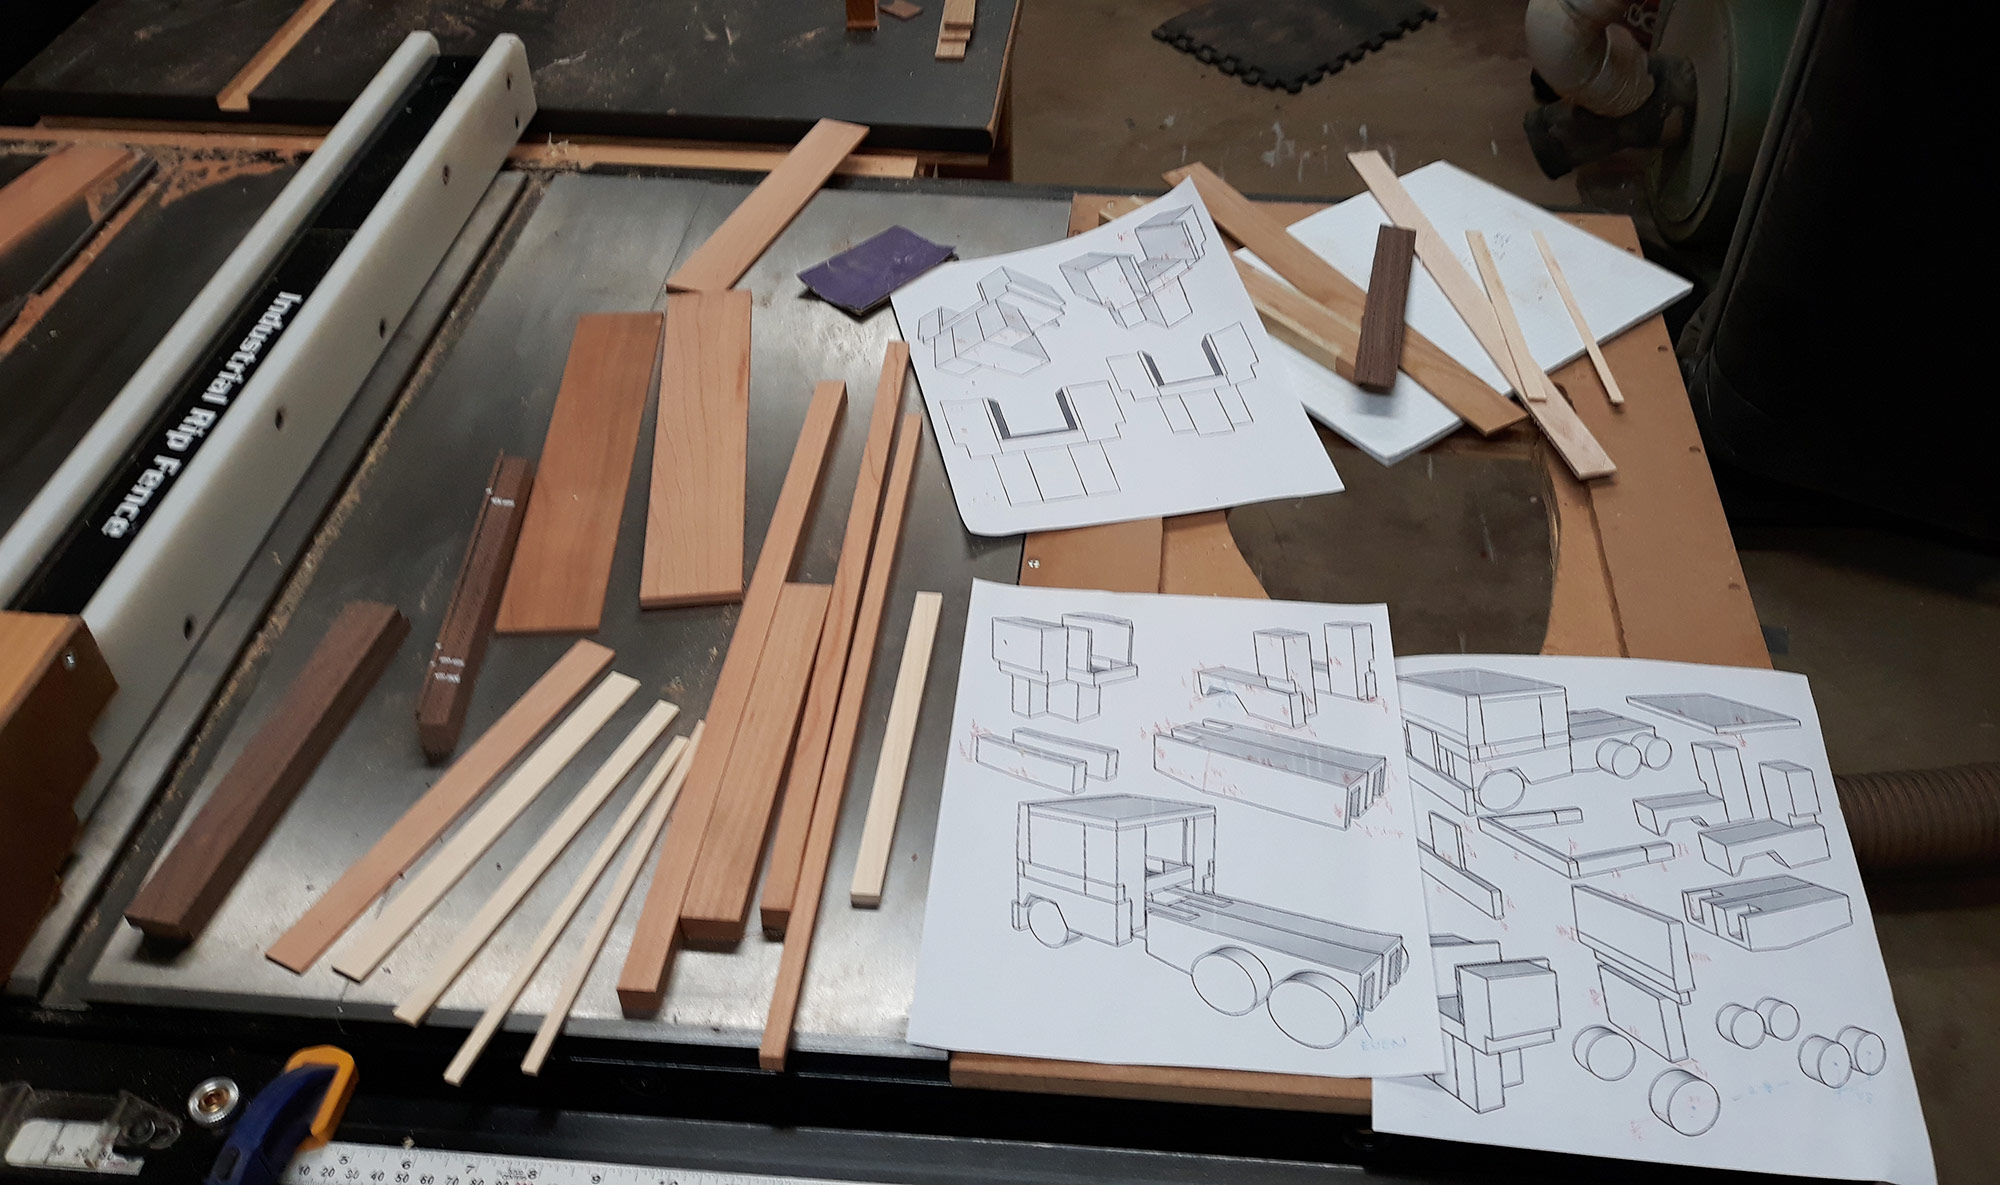
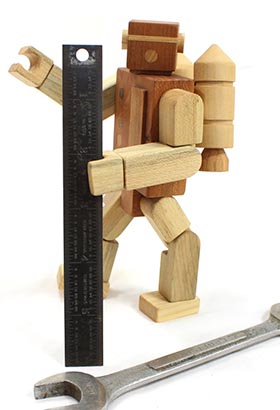
Normally I start a project with some loose sketches – which I attempted here, but I soon had to turn to the computer for help. It would have taken an enormous amount of hand sketches and busted prototypes to figure this out otherwise! There are 50 individual pieces of wood, 38 magnets to connect the joints, and 6 tiny nails to hold the wheels.
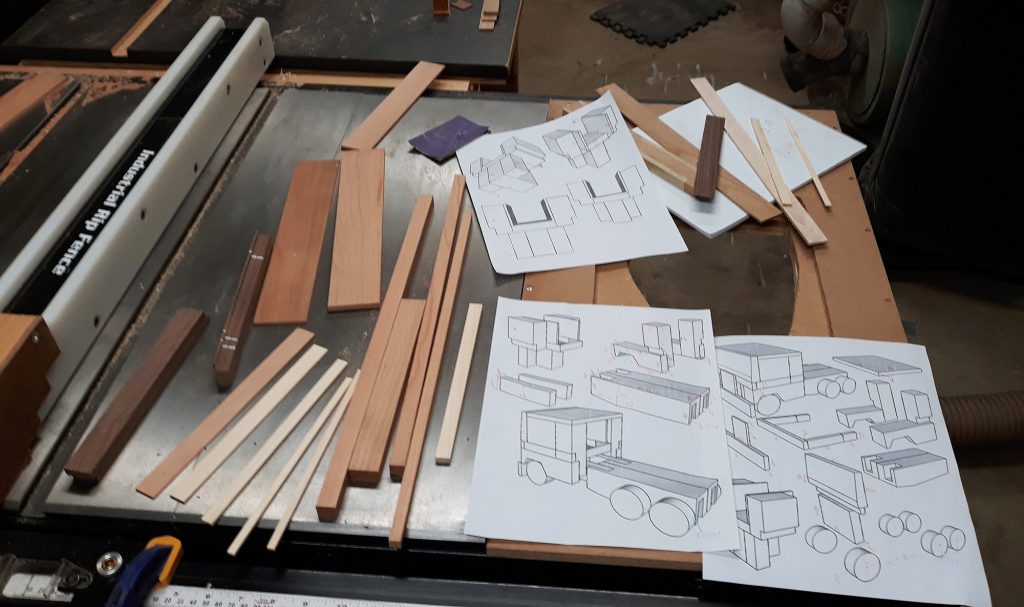
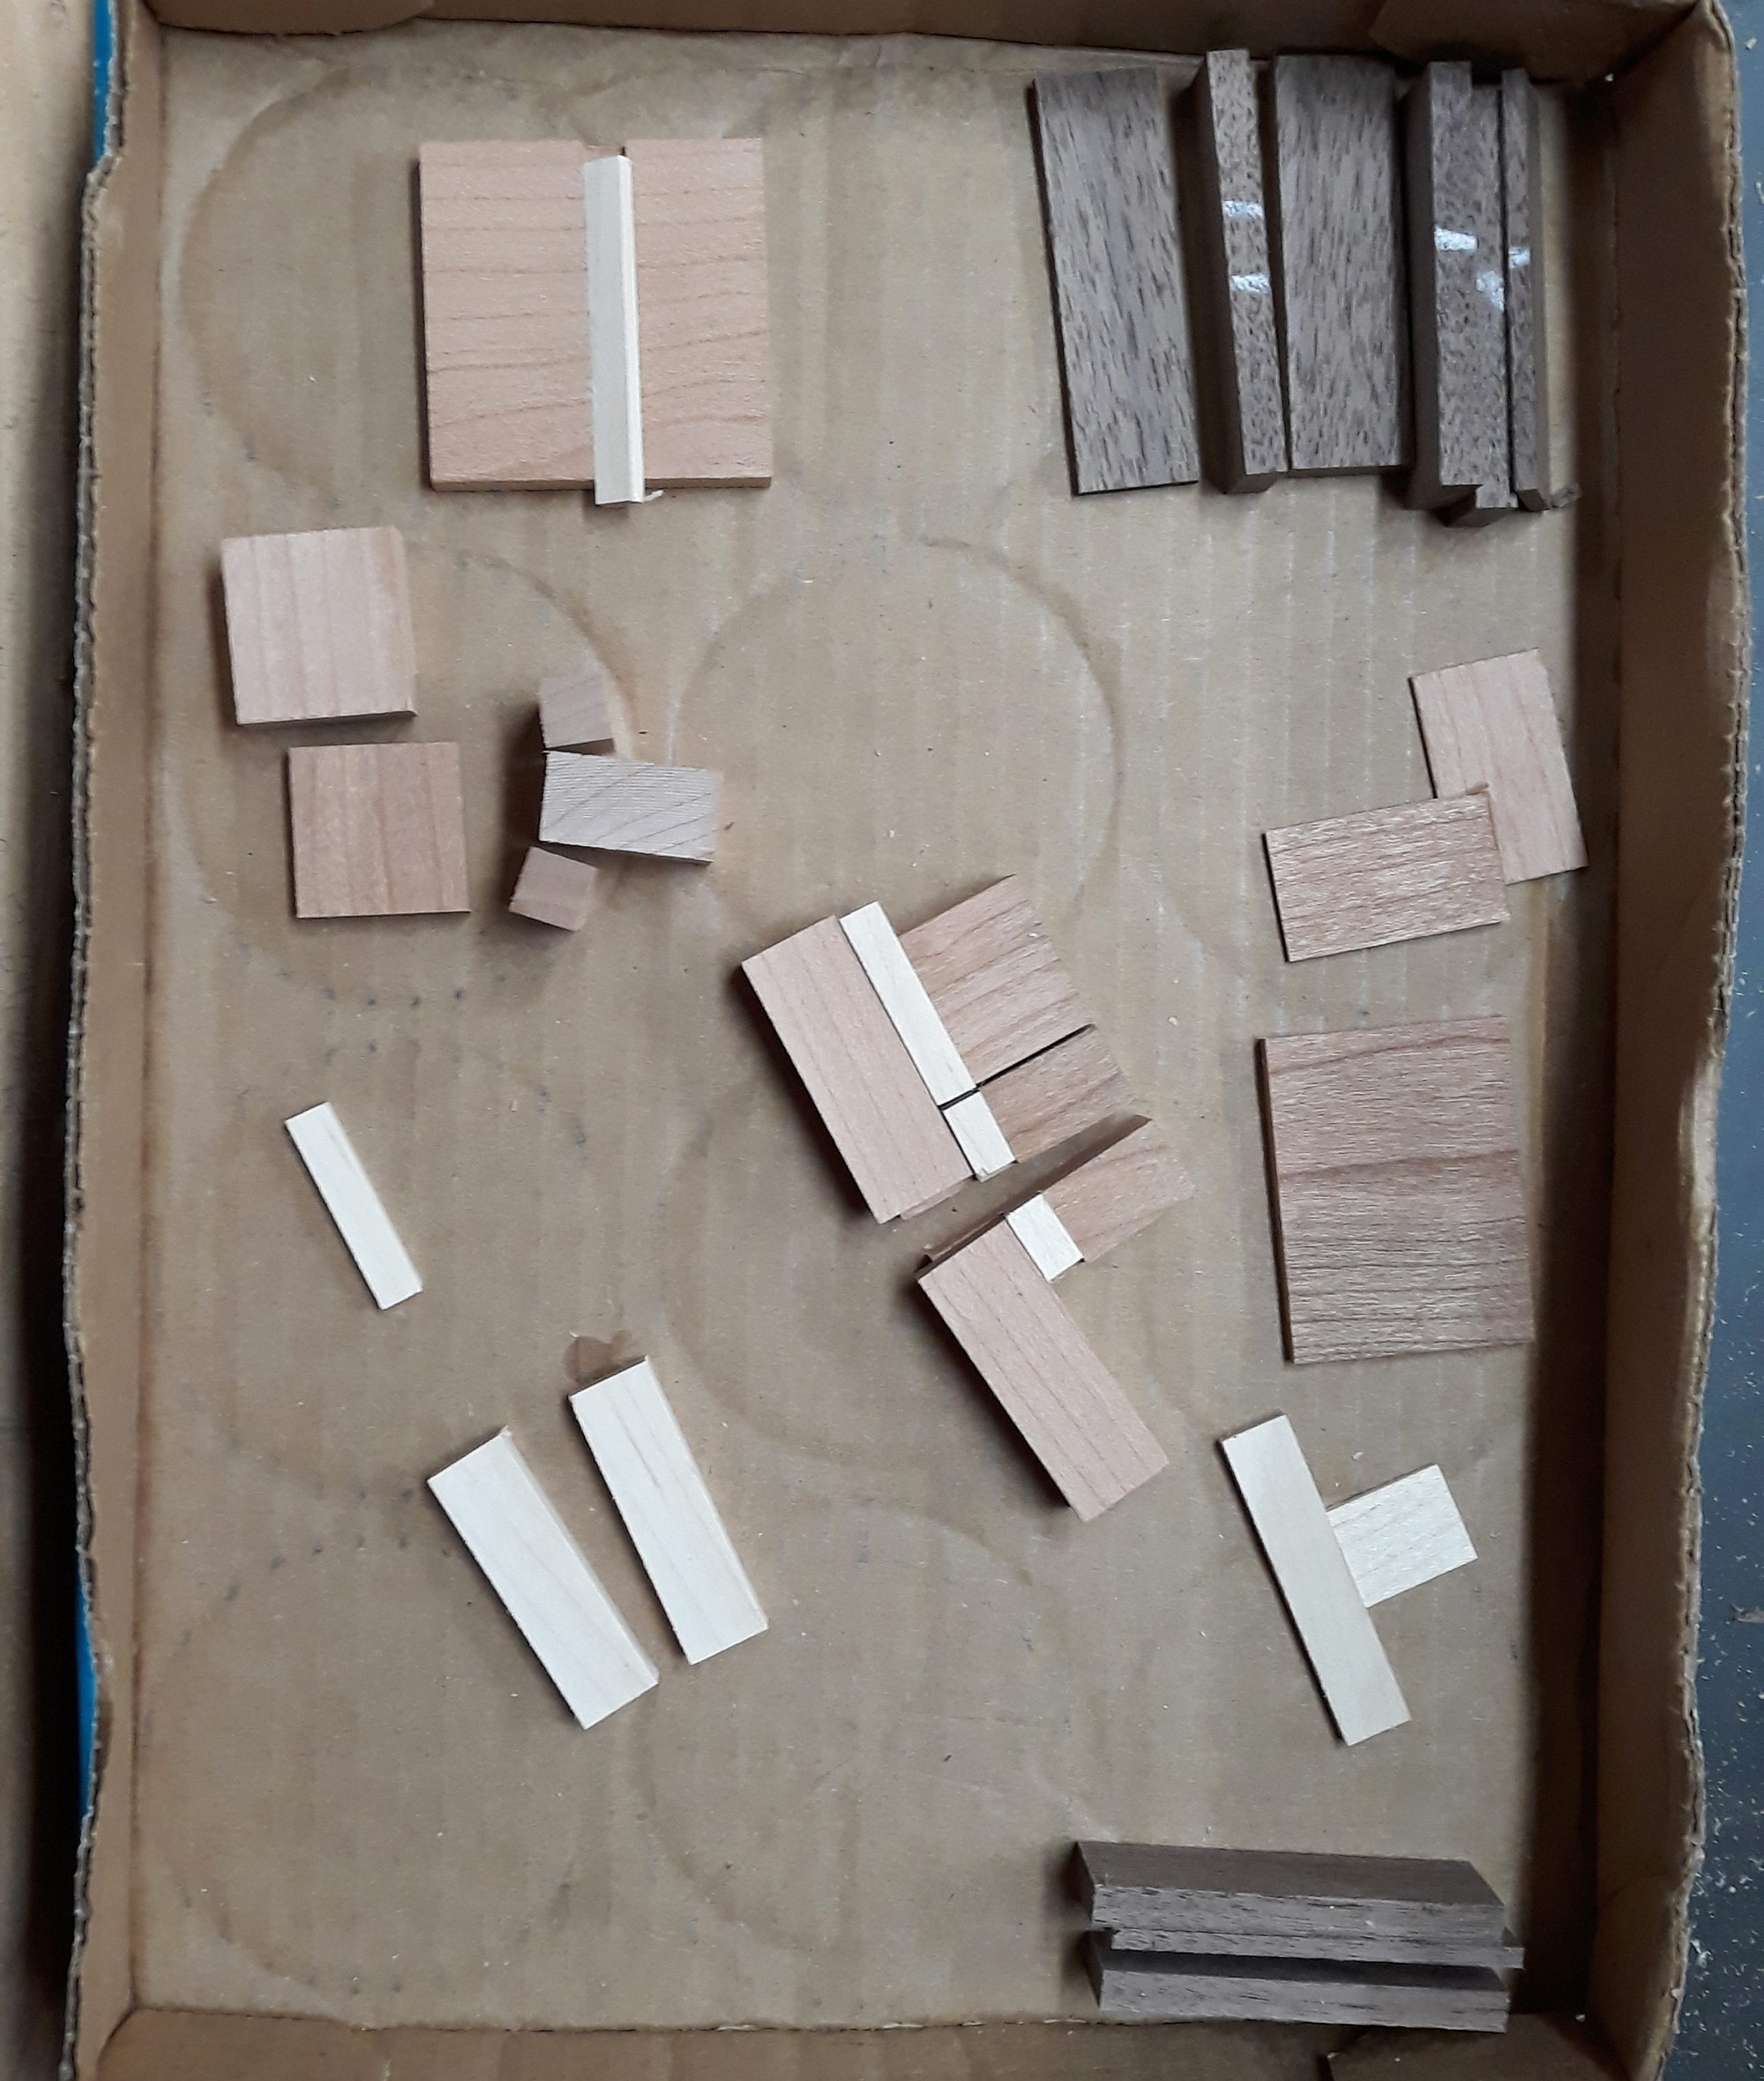
I’ve cut down all the cherry, maple, and walnut pieces I’ll need. 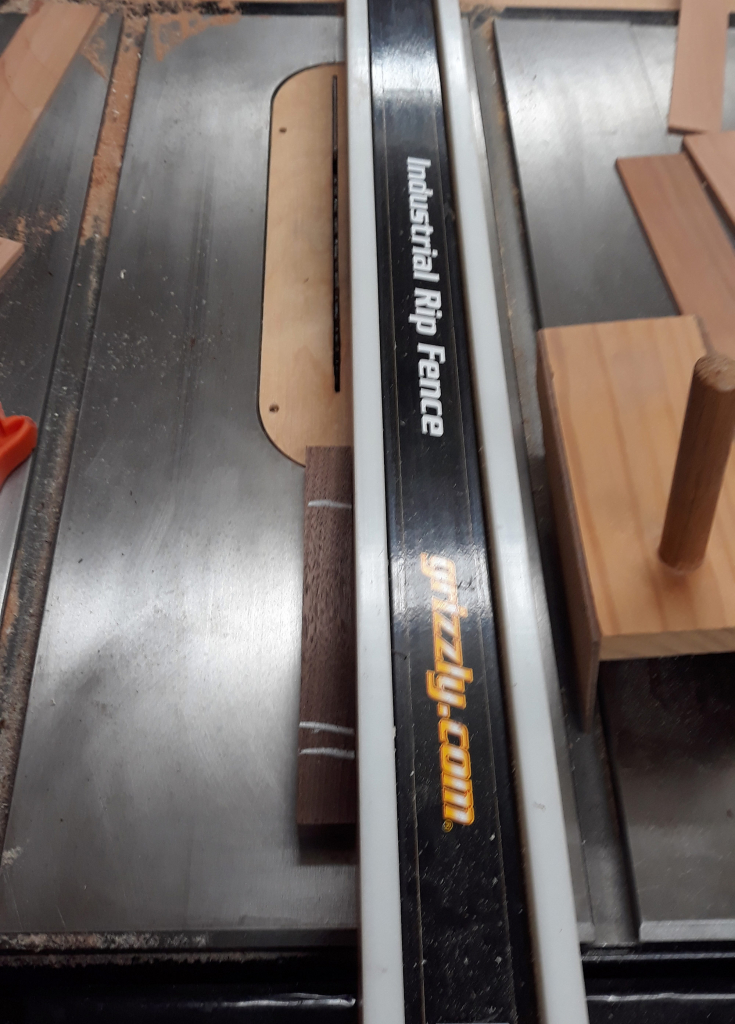
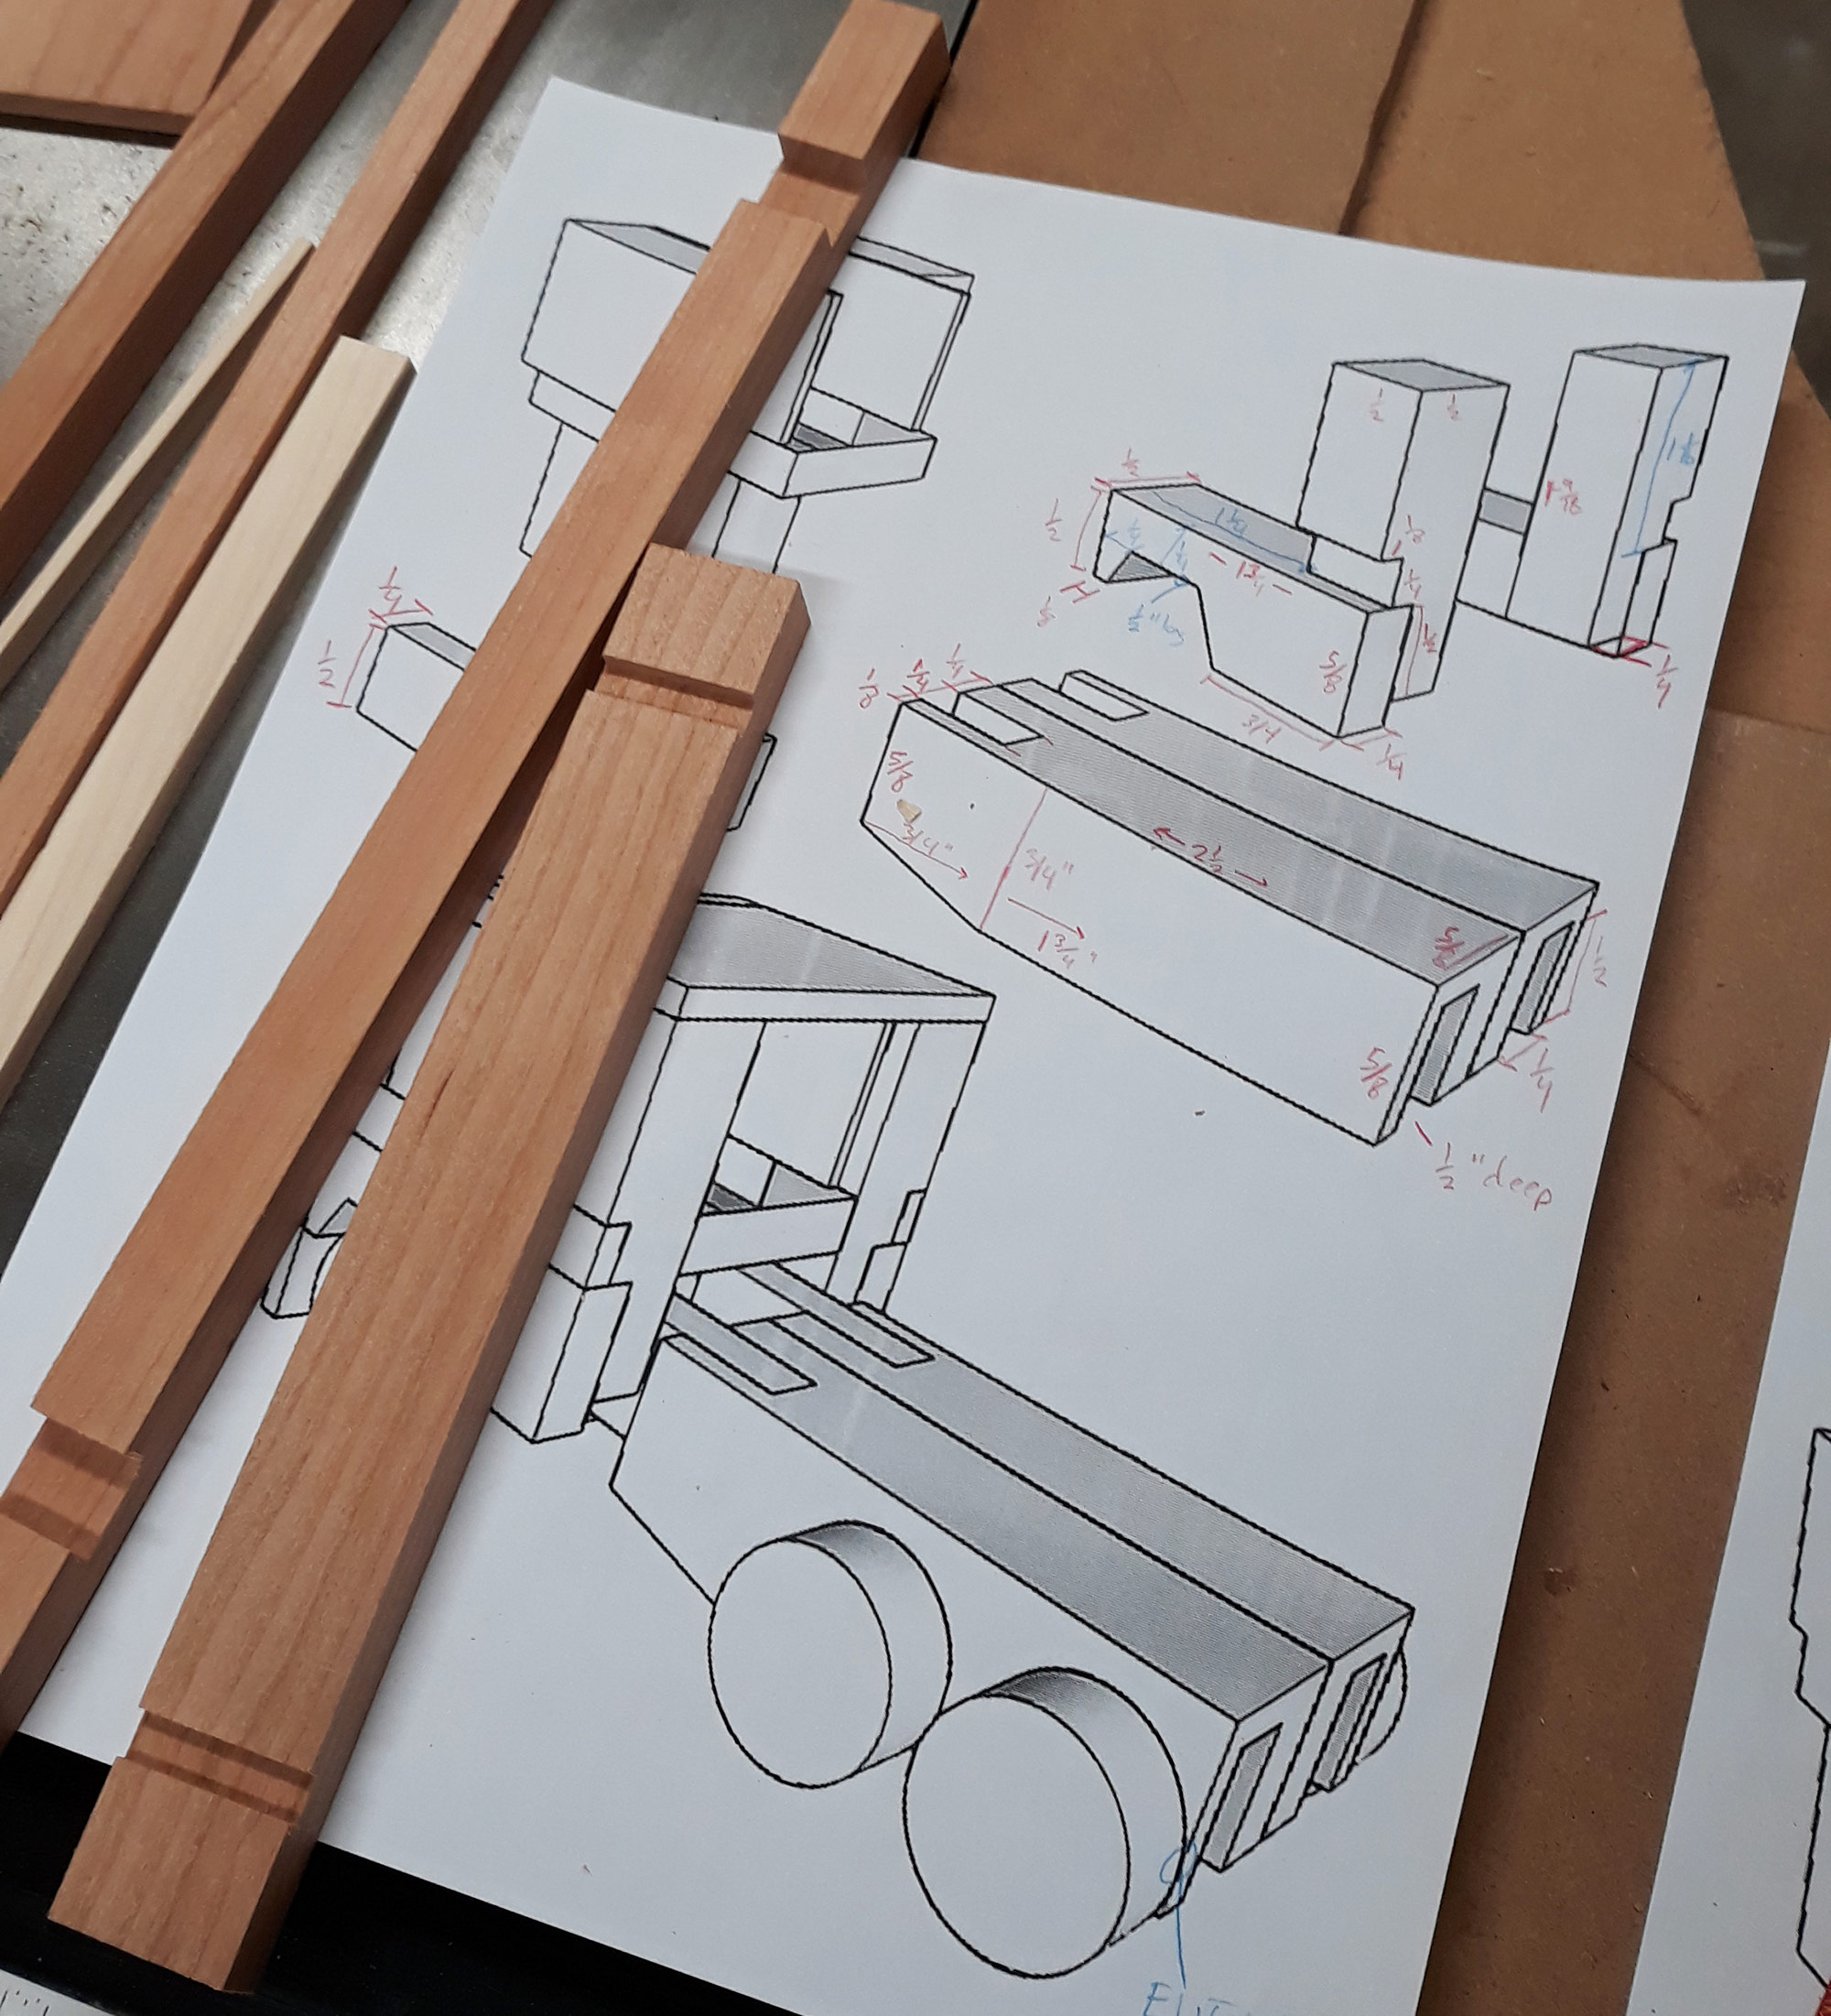
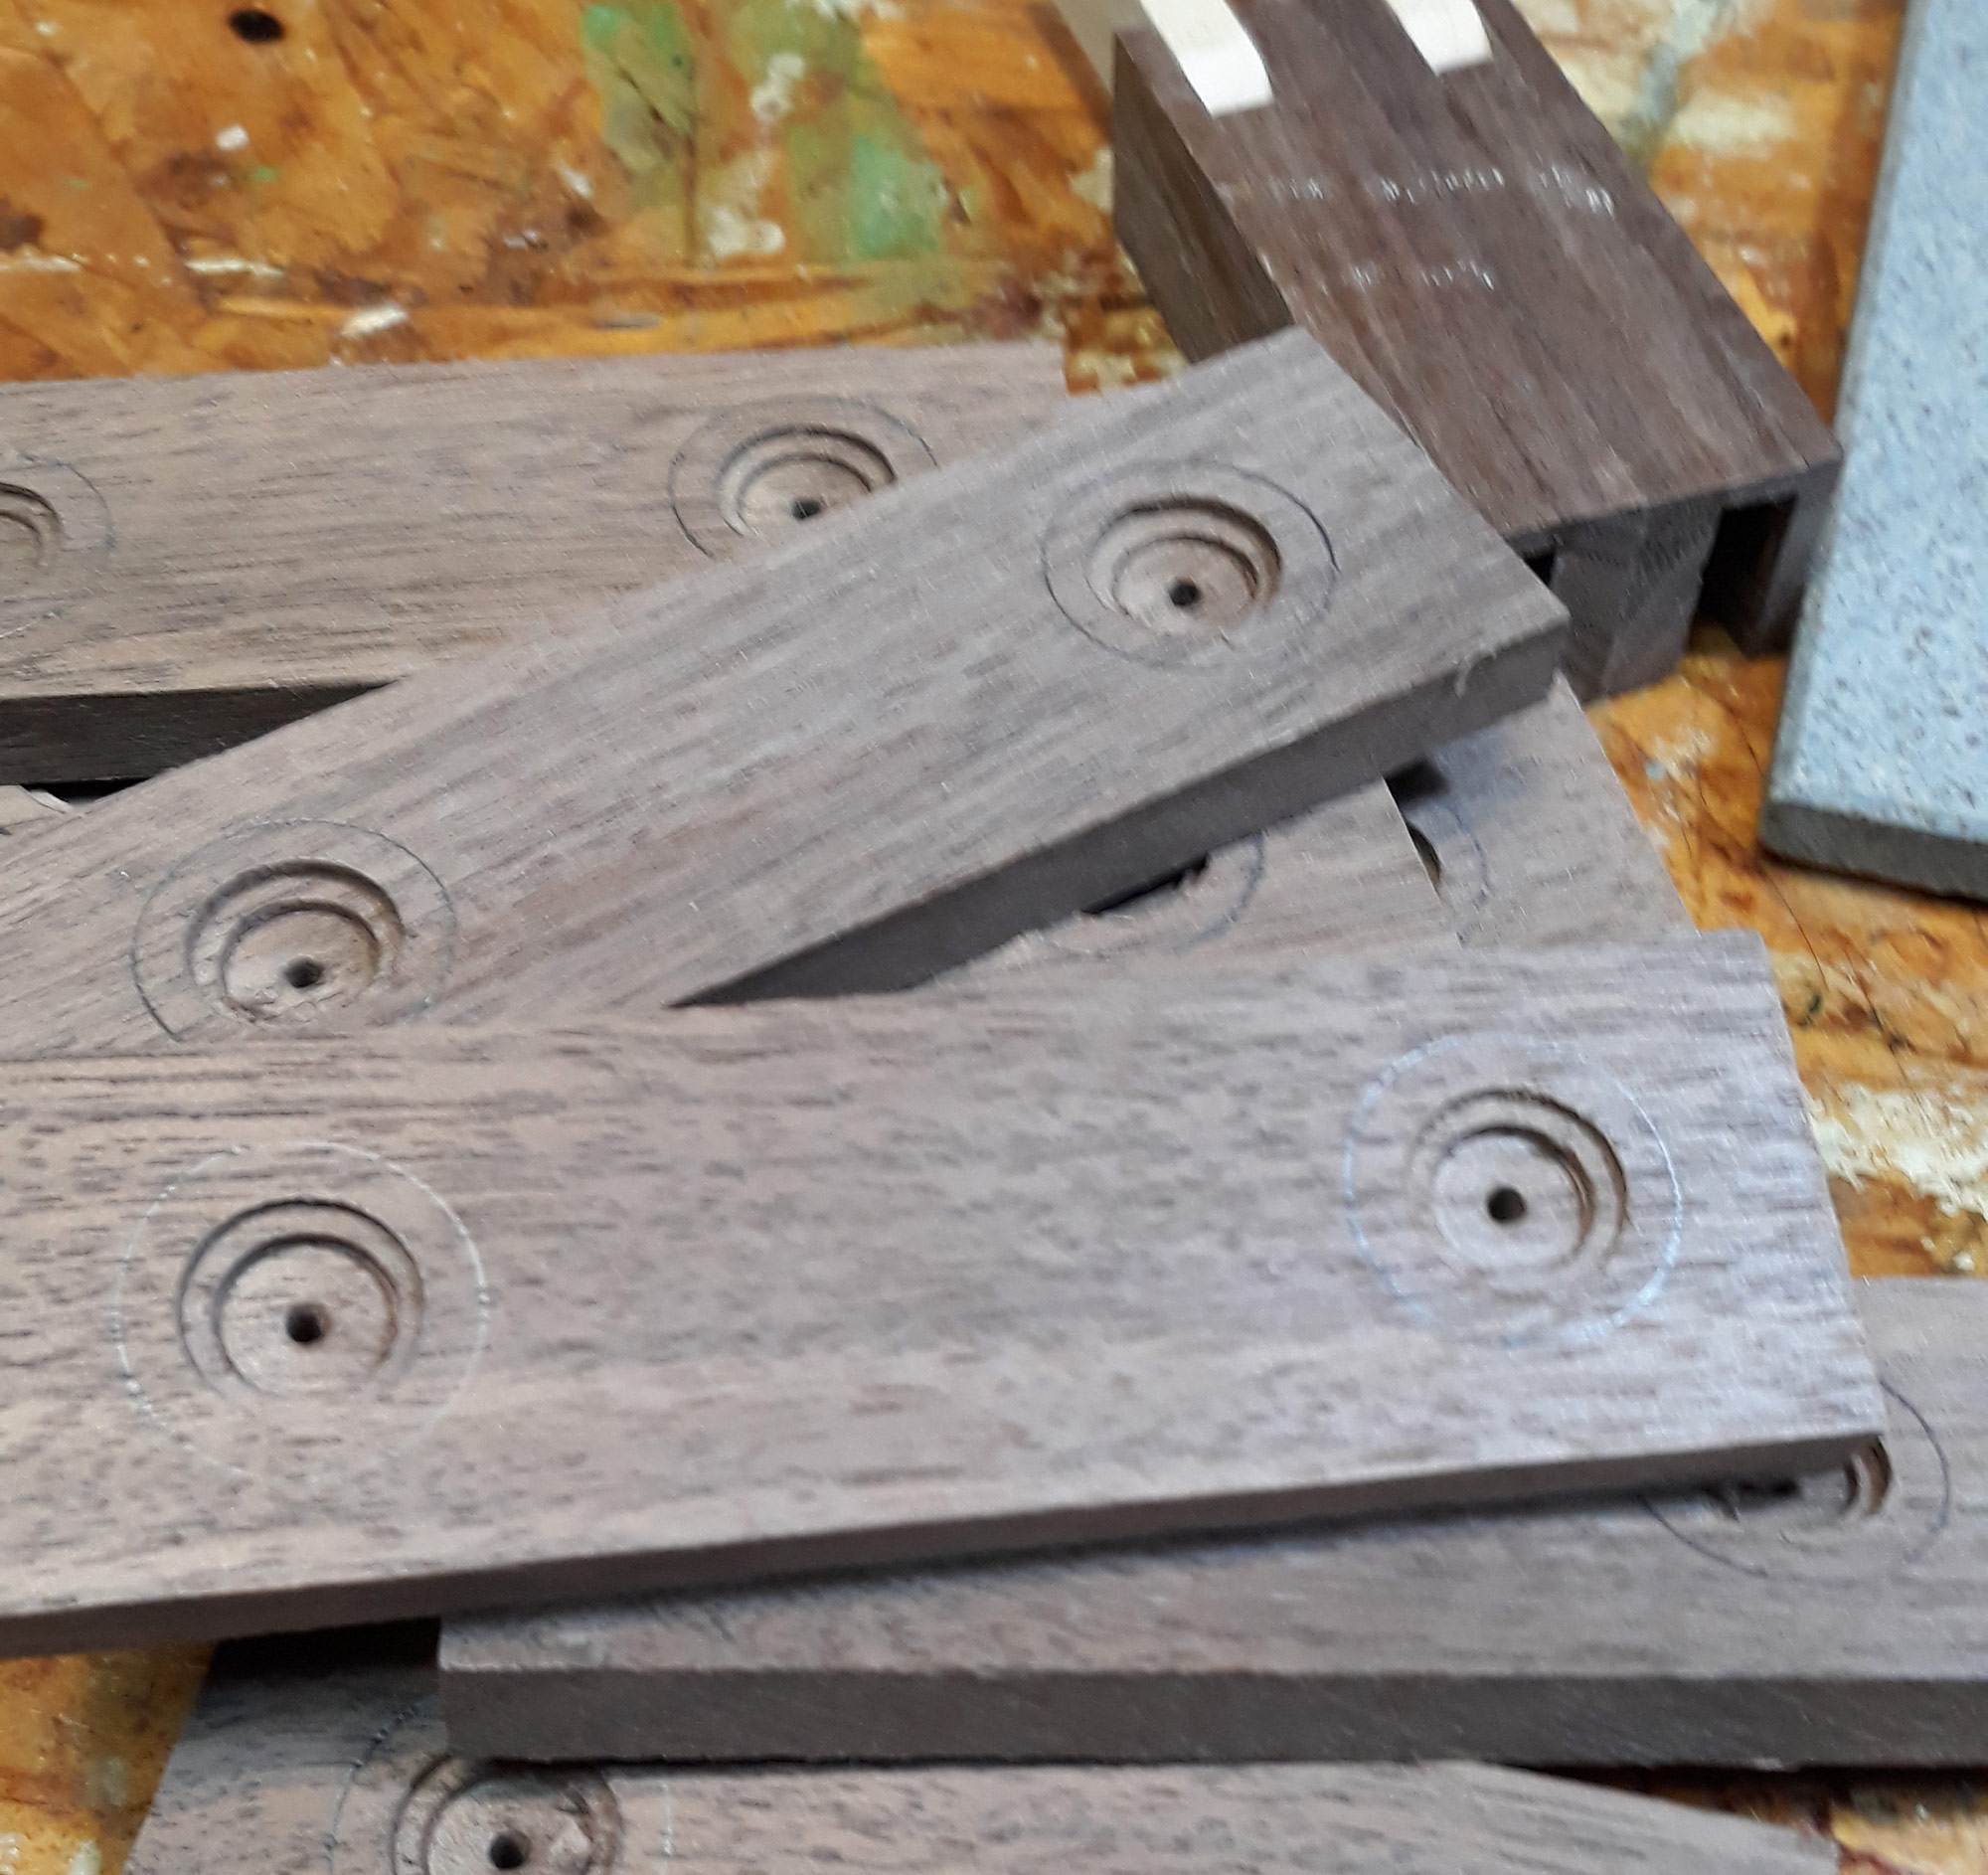
The lower leg has three pieces which I cut from the same block to keep the grain consistent. The white marks are chalk that guide the reassembly later. 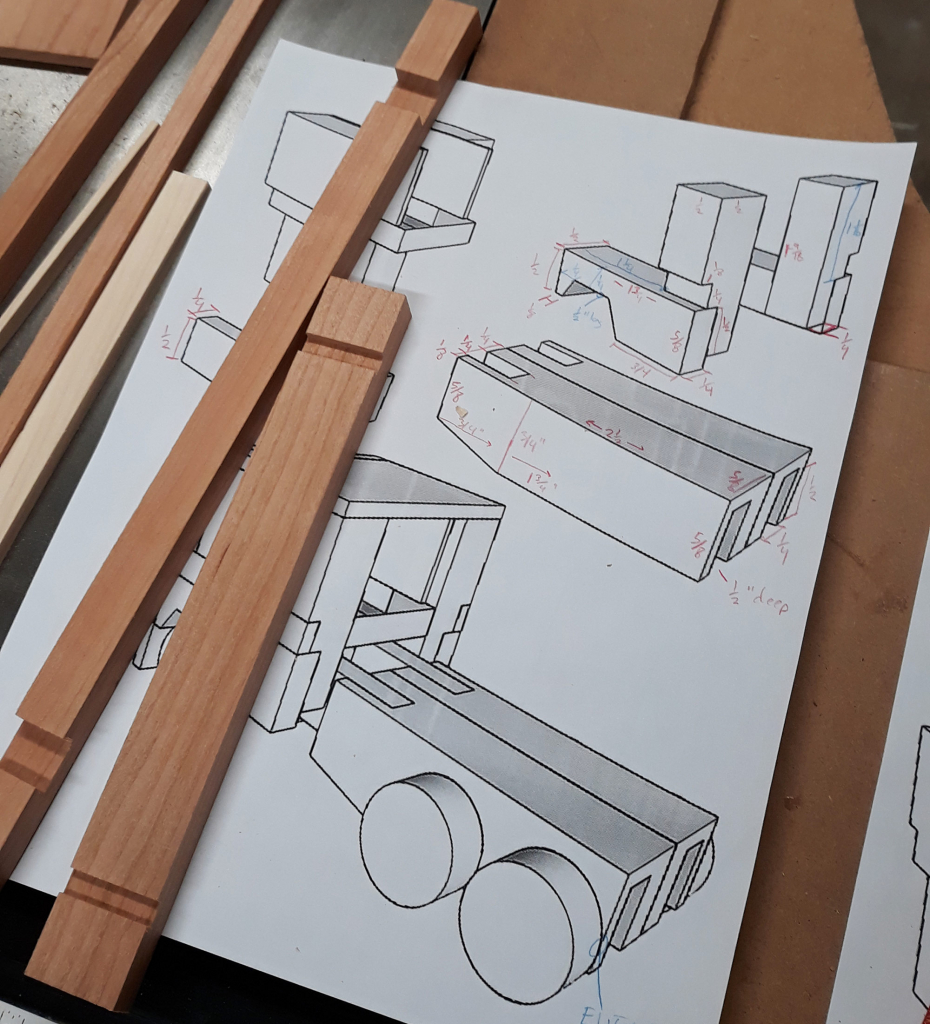
Once all the pieces are ripped lenghtwise I have to cross-cut grooves that will accommodate the body joints and detail trim pieces. 
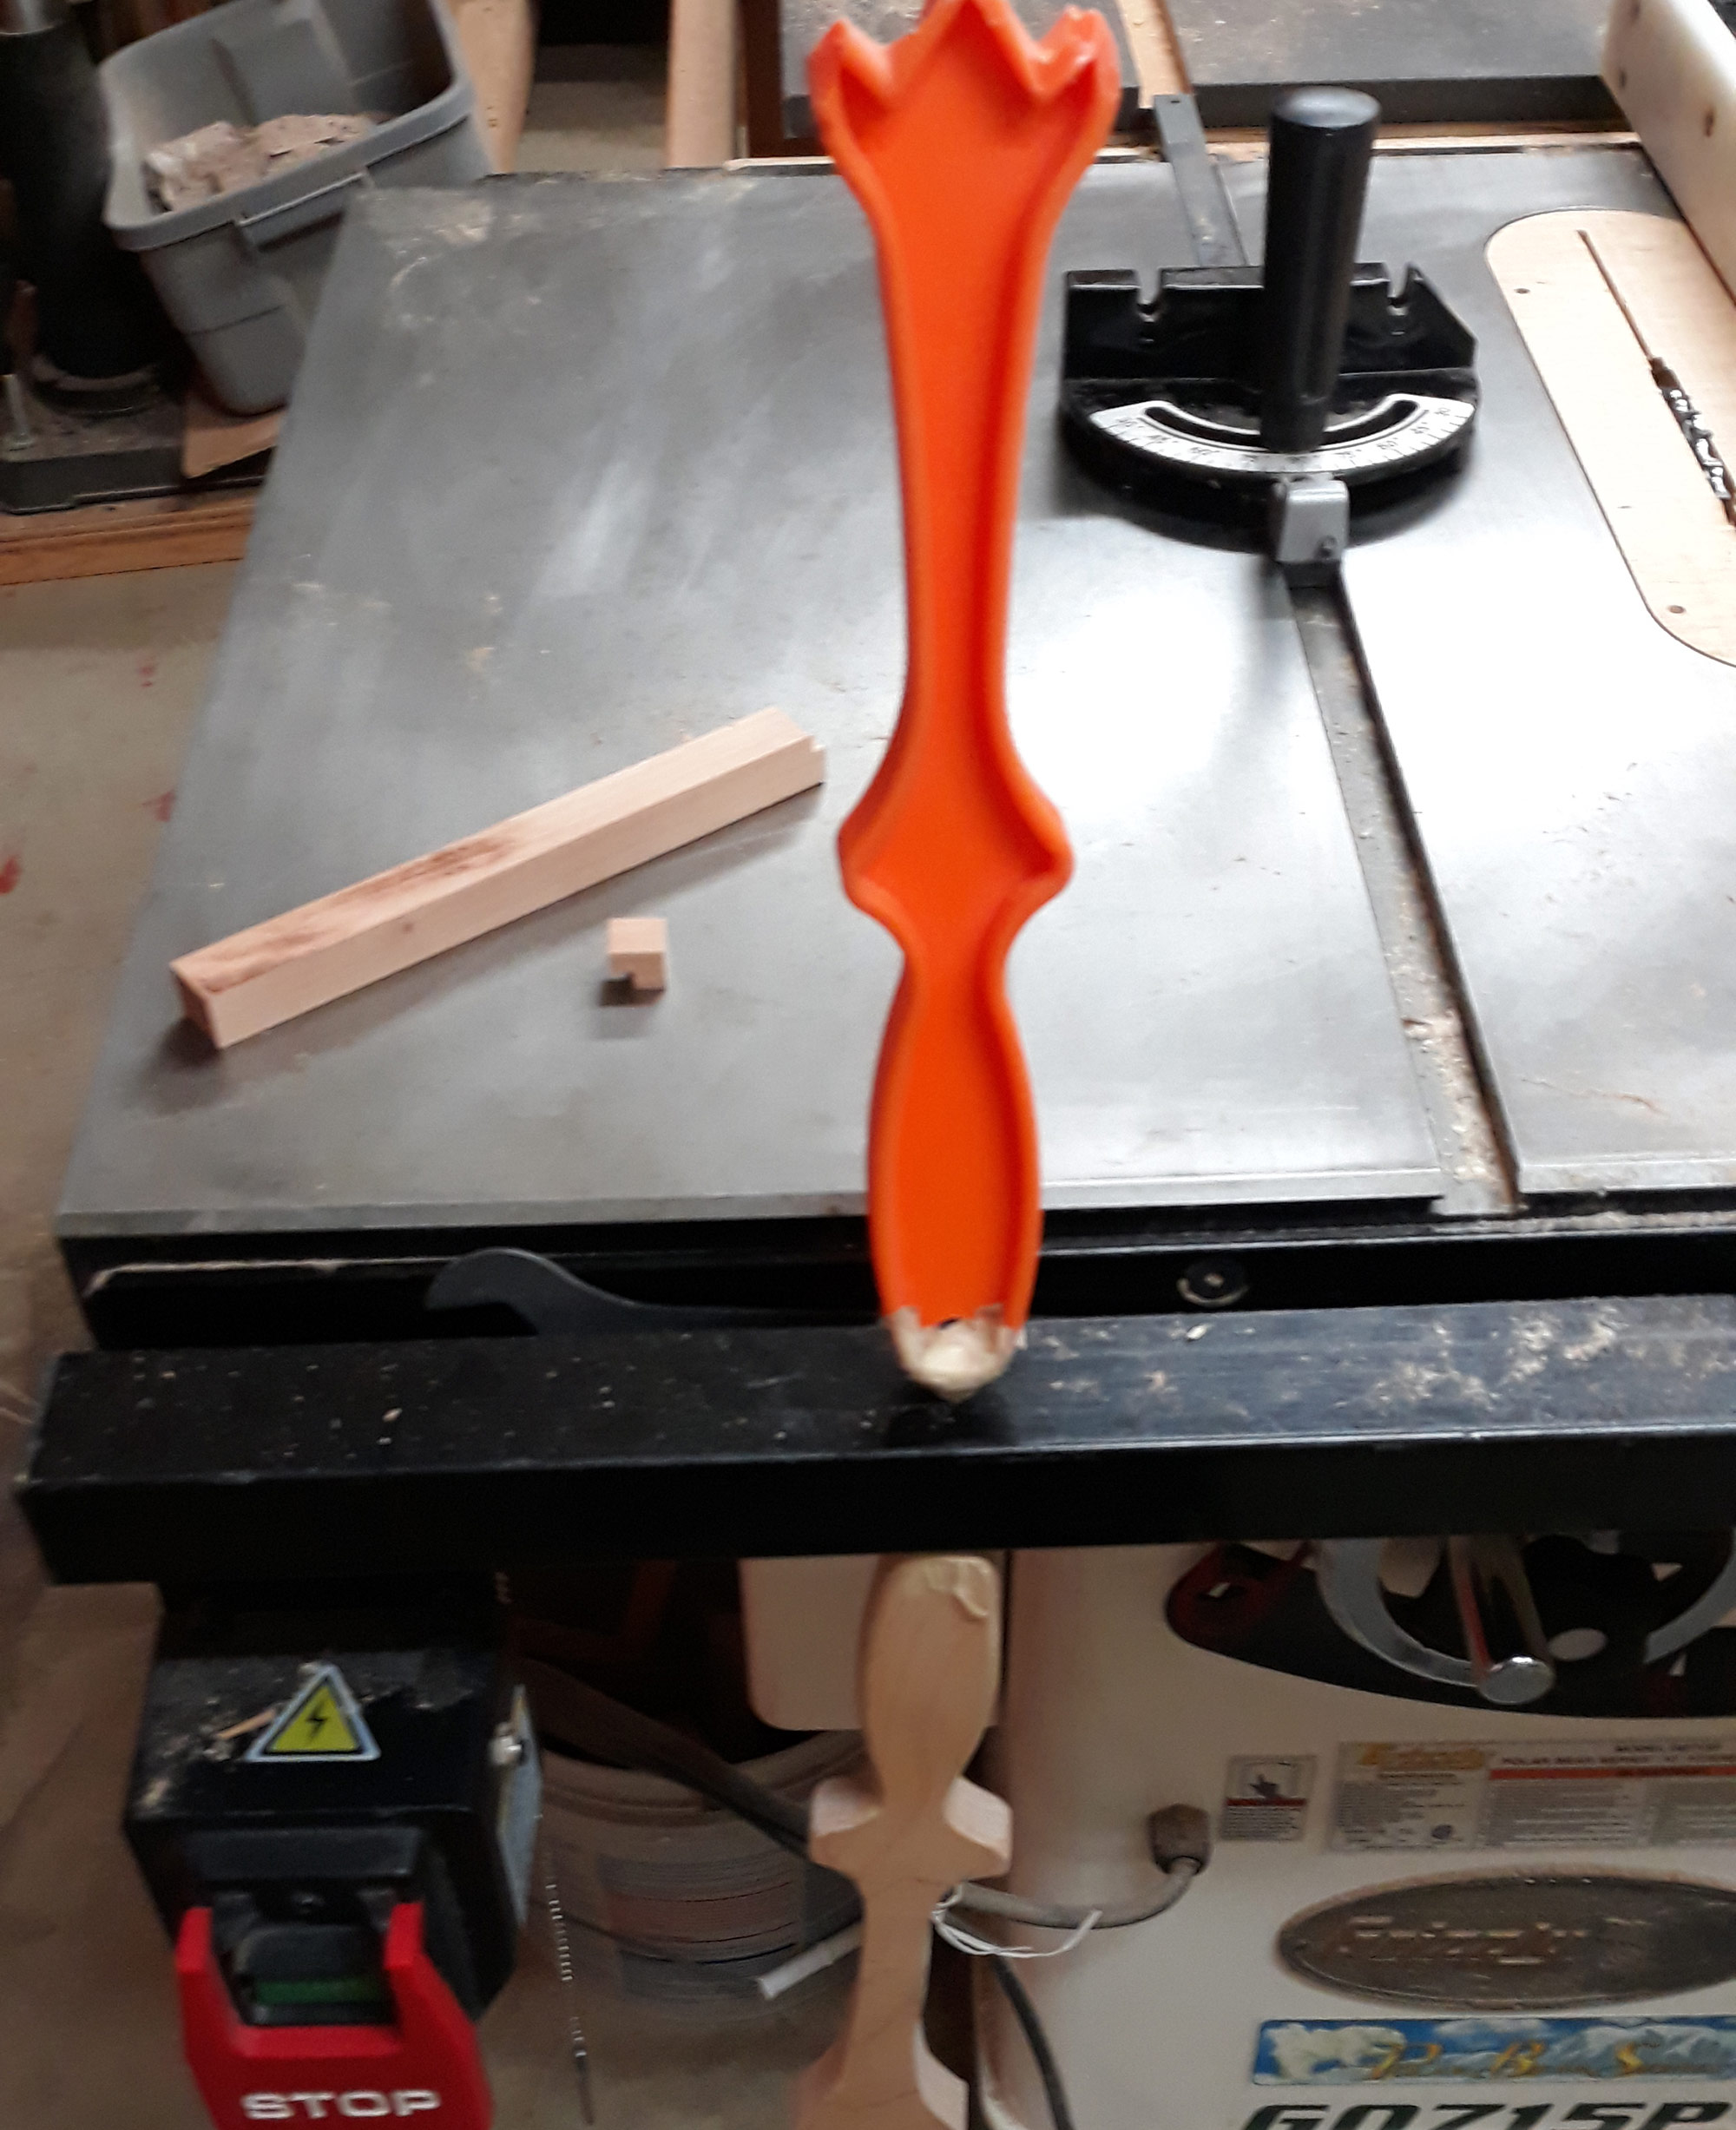
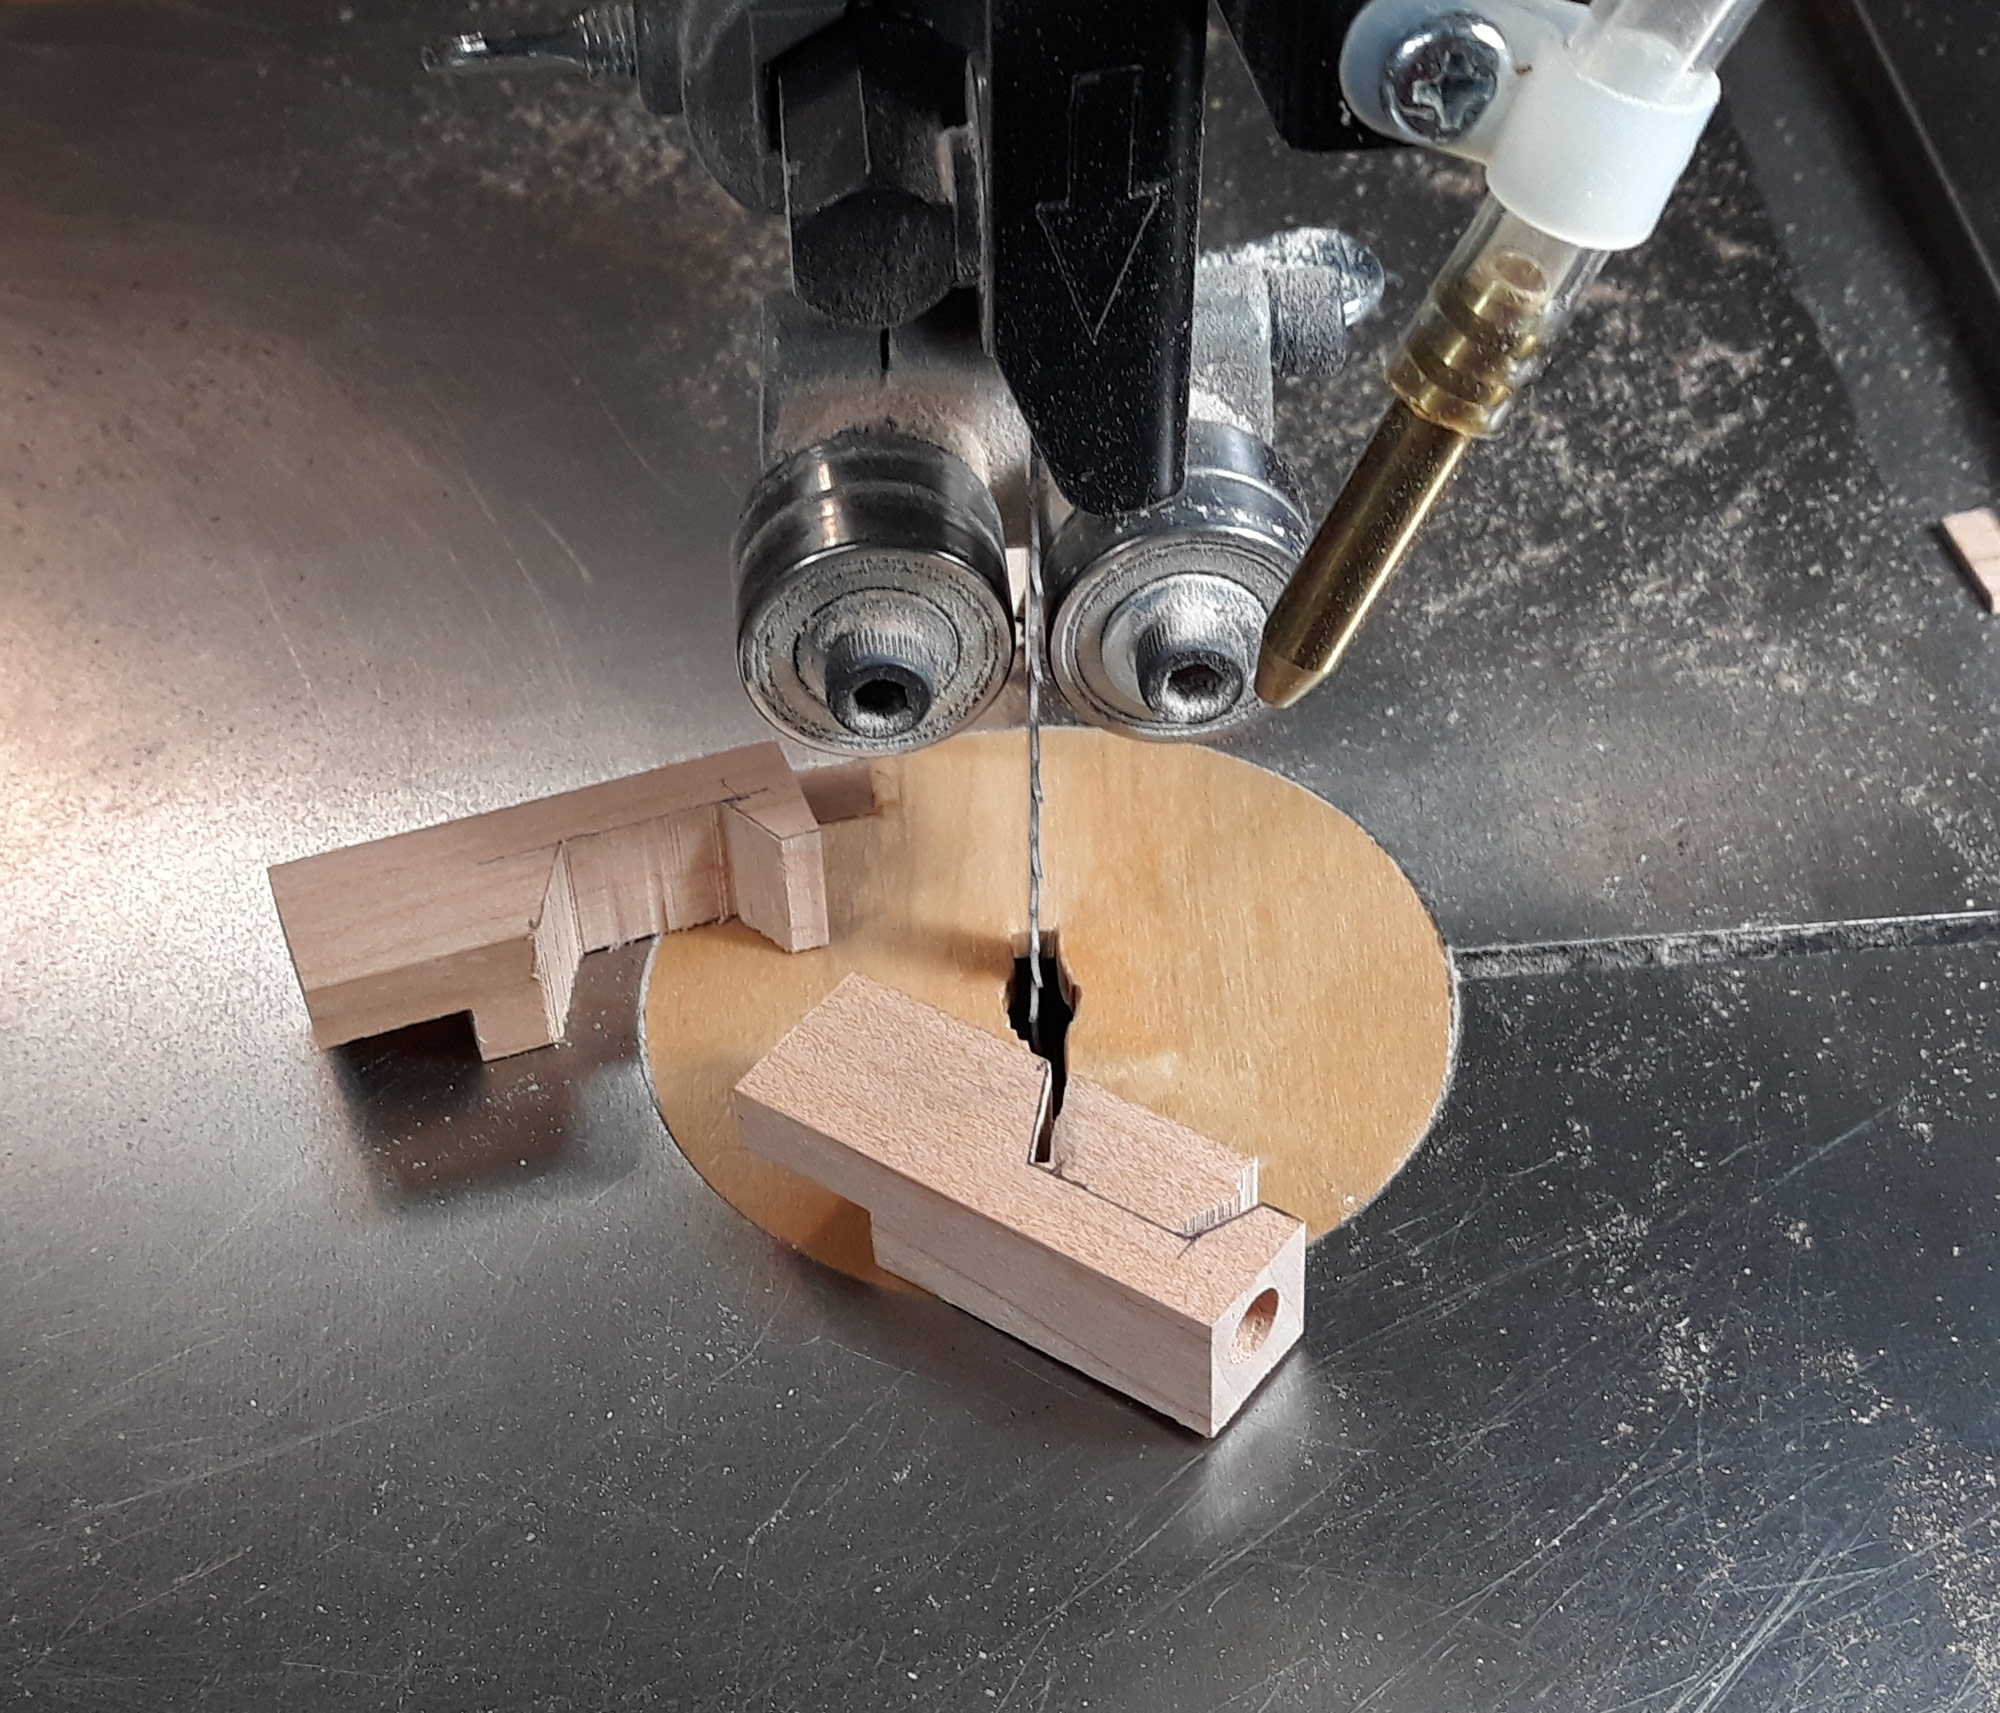
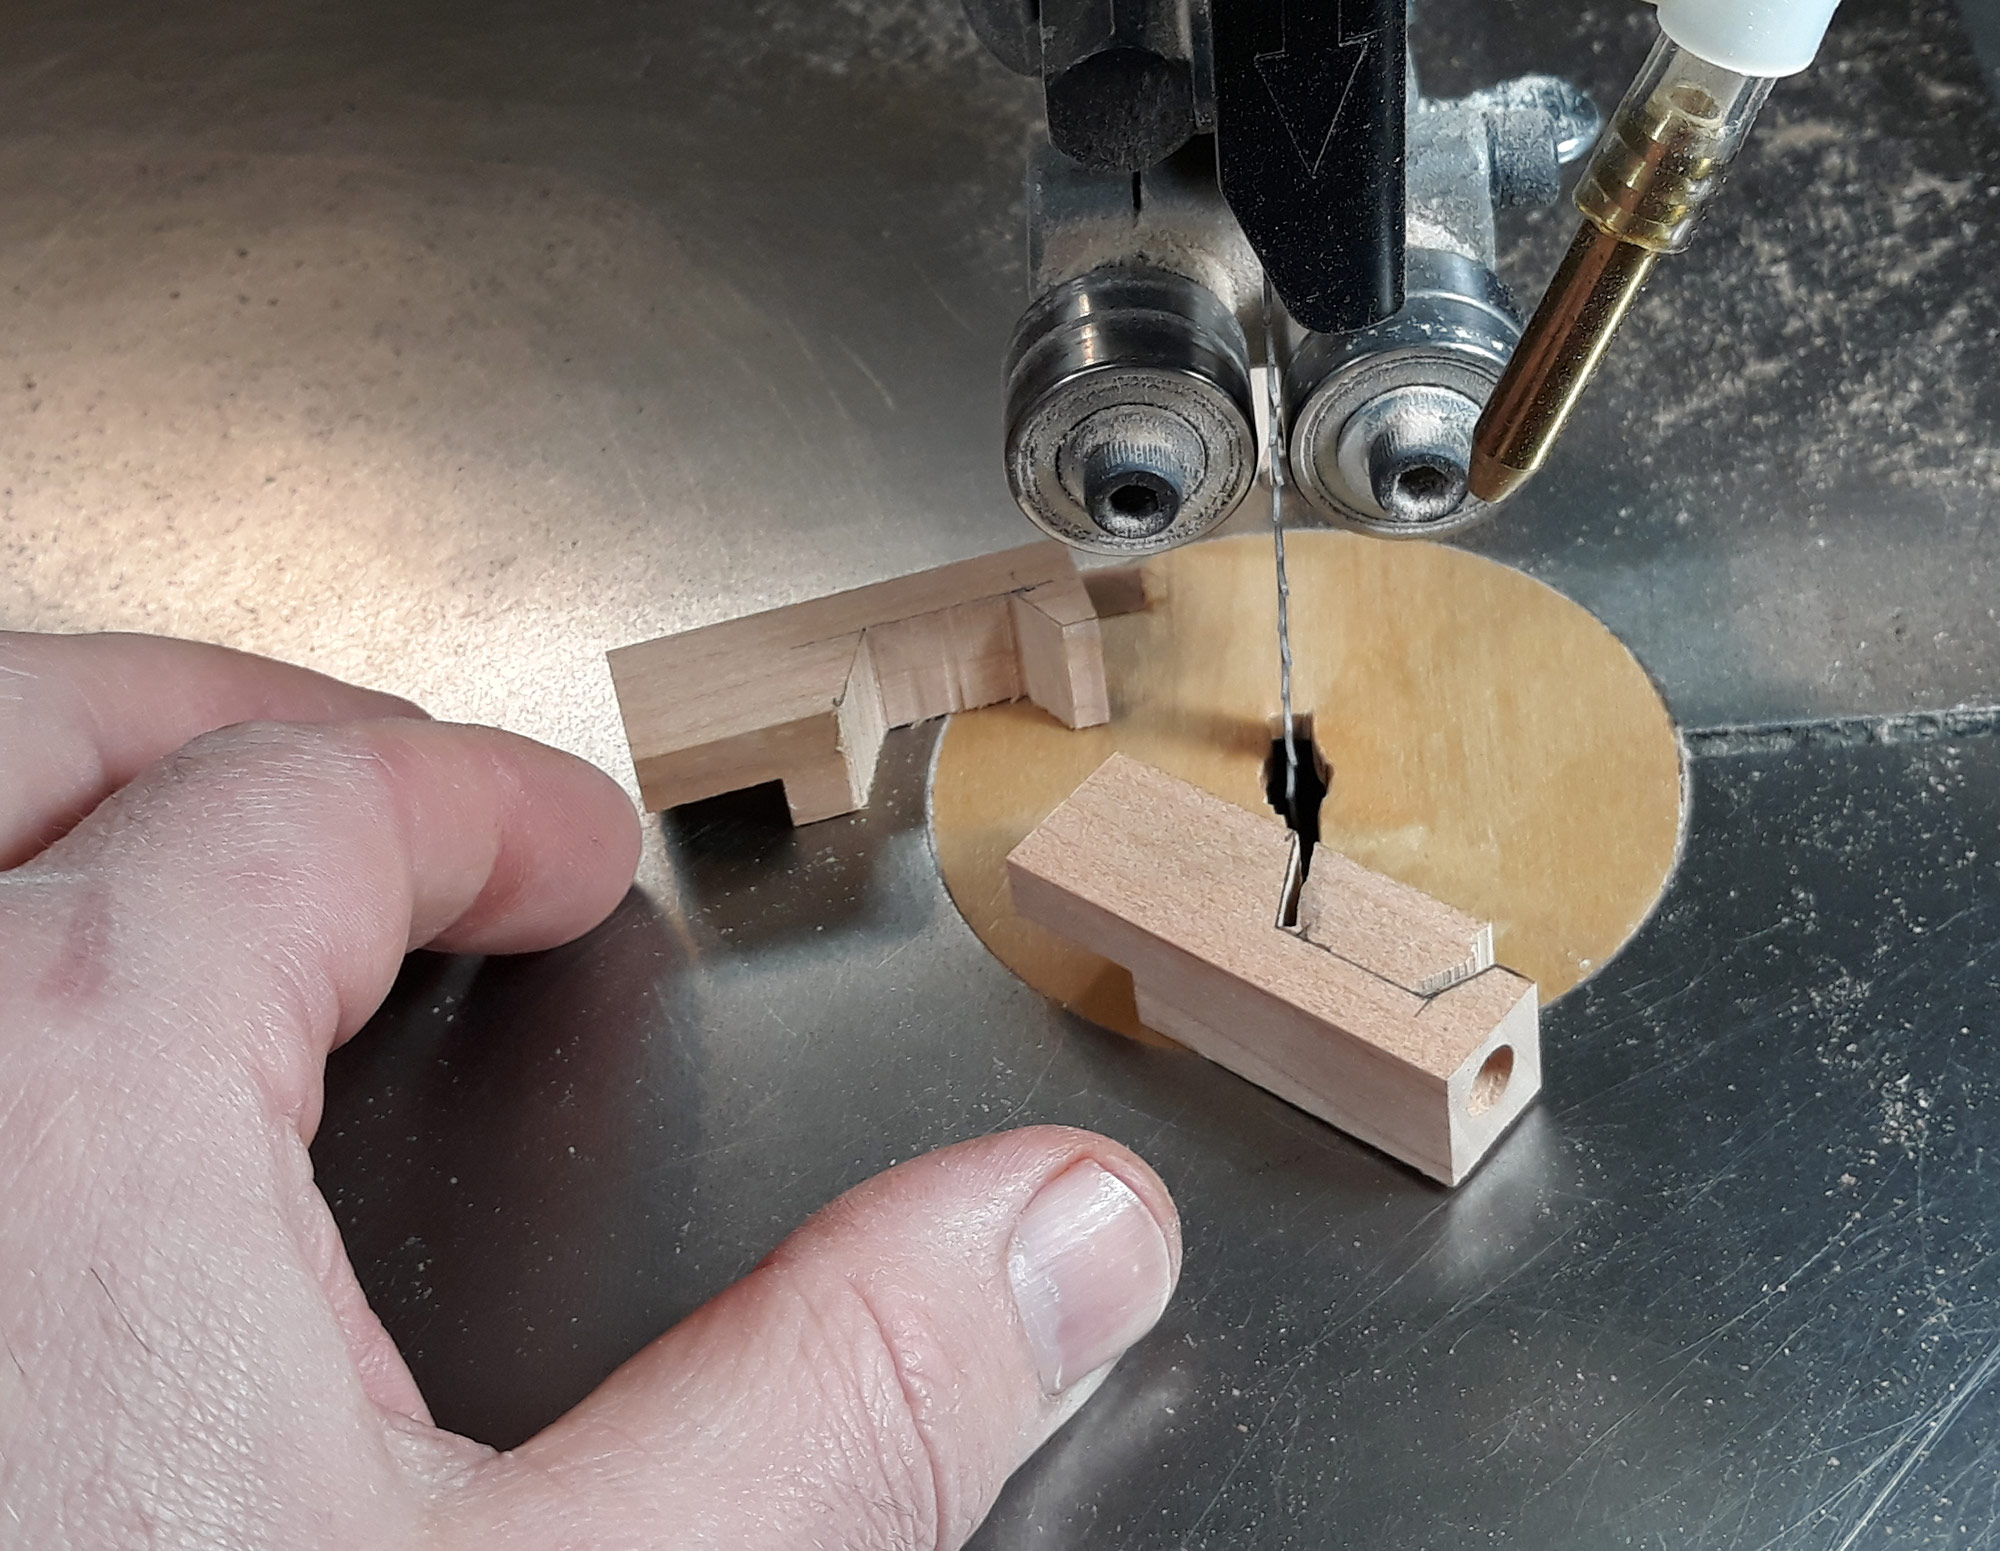
There are some really tiny pieces that are cut with some really big saws. So I have to be extra careful with my fingers. The orange stick allows me to hold the wood down from a safe distance. It’s handmade wood twin hangs below it. 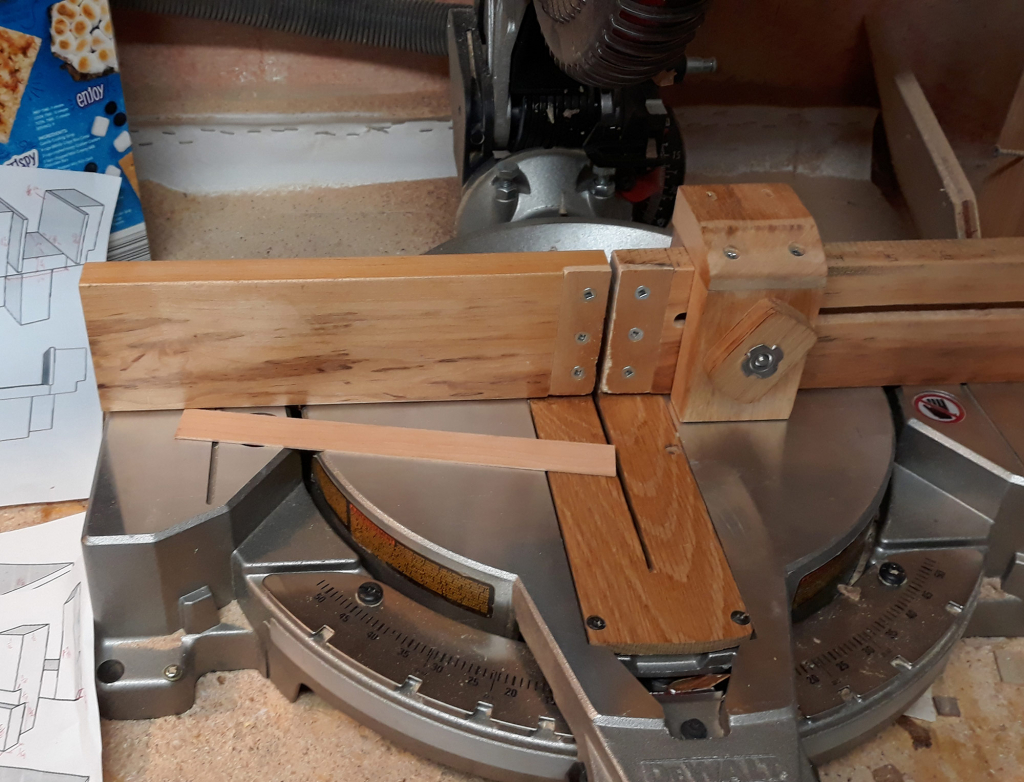
Its tough to find a miter saw that can safely and cleanly cut small pieces of wood. So I made a custom fence with an adjustable stop. 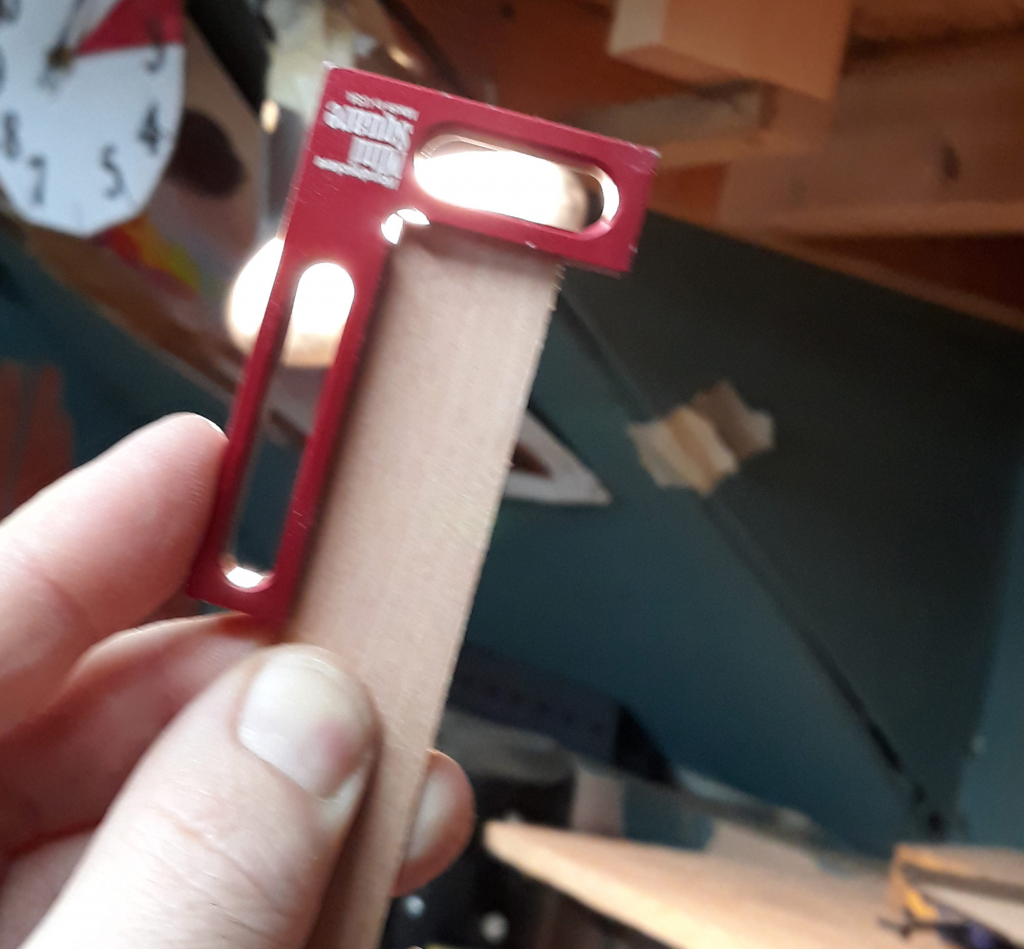
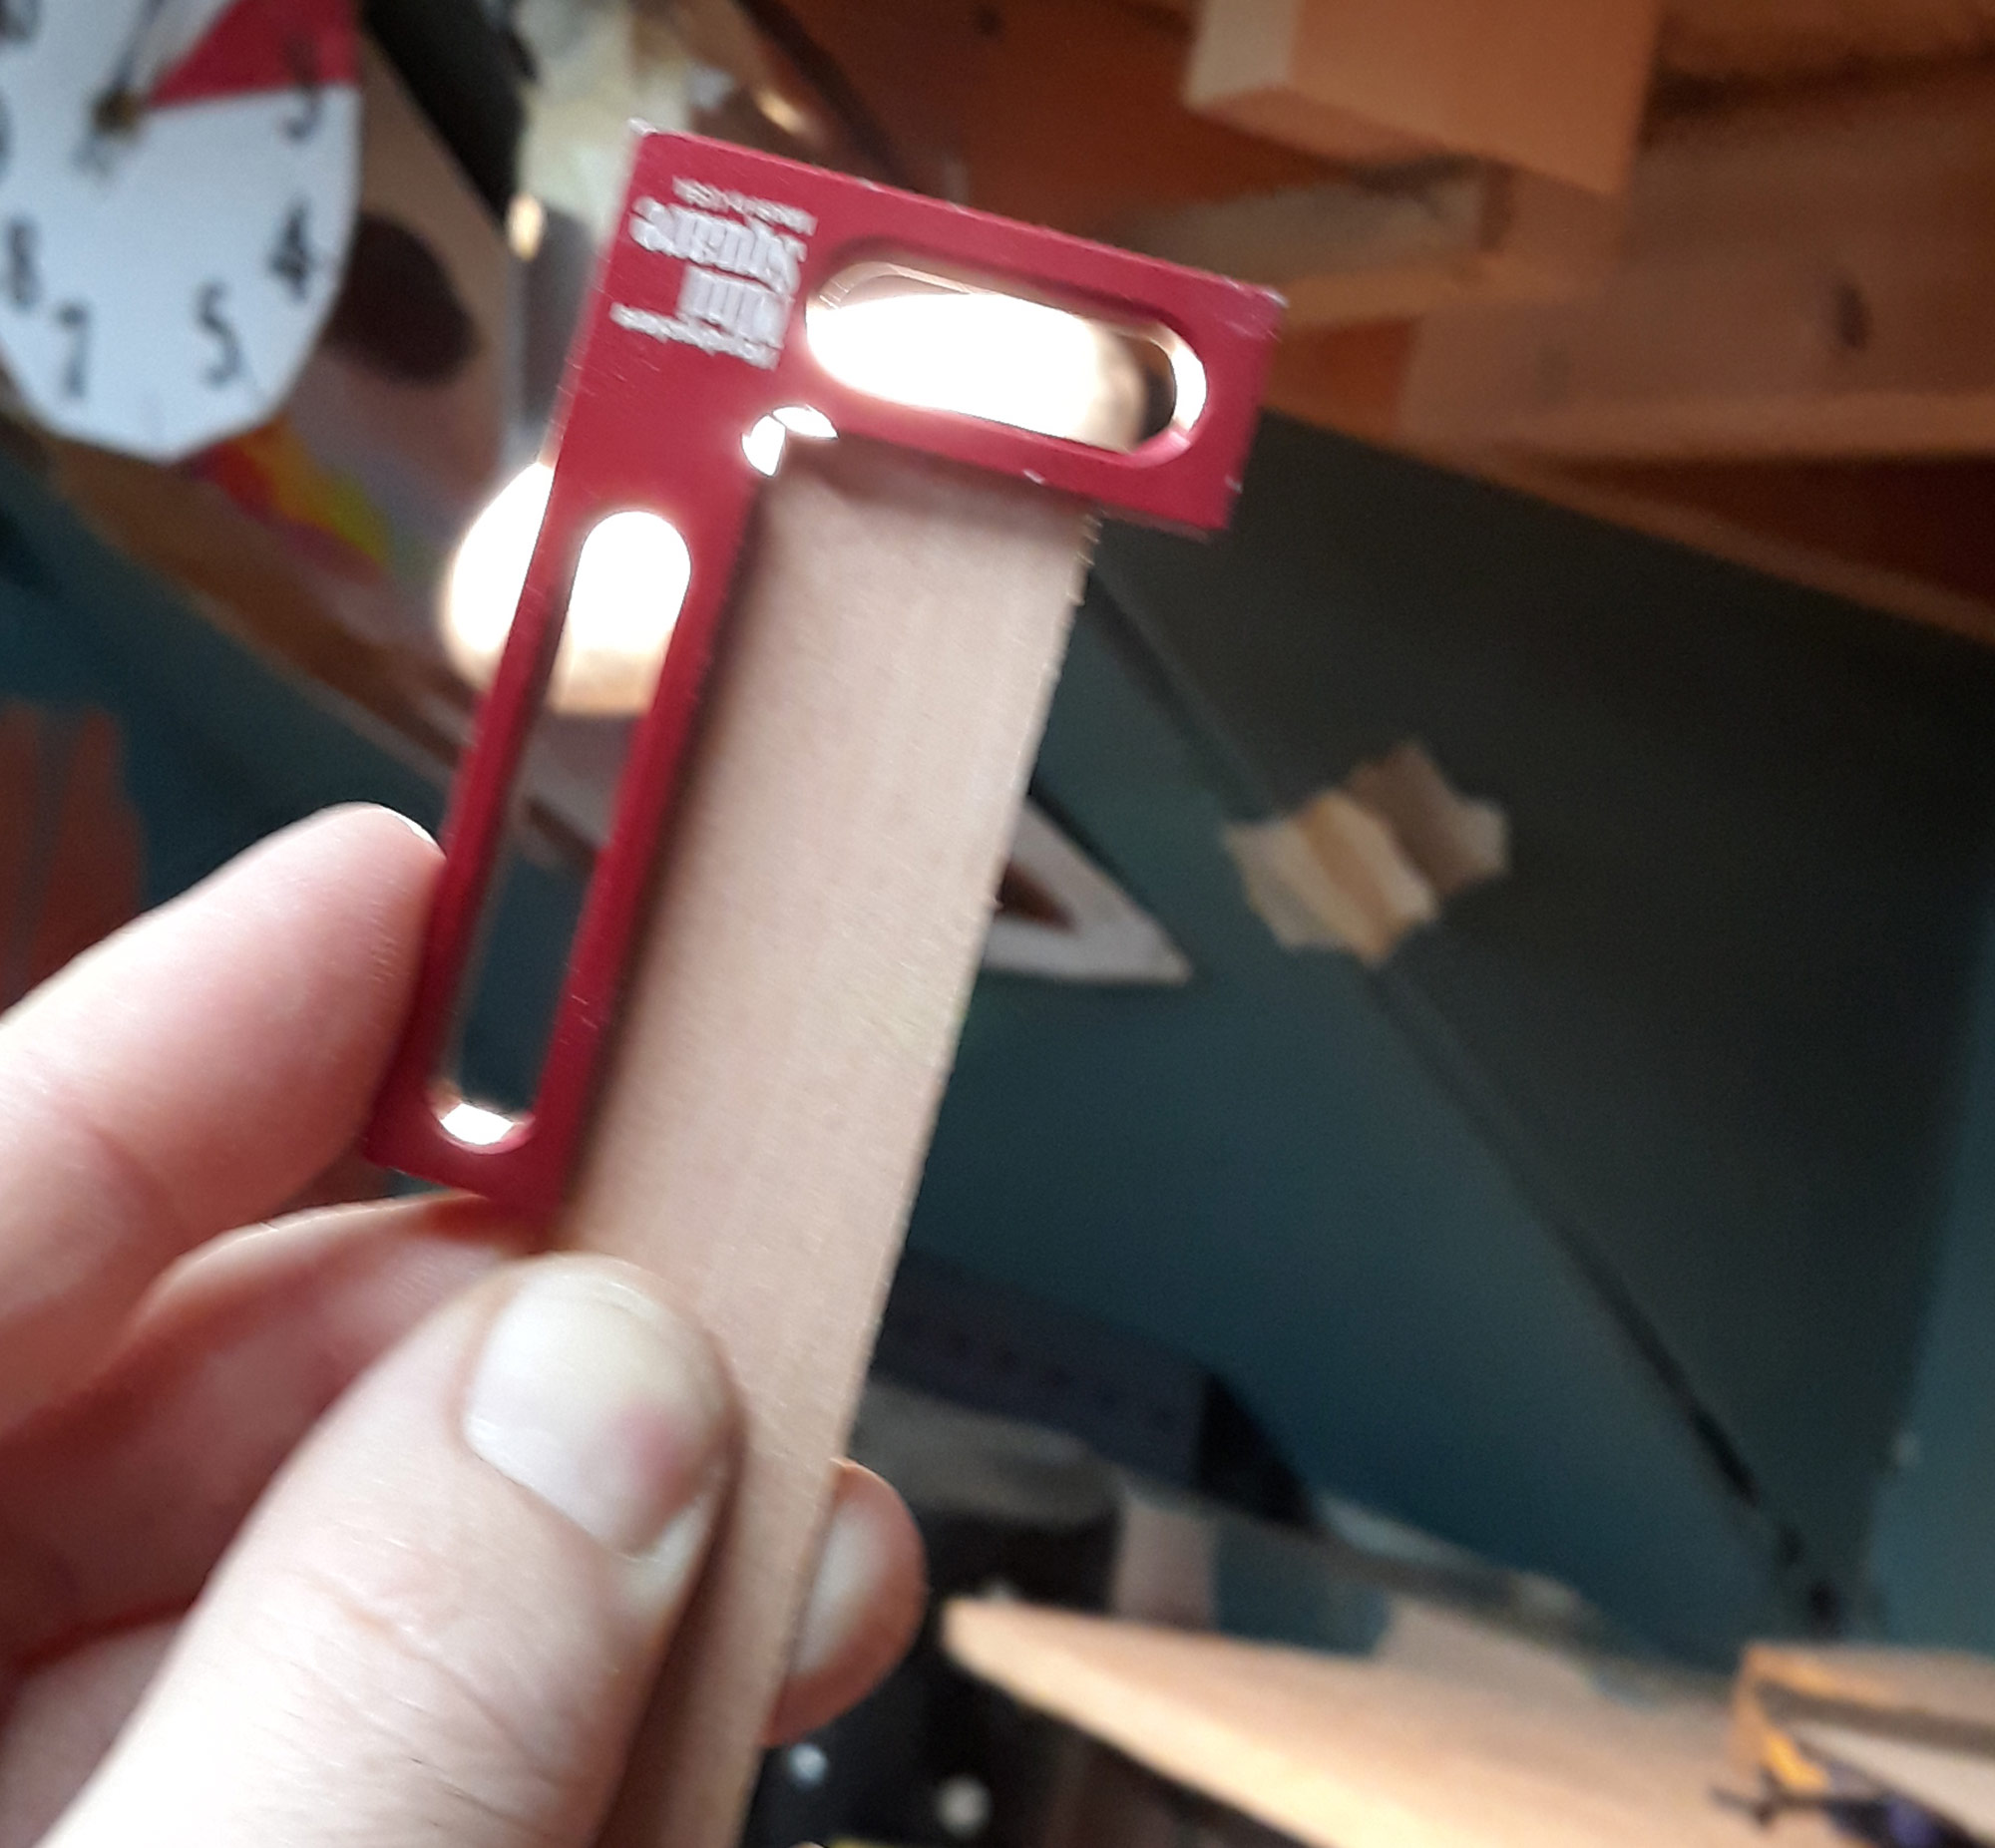
If there’s light between the red square and the wood, that means the wood end isn’t square – which will lead to trouble down the line. 
It’s real easy to mistake a cut-to-size piece from the dozens of scrap pieces around the shop. So I keep all the good stuff in its own box. 
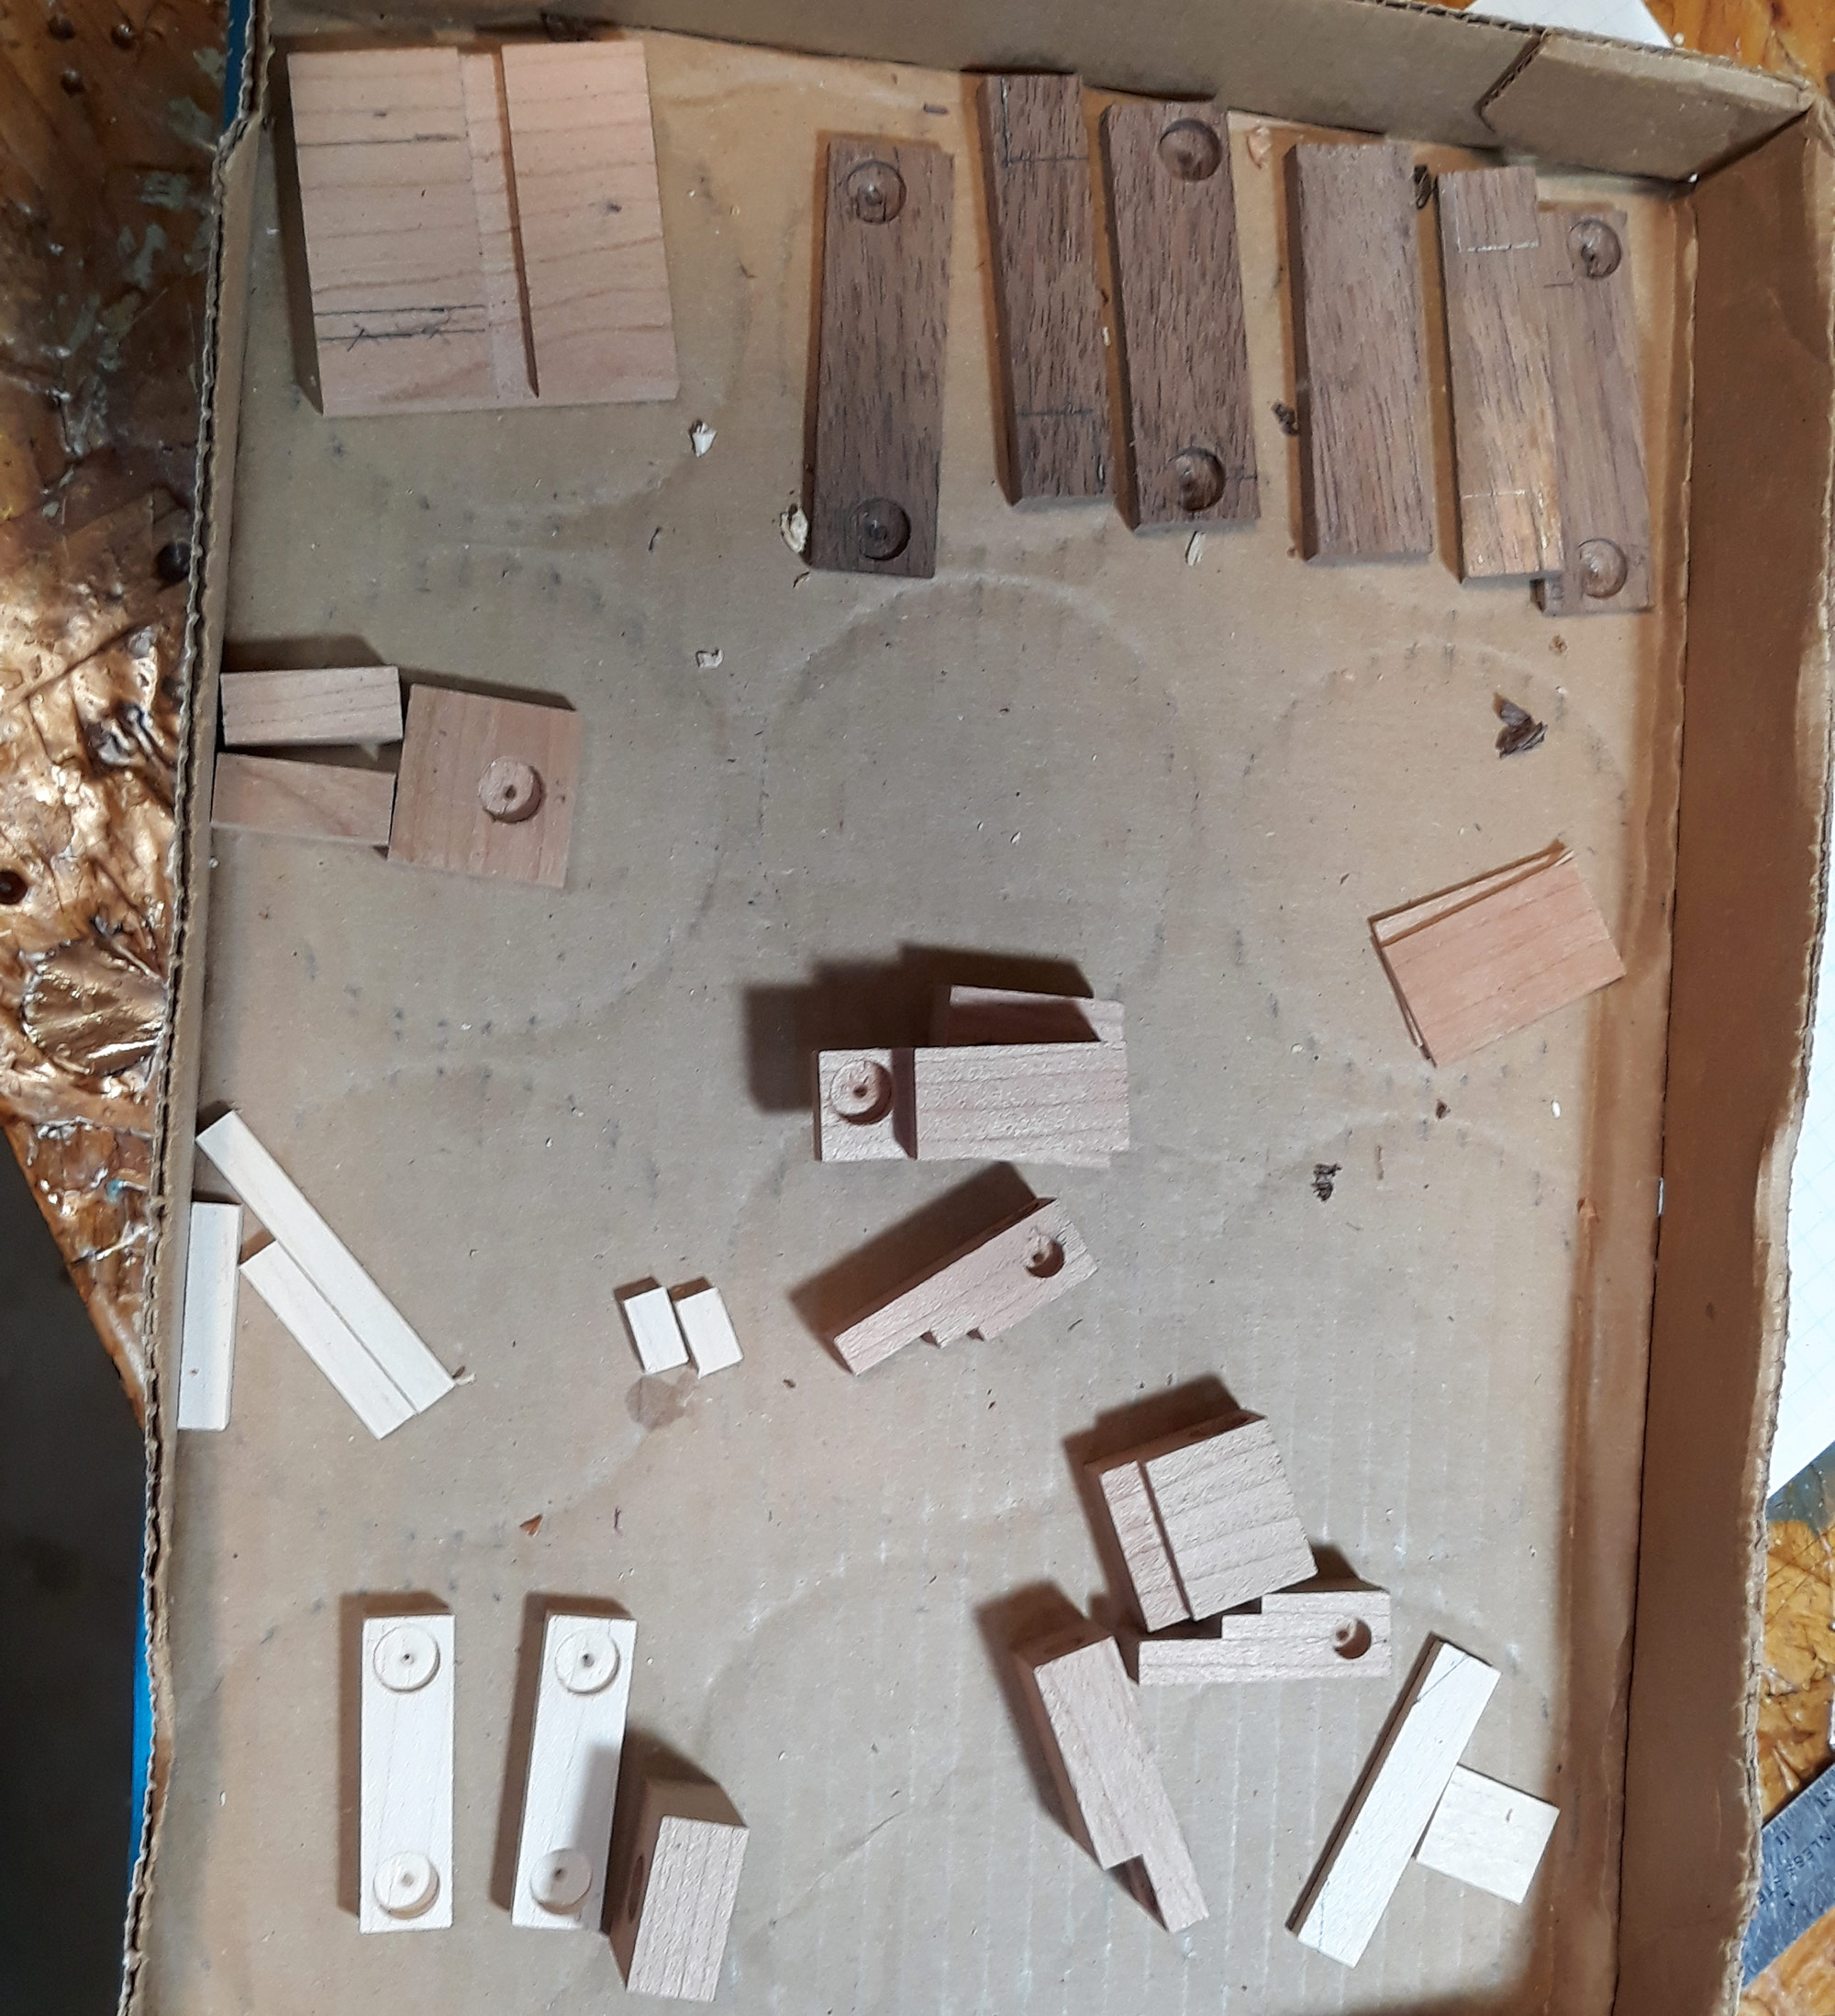
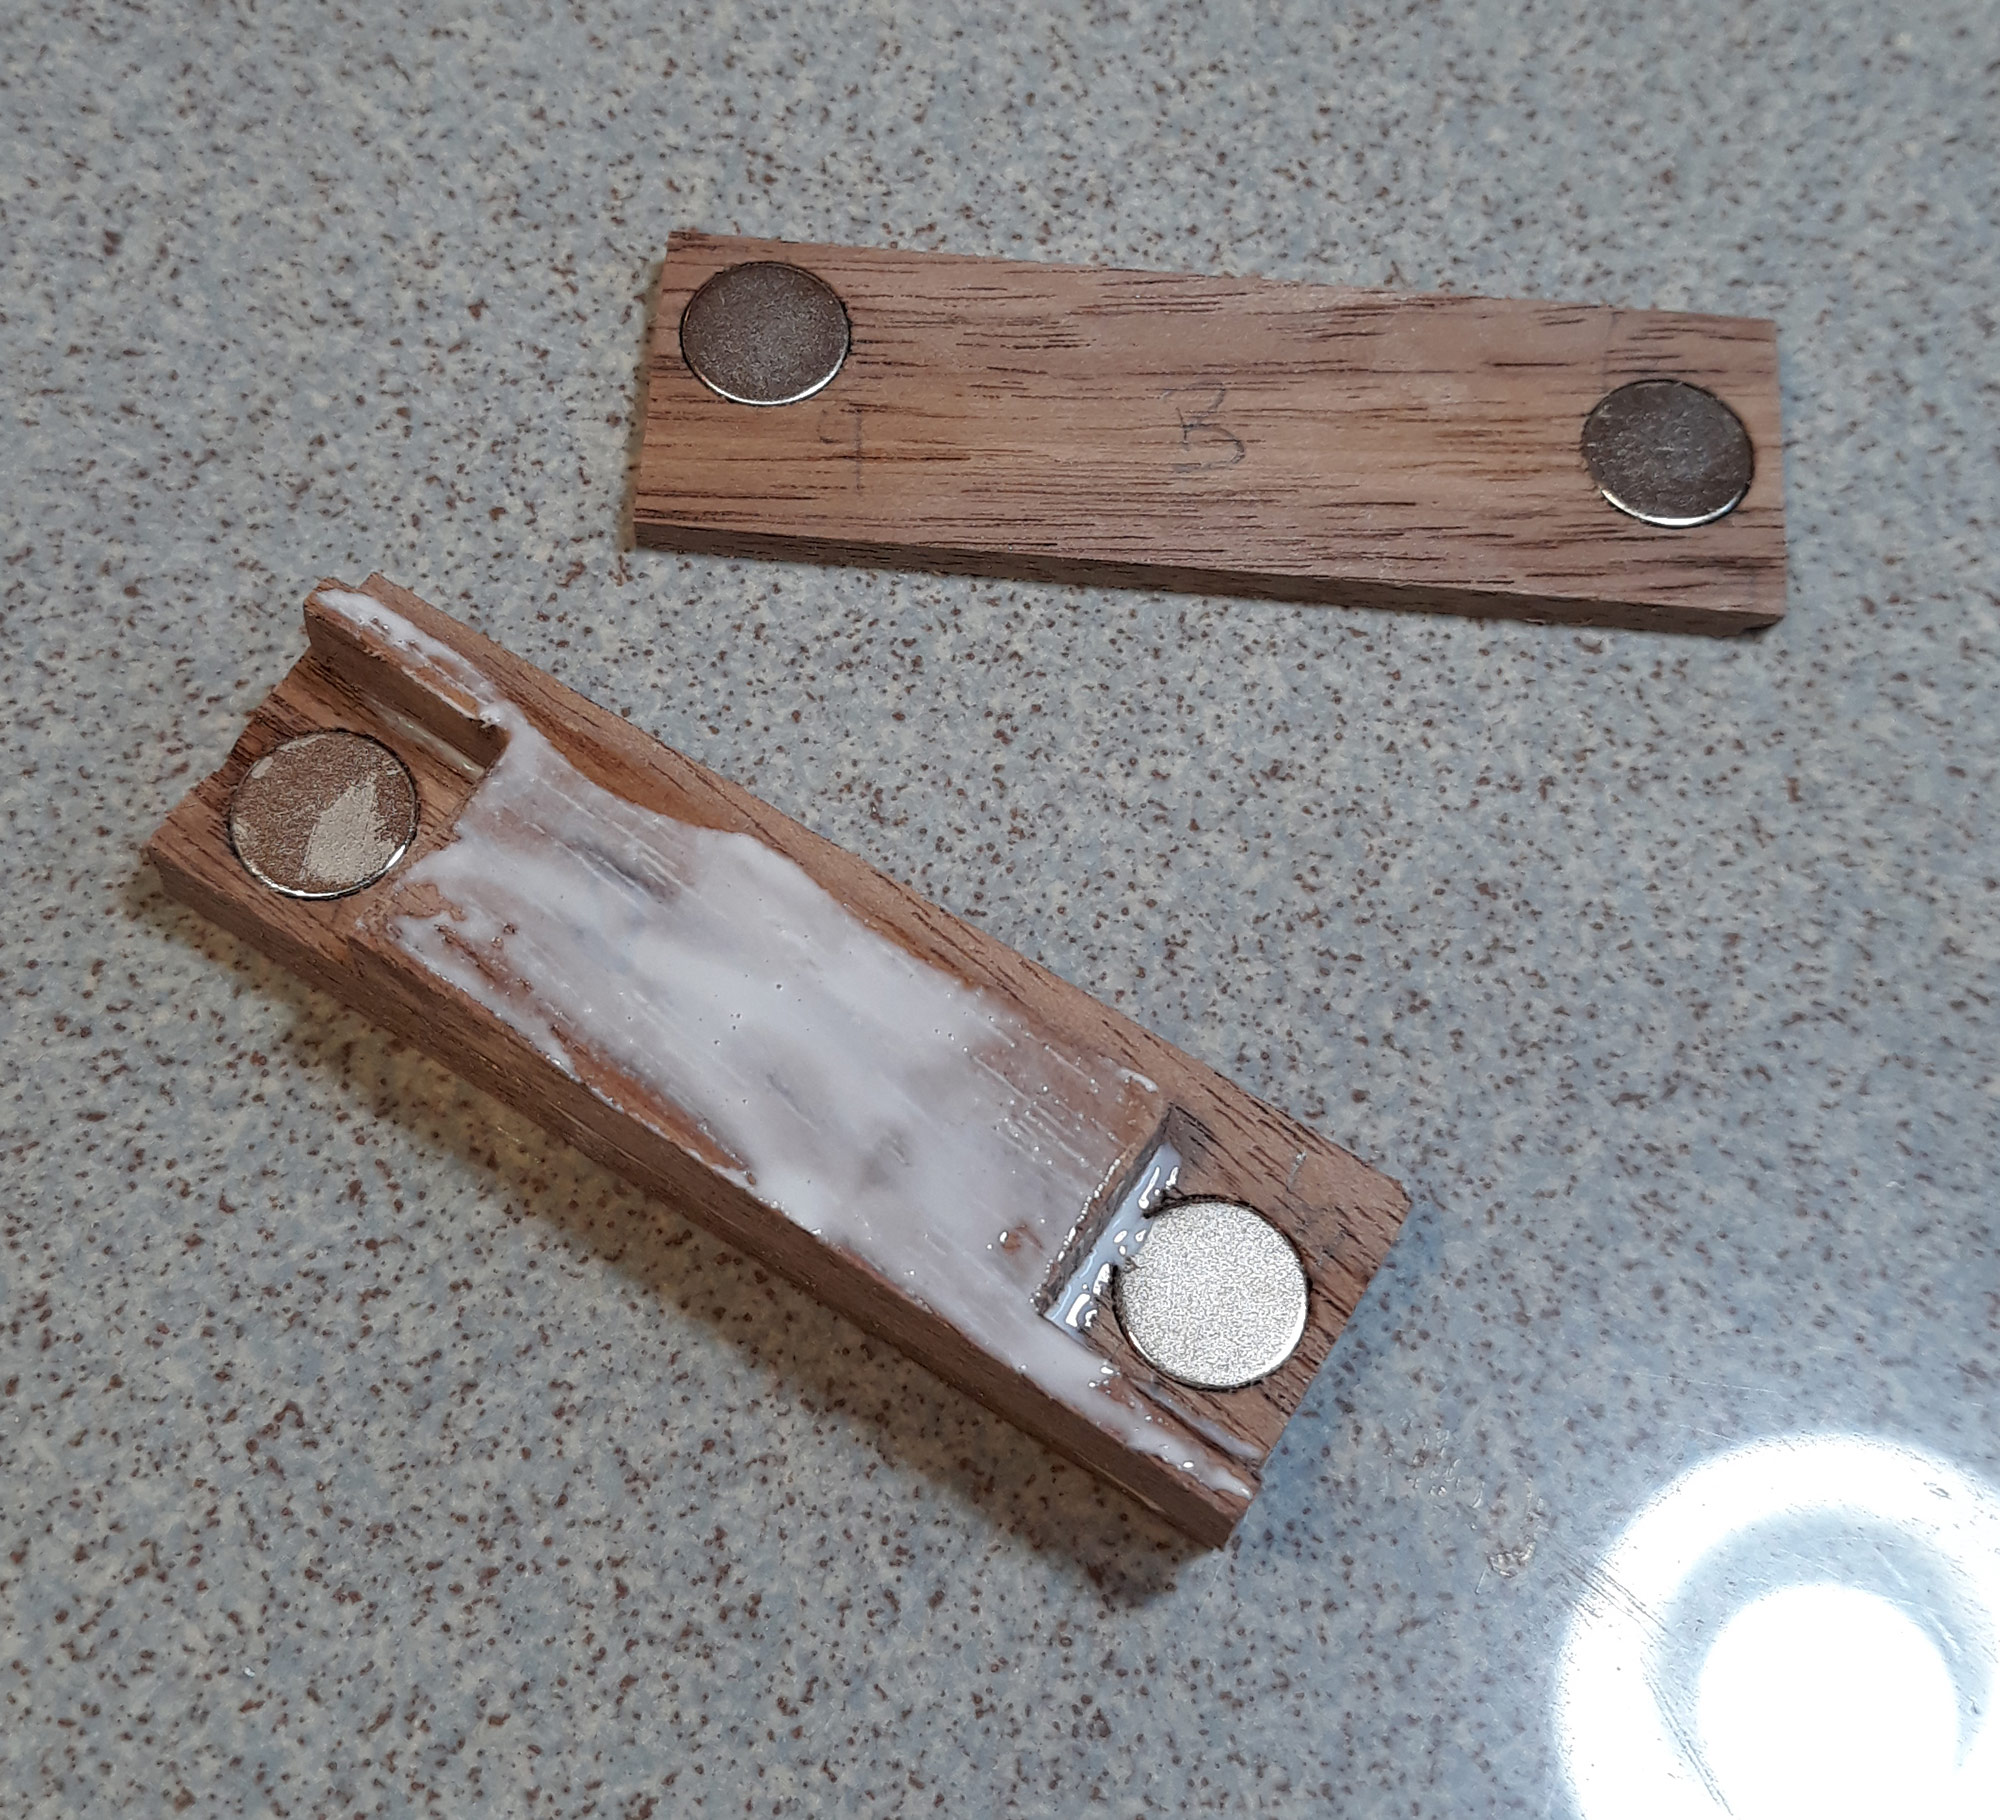
Every joint on Optimus needs two magnets – one on each piece of connected wood. Years of tweaking paved the way for the technique I use for marking and drilling the holes. 
After the two arms had their magnet holes drilled, the cutouts for the wheel wells are done on the bandsaw. 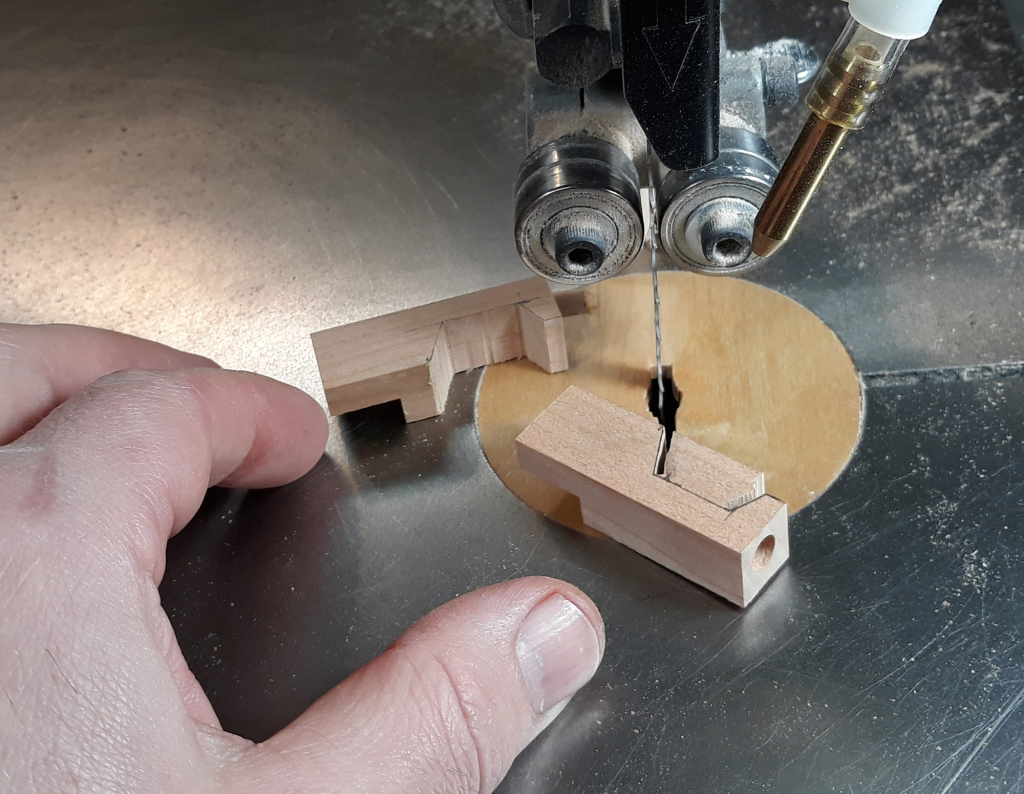
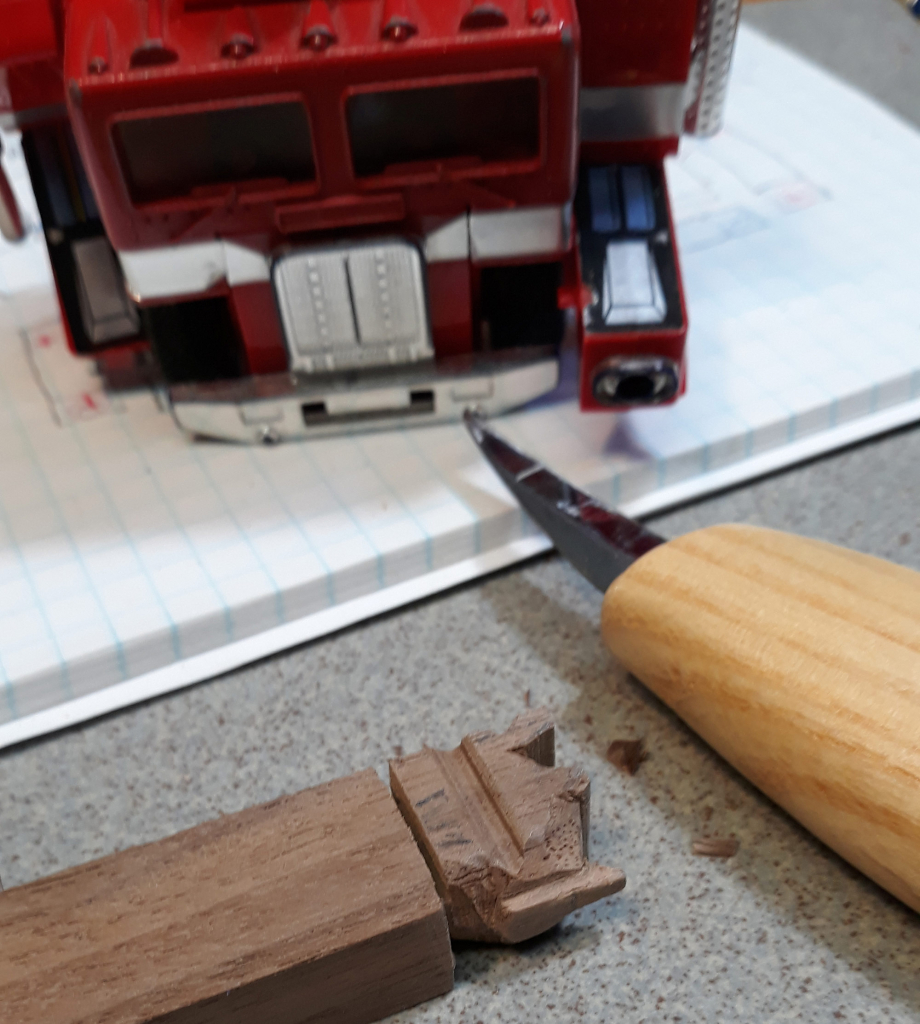
For a sense of scale – that’s my left hand. It’s a nervous chore to cut such tiny pieces without cutting off pieces of yourself! Please do not attempt yourself. Carving knives and X-Acto knives were used to carve the head. And a lot of hand sanding! That’s my original 1980s Optimus in the background. 
Each pieces of the lower leg is compose of three pieces of wood and four magnets. The magnets were first glued and allowed to dry. Then the wood pieces were assembled. 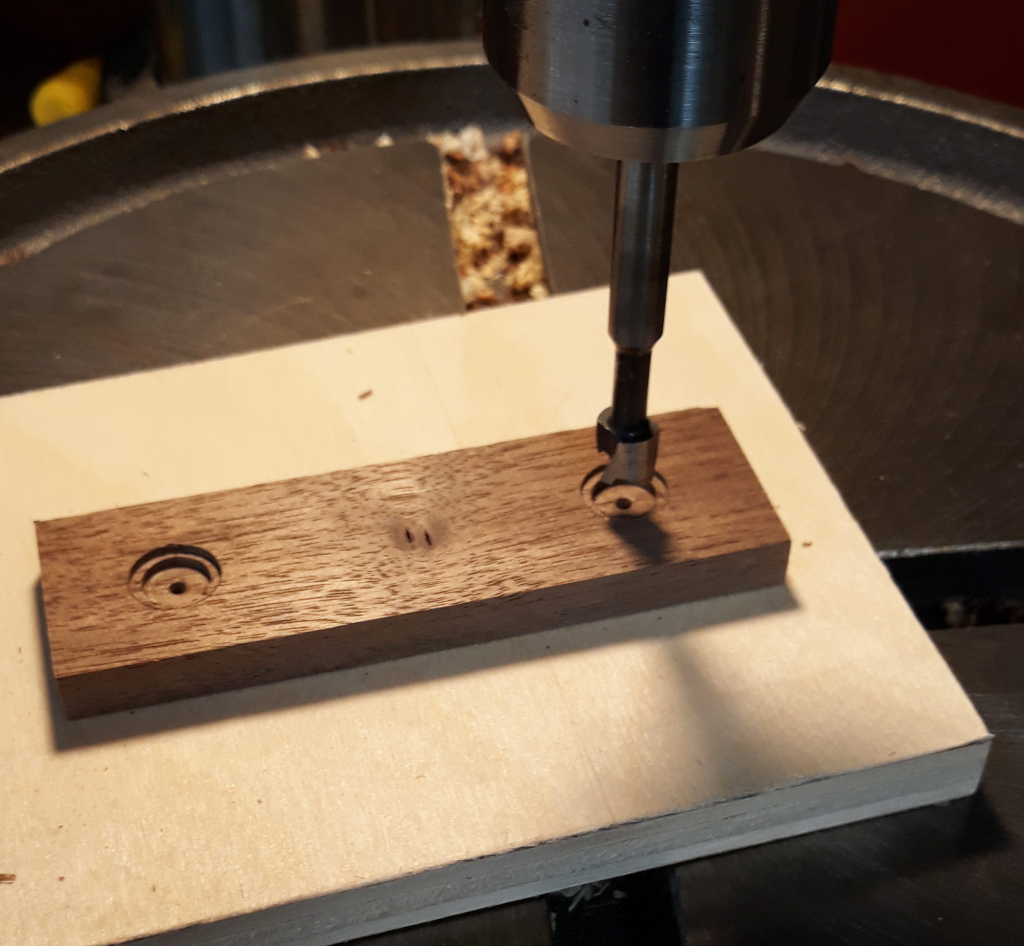
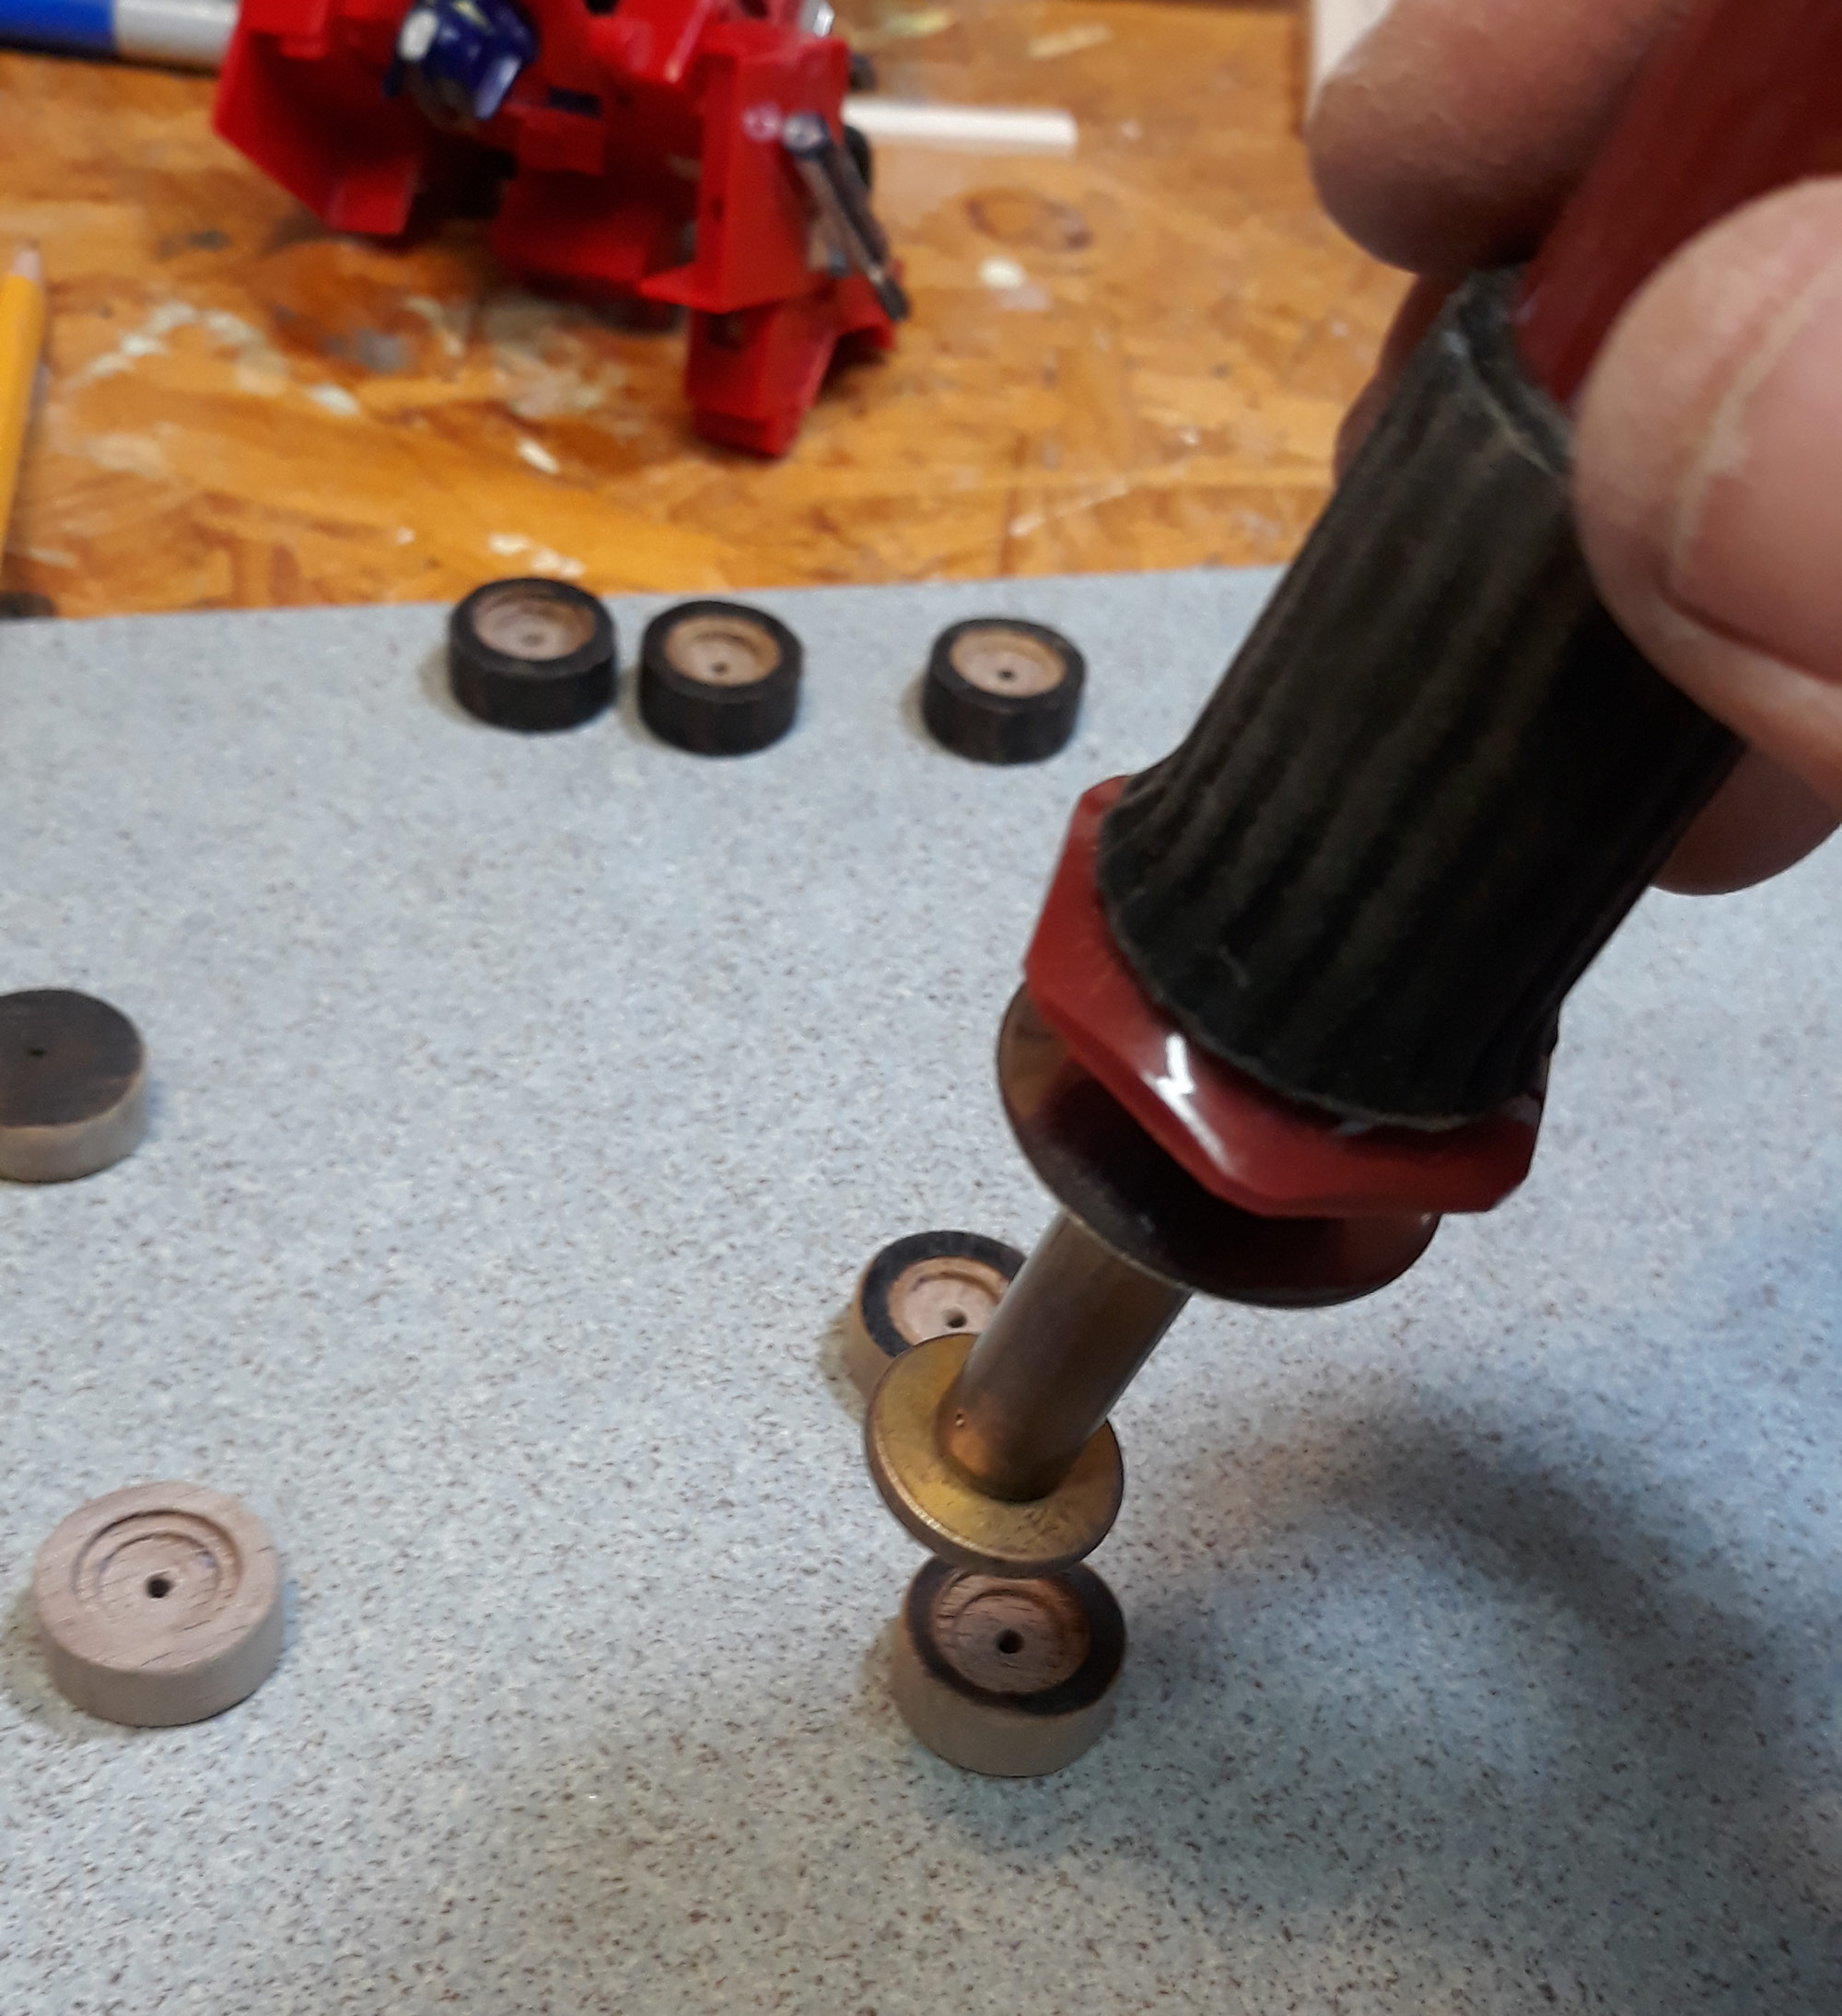
To get the right texture and depth for the wheels, I had to drill 3 different holes (with three different bits) for each wheel. 
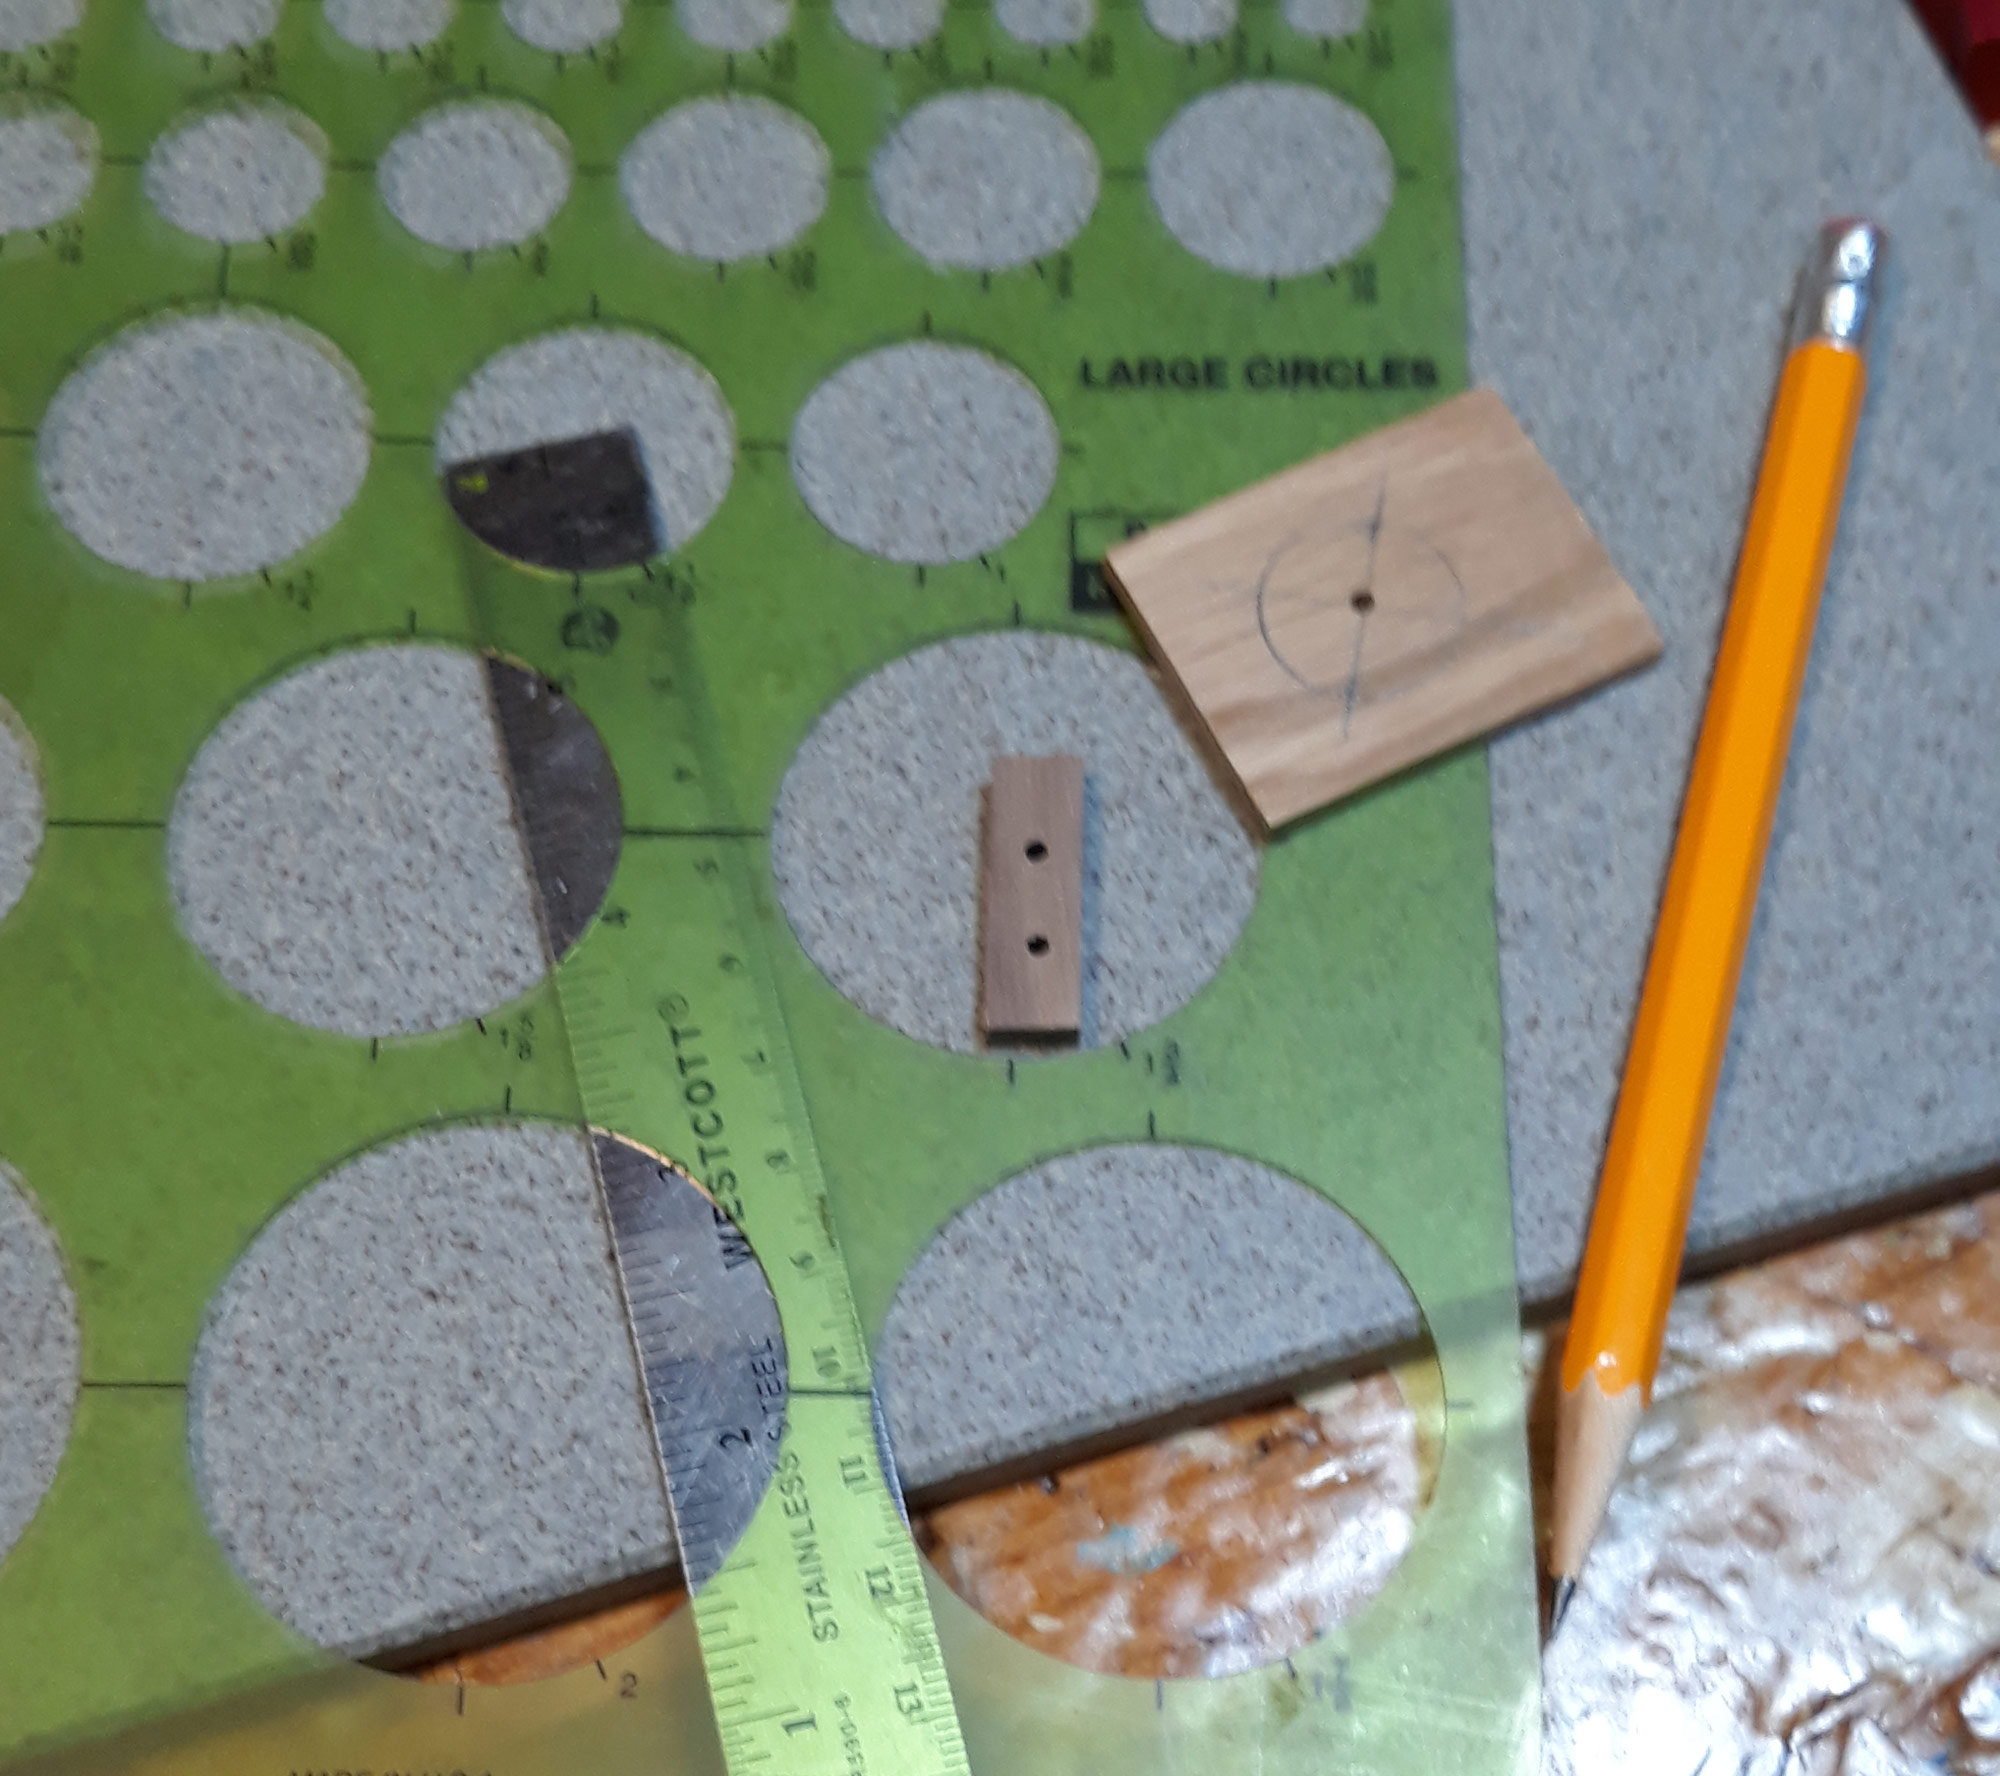
The world’s smallest trammel! 
Using the world’s smallest trammel to outline the edge of each wheel. 
A closer look. 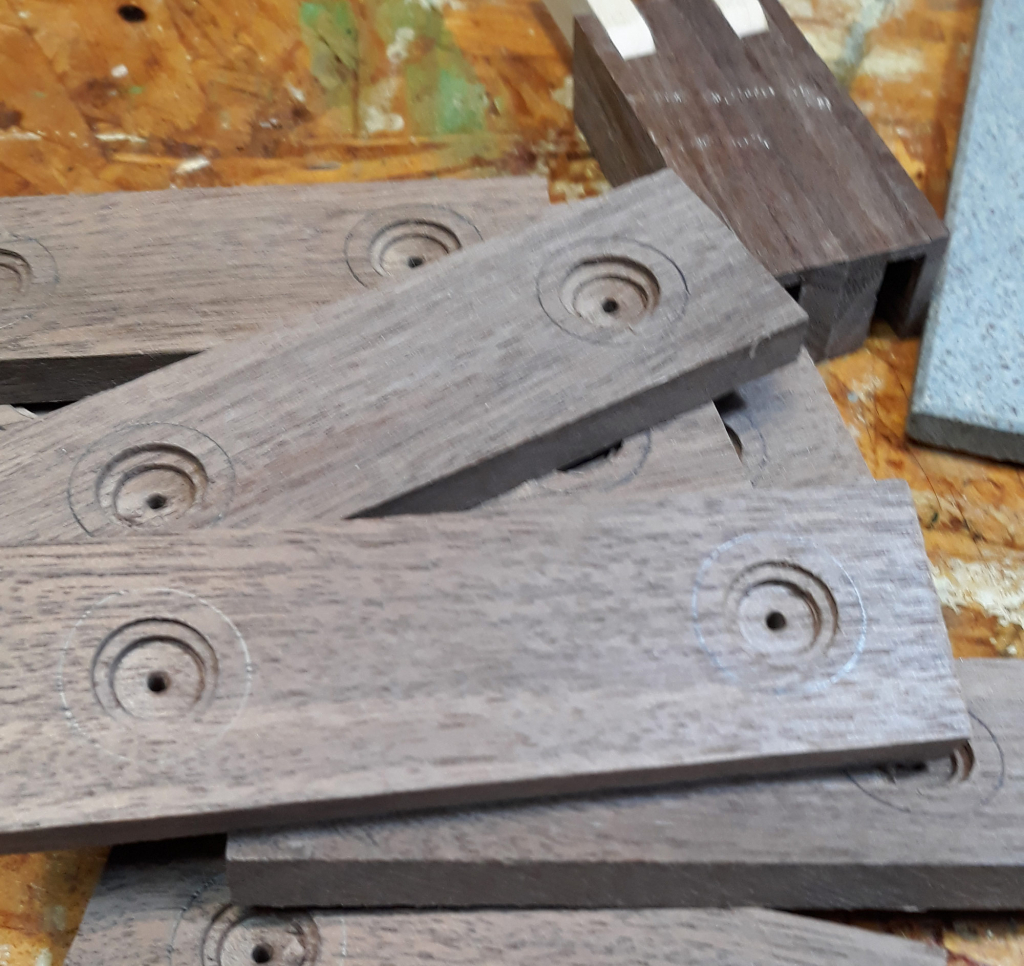
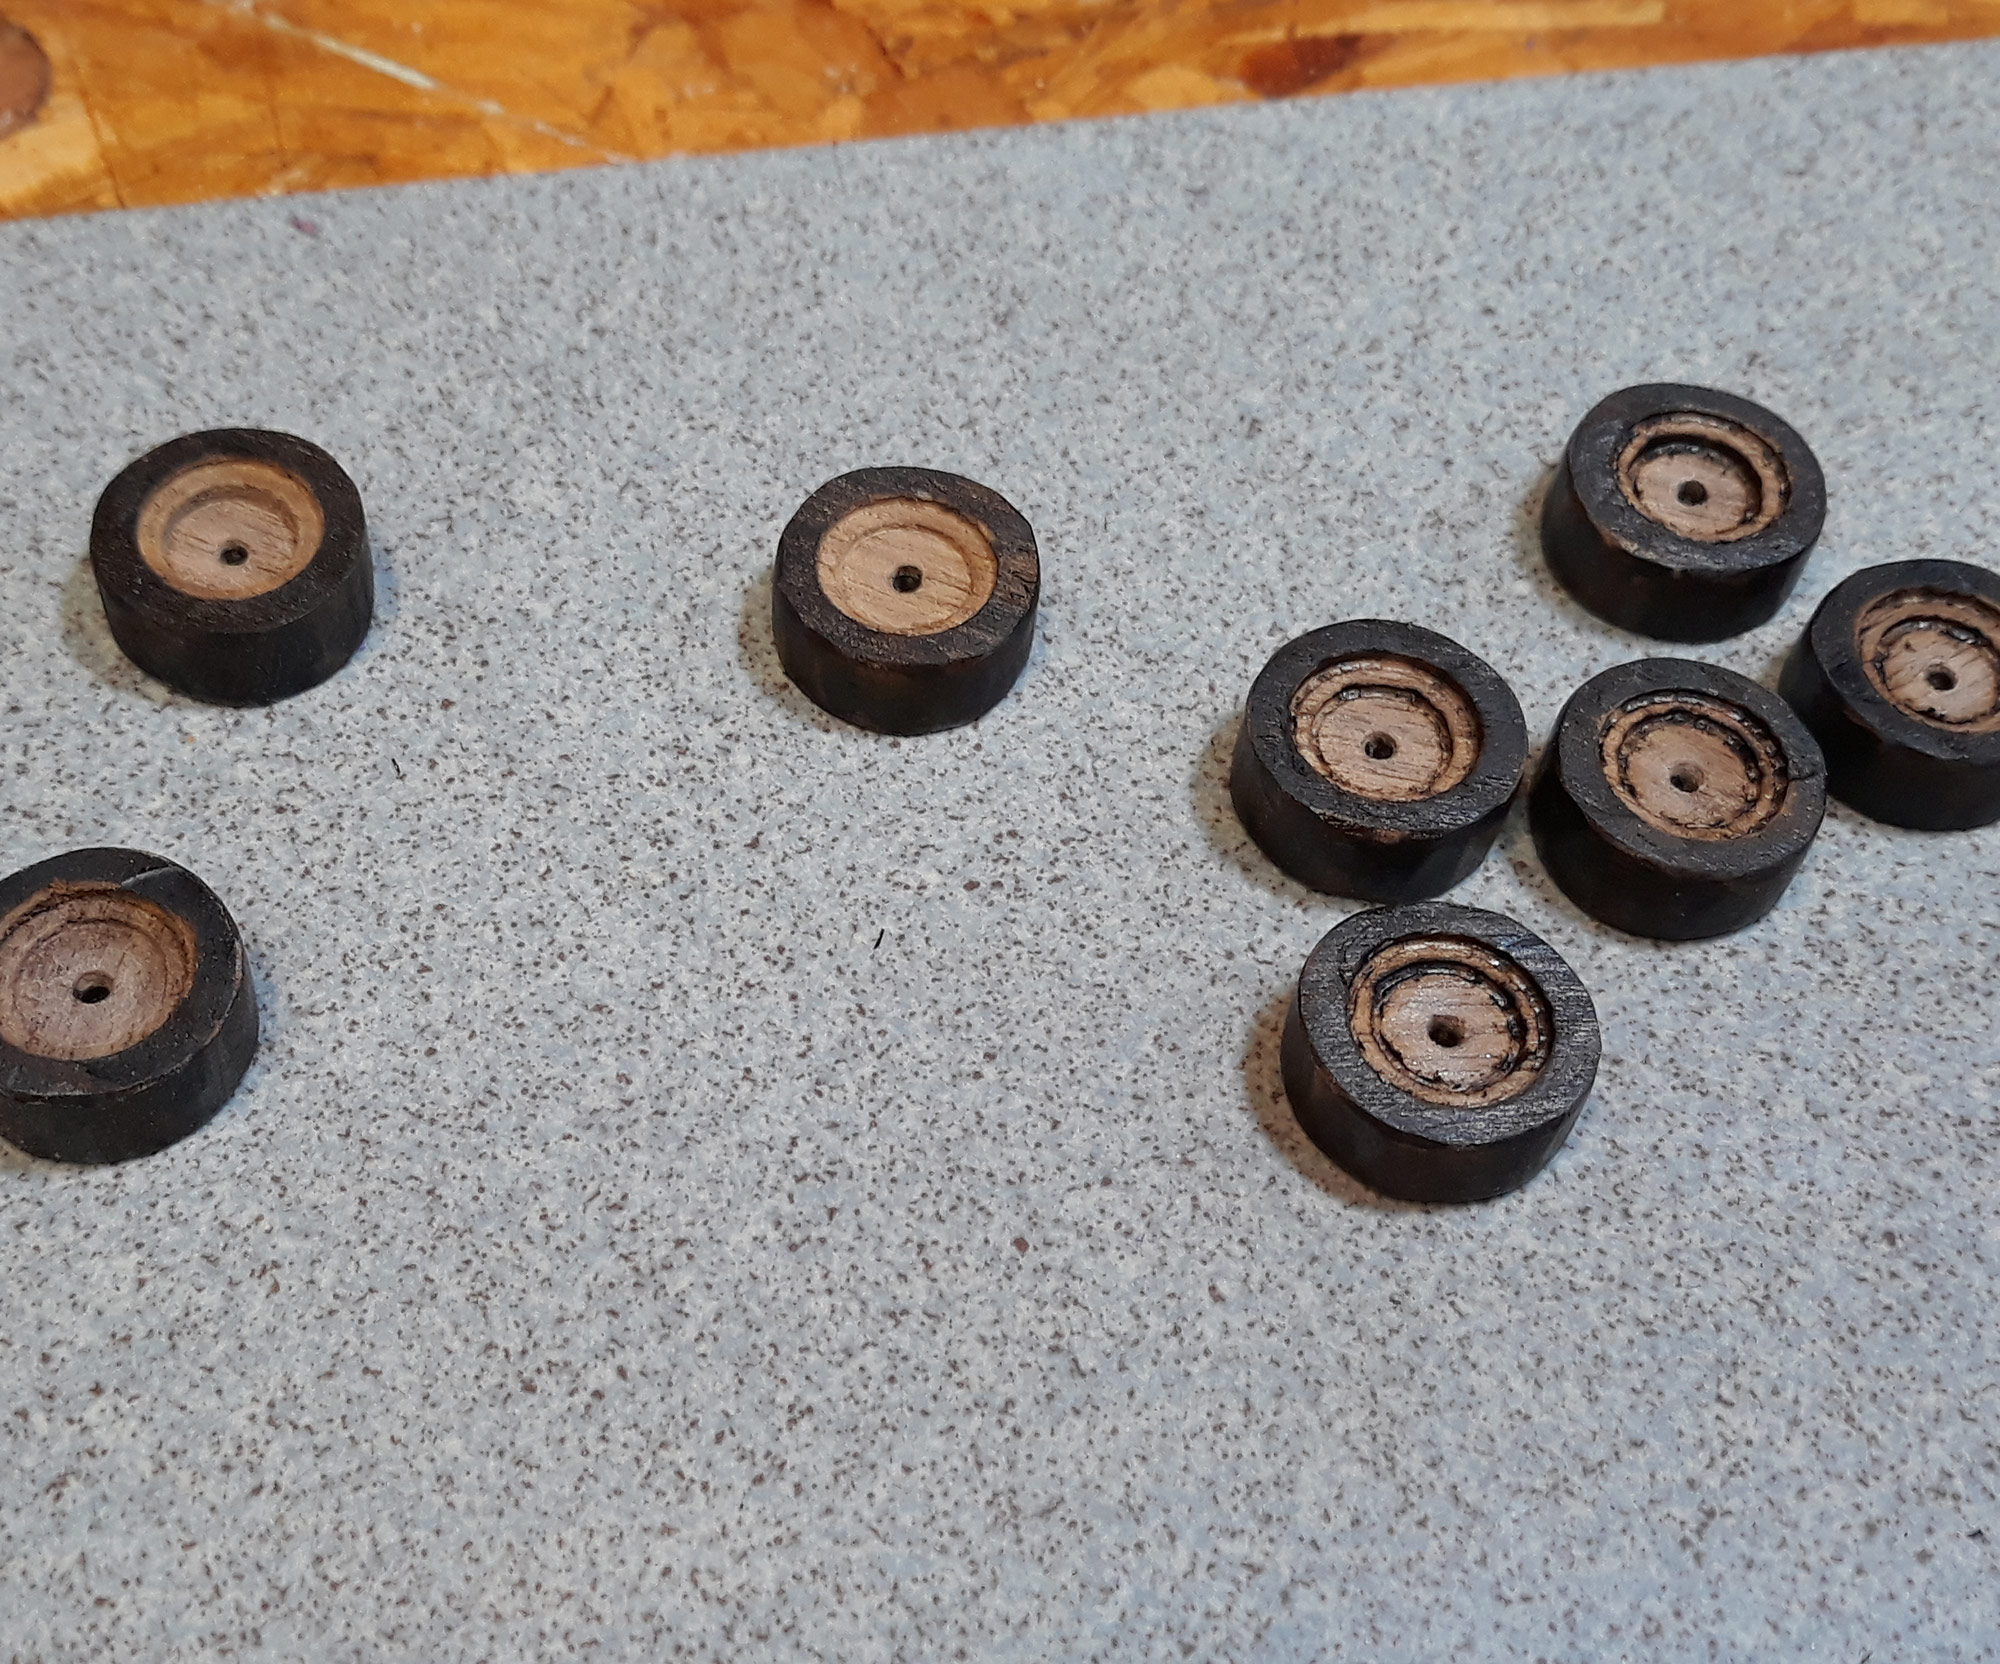
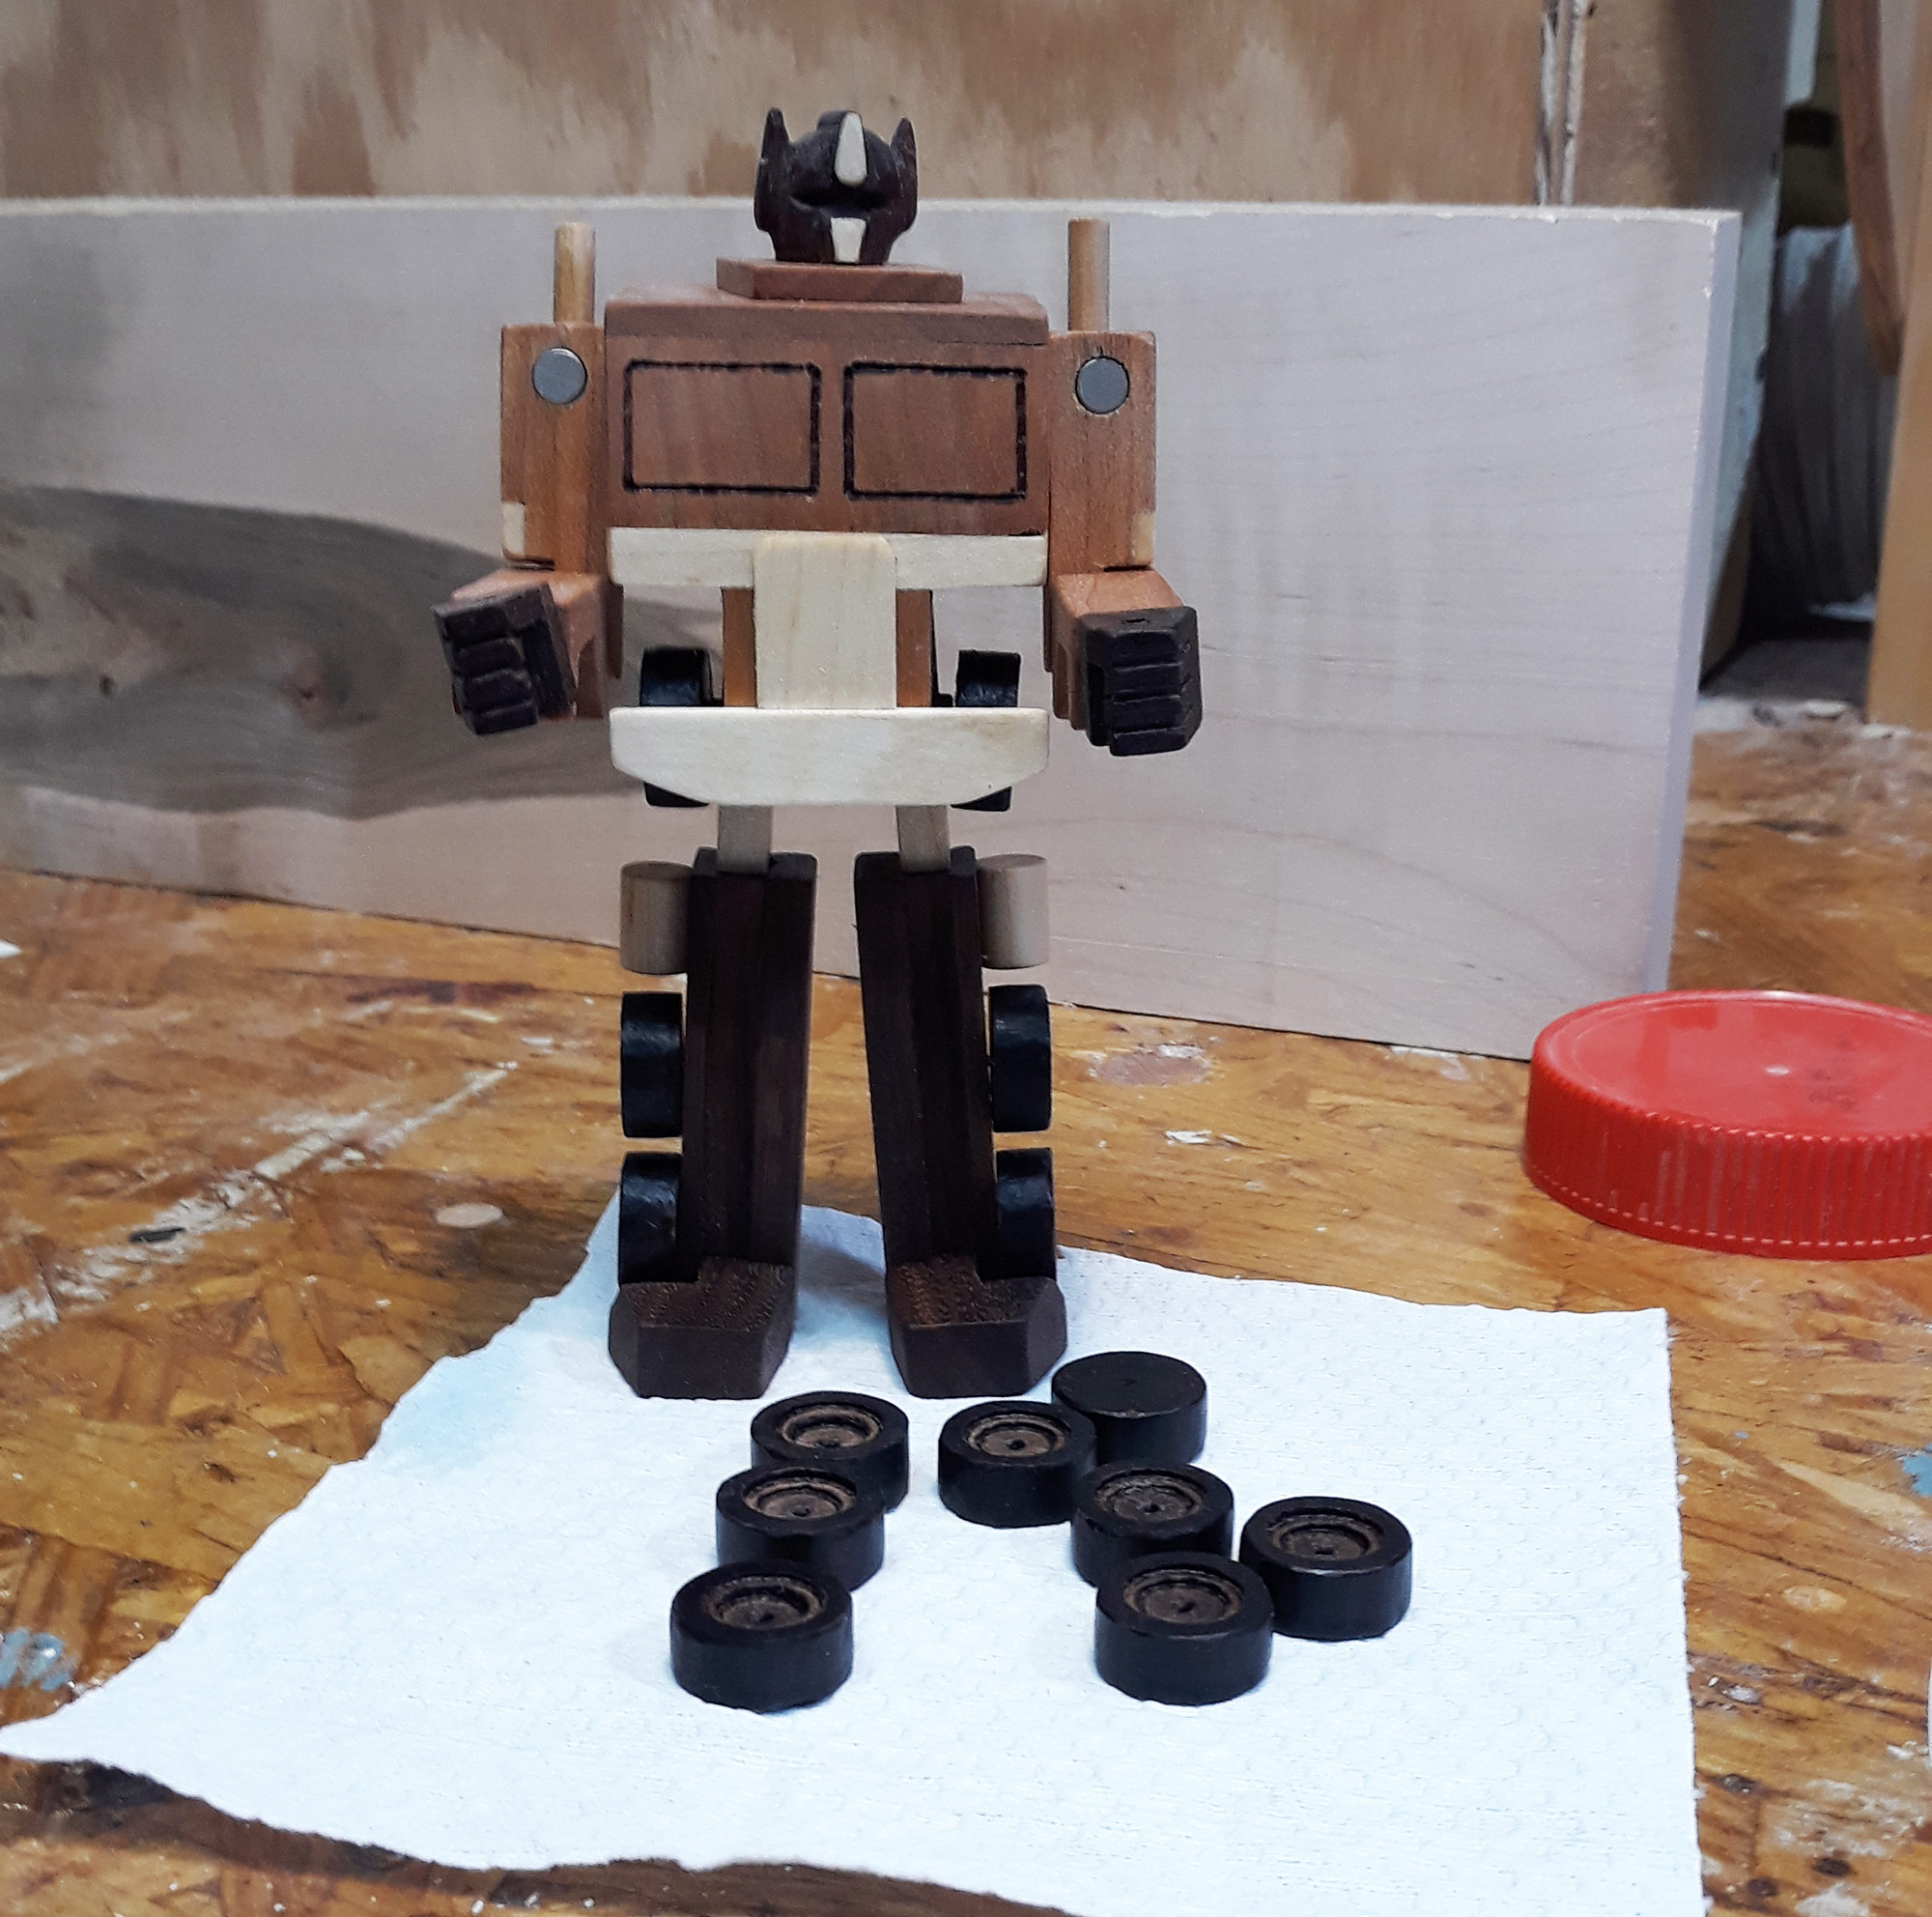
Optimus has 6 wheels, plus another 4 for a potential future trailer project, plus a few backups for safety. 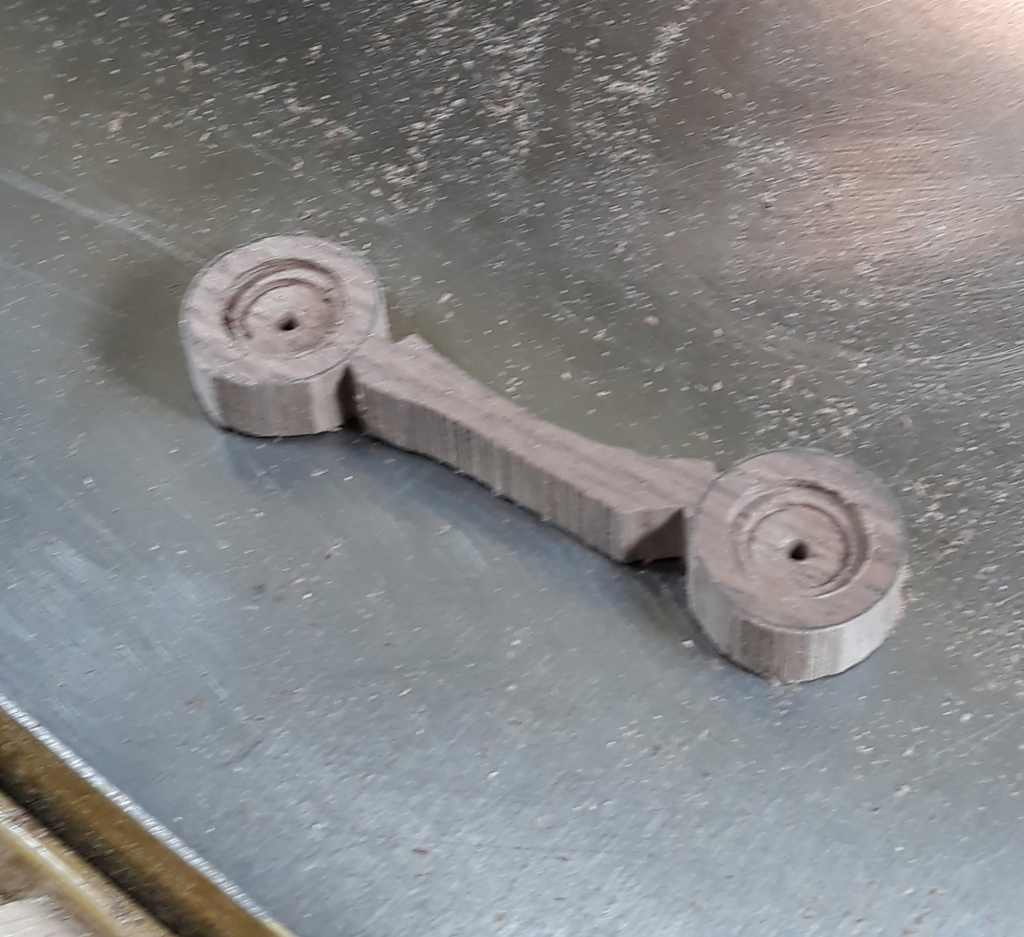
I cut as much of the wood away from the wheel as possible without completely freeing it. That way I could hold what you see in the picture on the belt sander to smoother the edges. Then I cut the wheels free and handsanded the last little nib. 
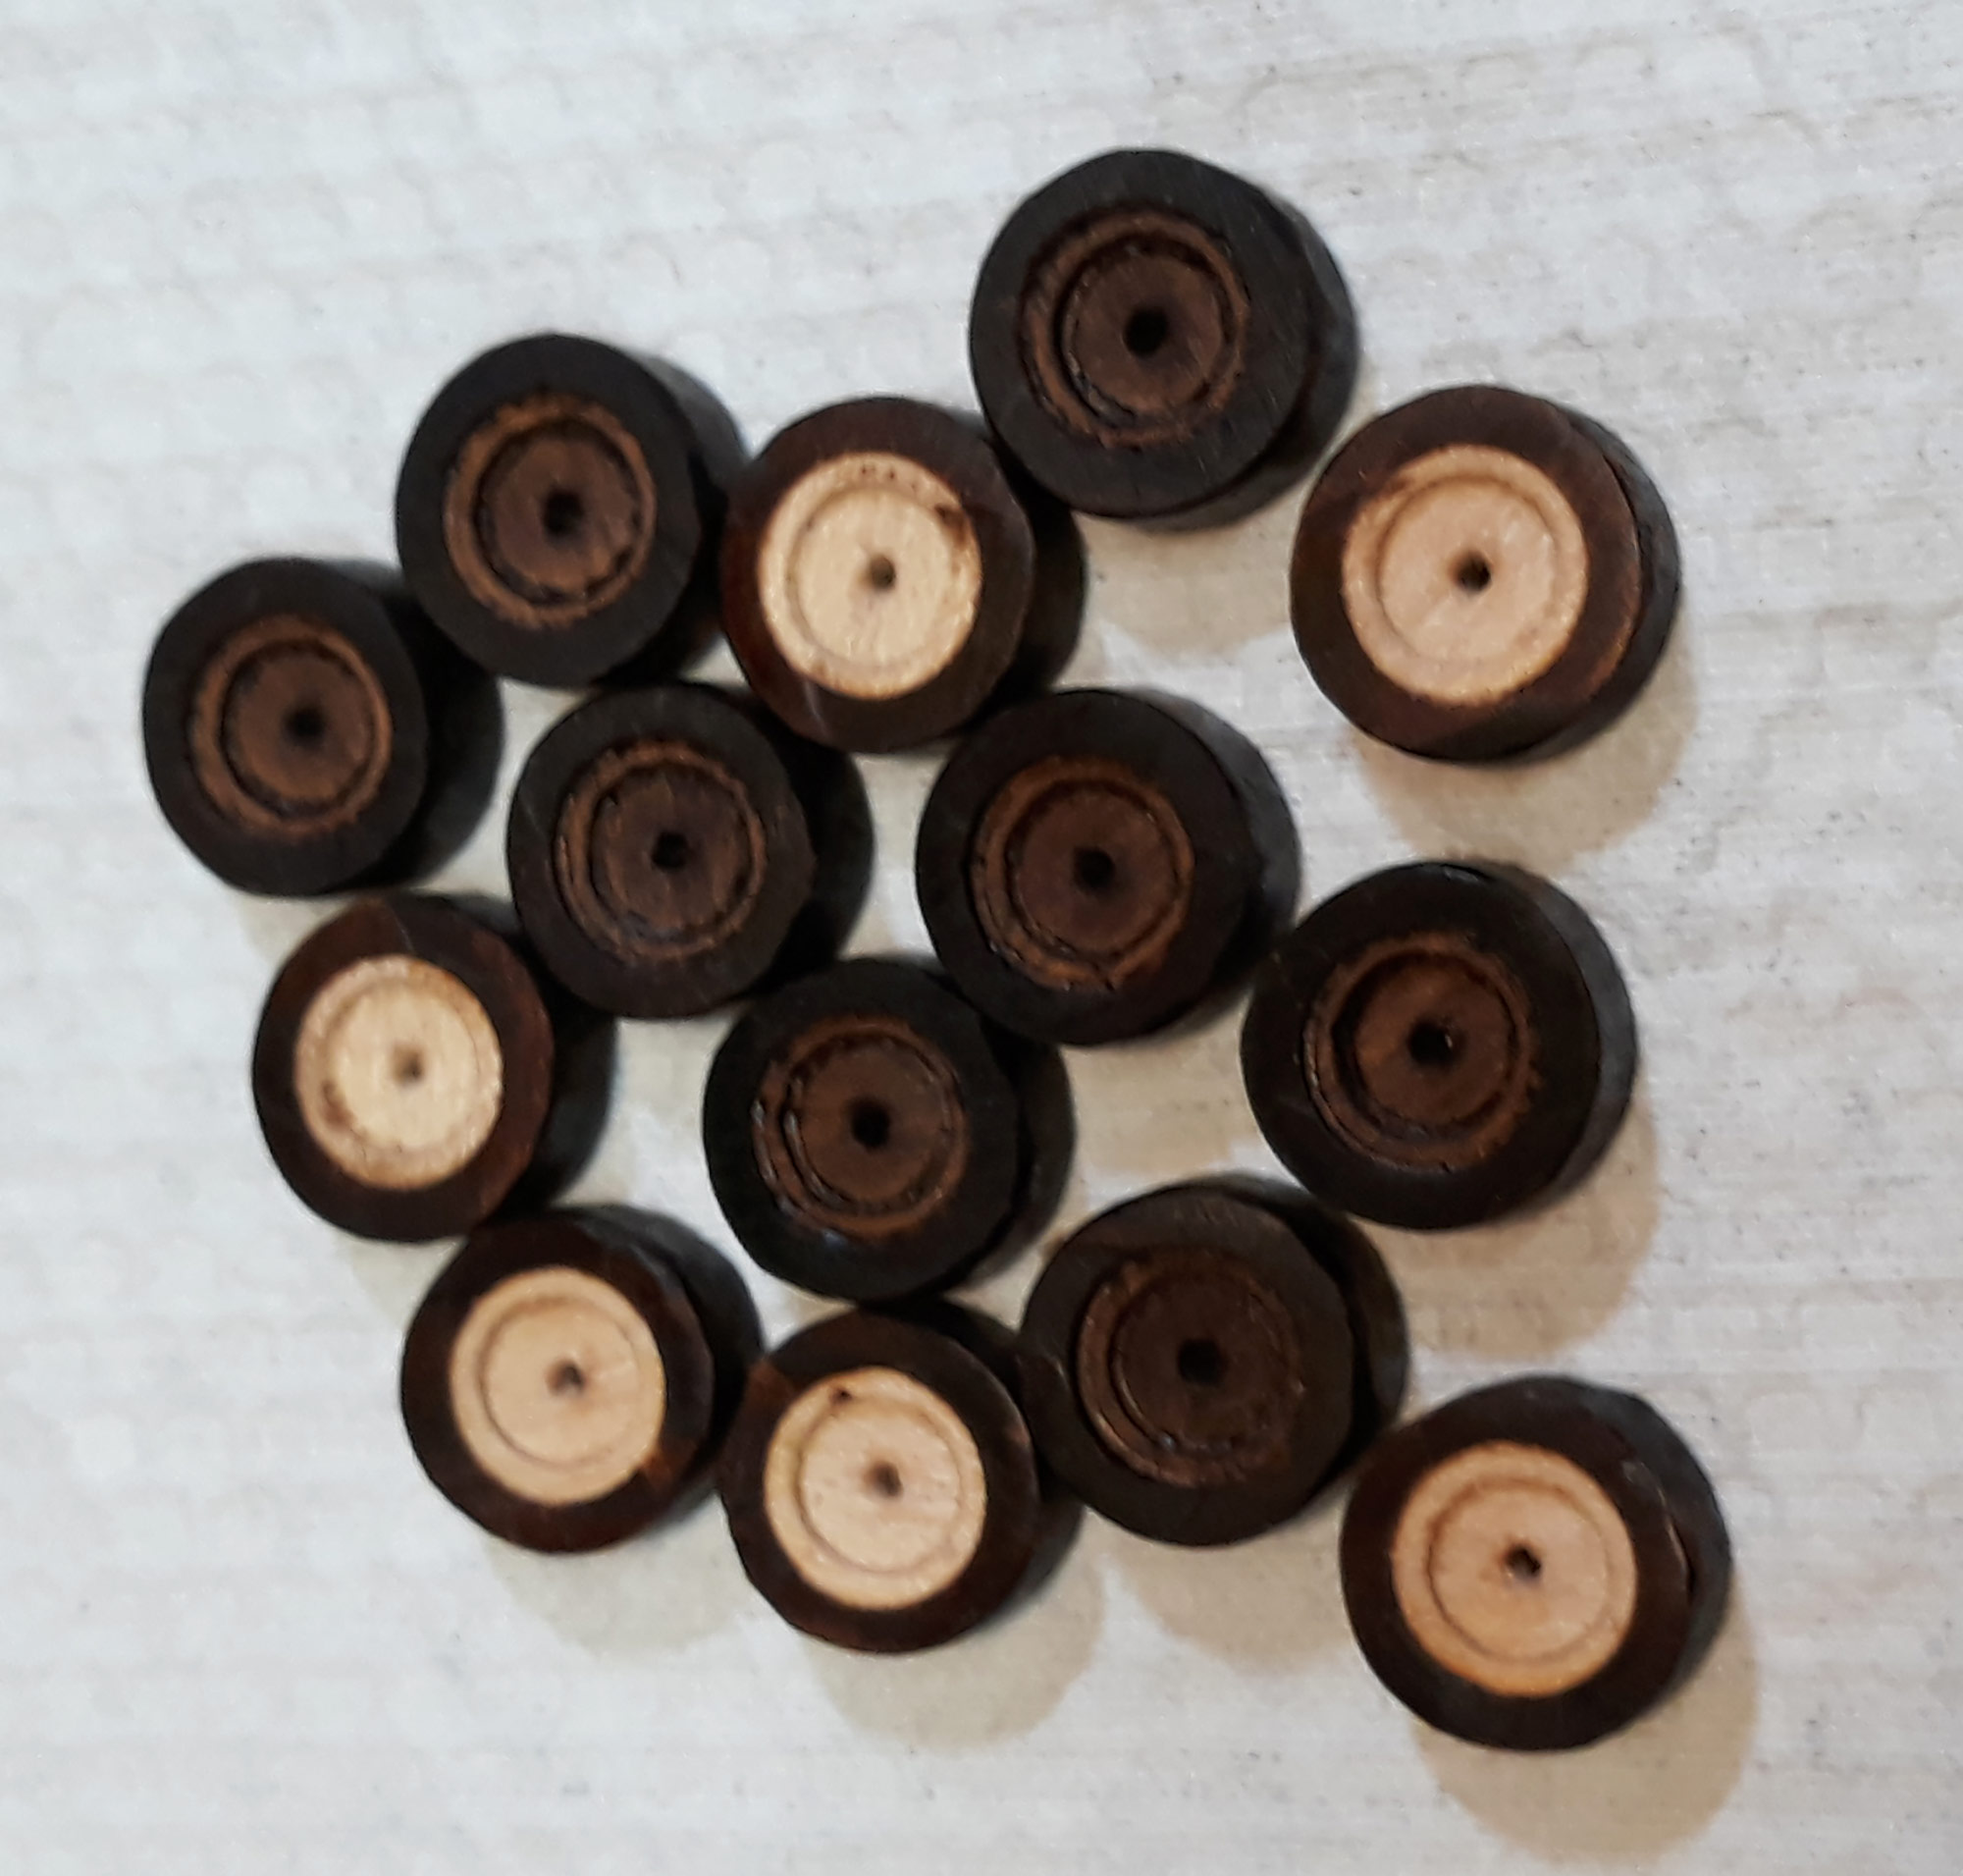
The dark of the rubber was burned on with a wood burner. The black of the tire is burnt wood. 
The wheels didn’t look quite right. I did some additional wood burning with a fine tip. The wheels on the right have the recessed edges burnt. Those on the left are the originals. 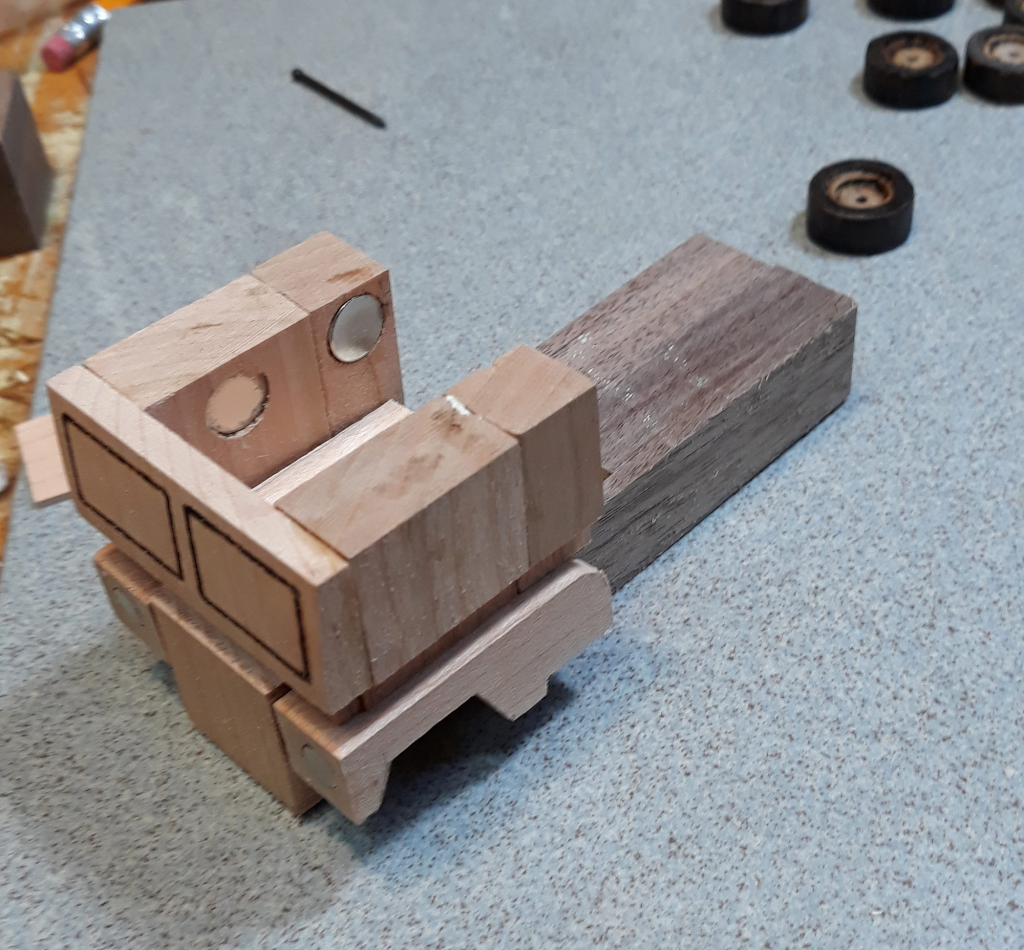
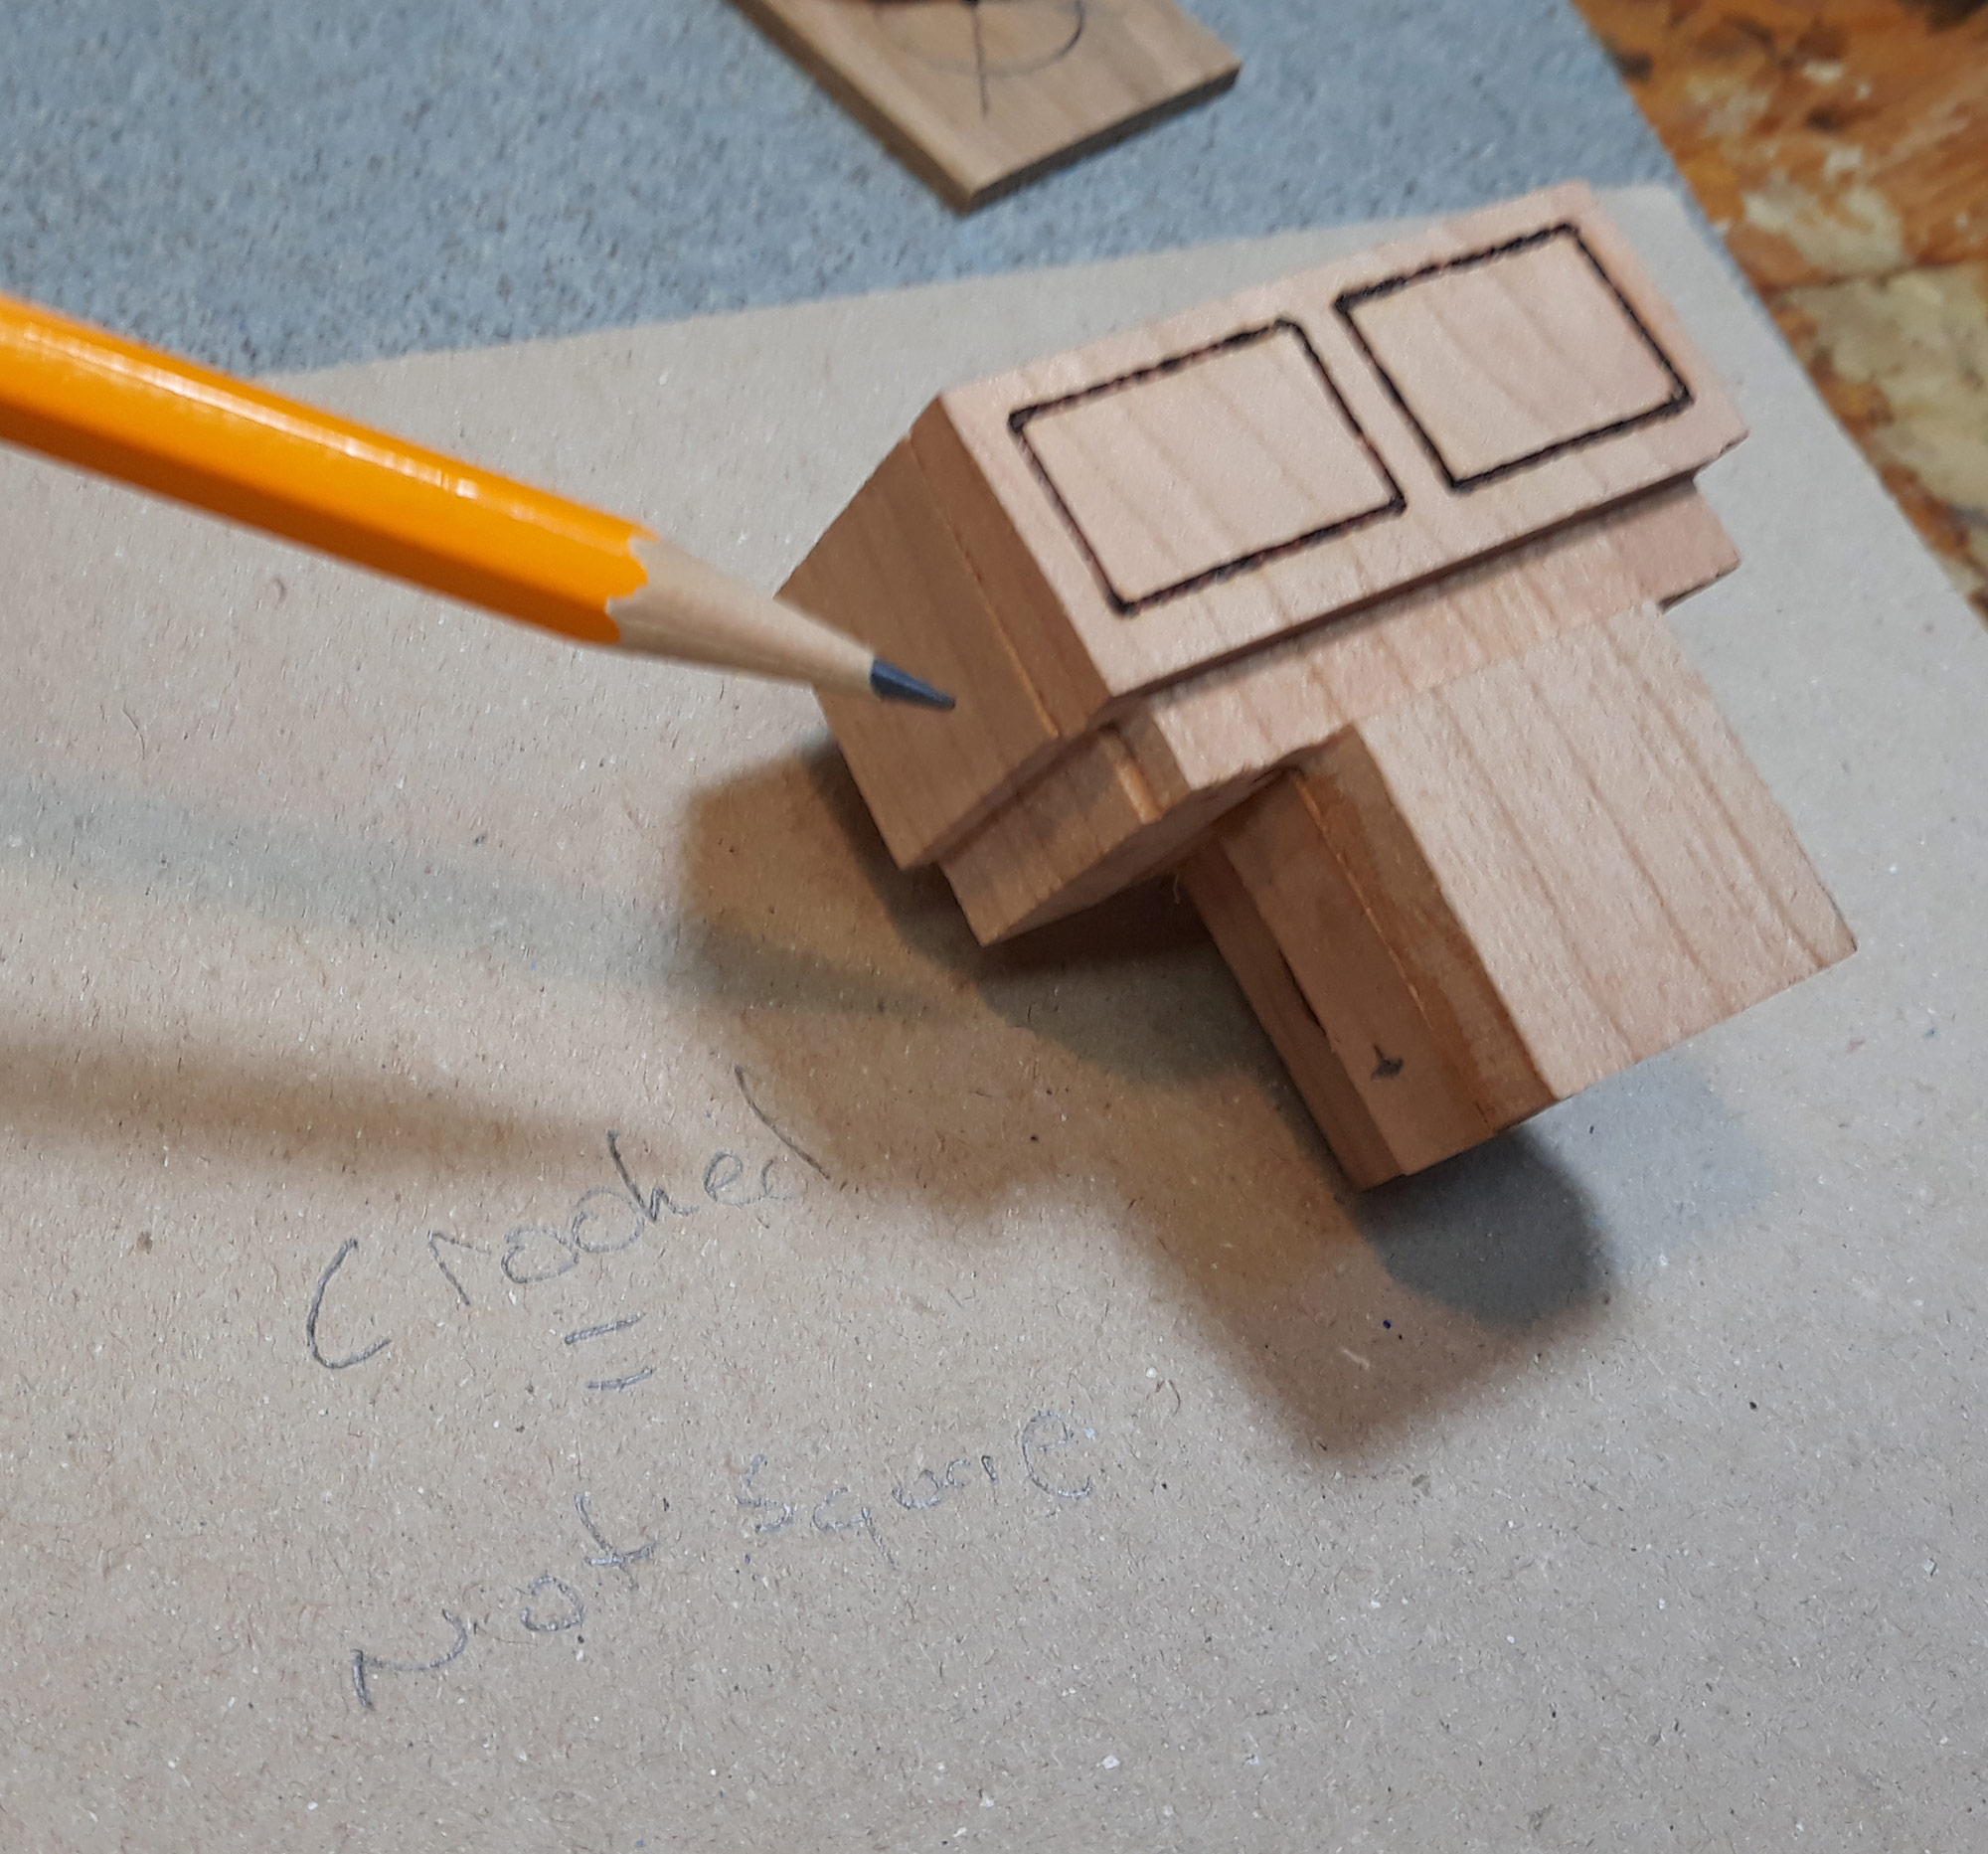
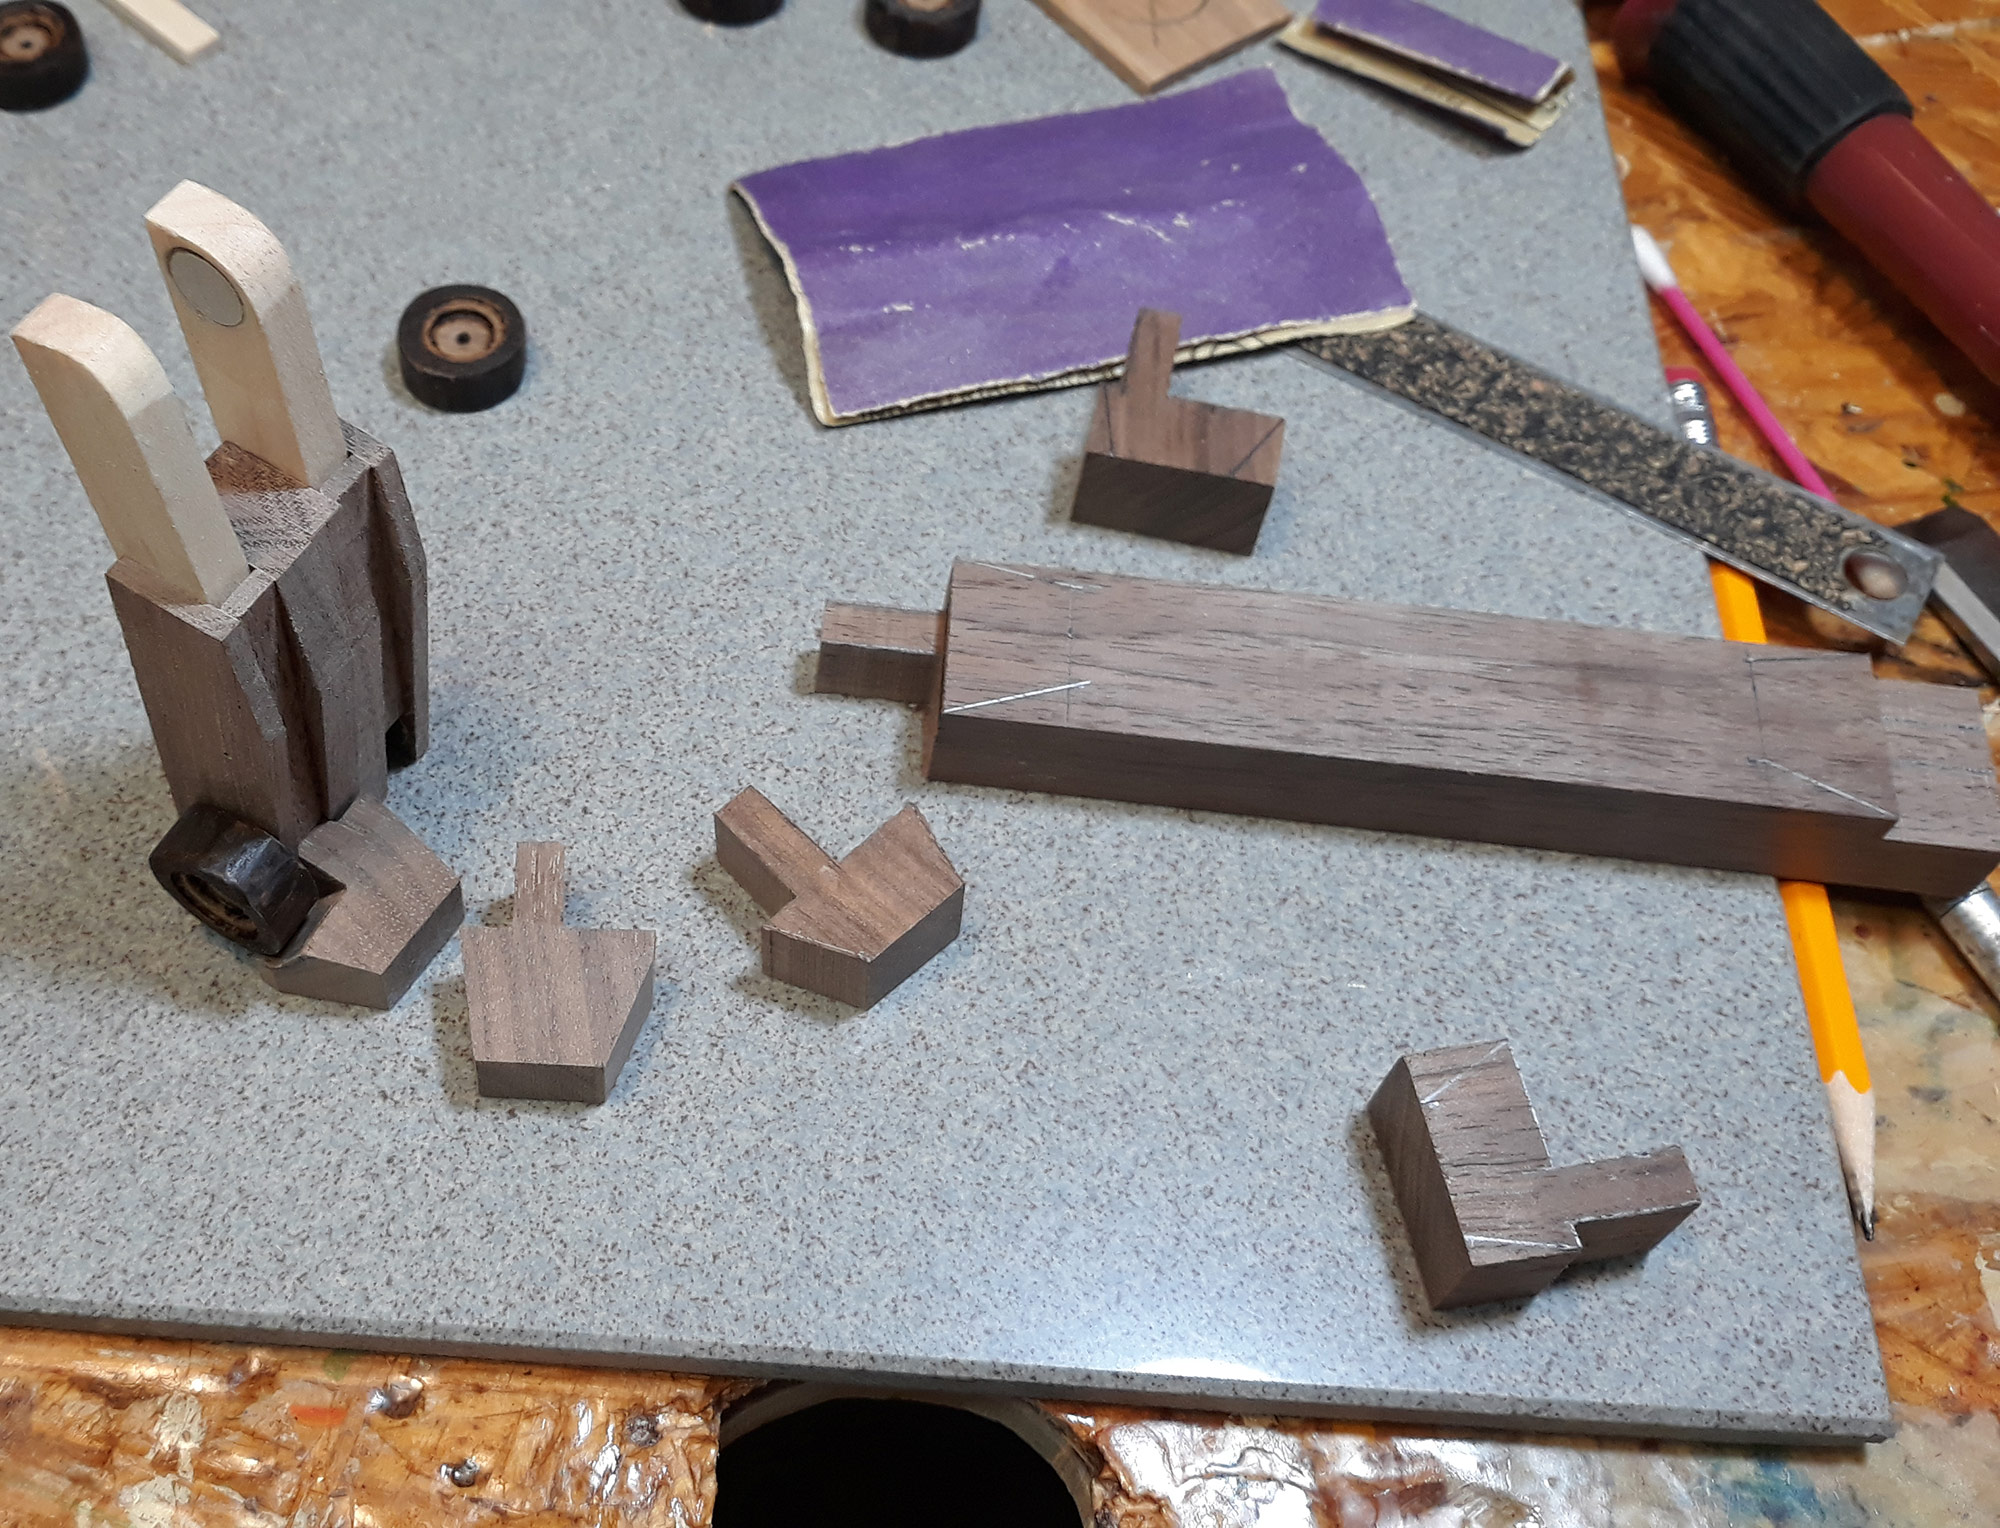
Oh what fun! After much labor I was finally able to get a peek of the finished product. And I discovered that during the gluing the front had shifted slightly that created some more fine tuning. 
Crooked = Not Square. Ugh. That little bit of shift during the gluing resulted in hours of careful chiseling and sanding. Well, every mistake is a learning opportunity! 
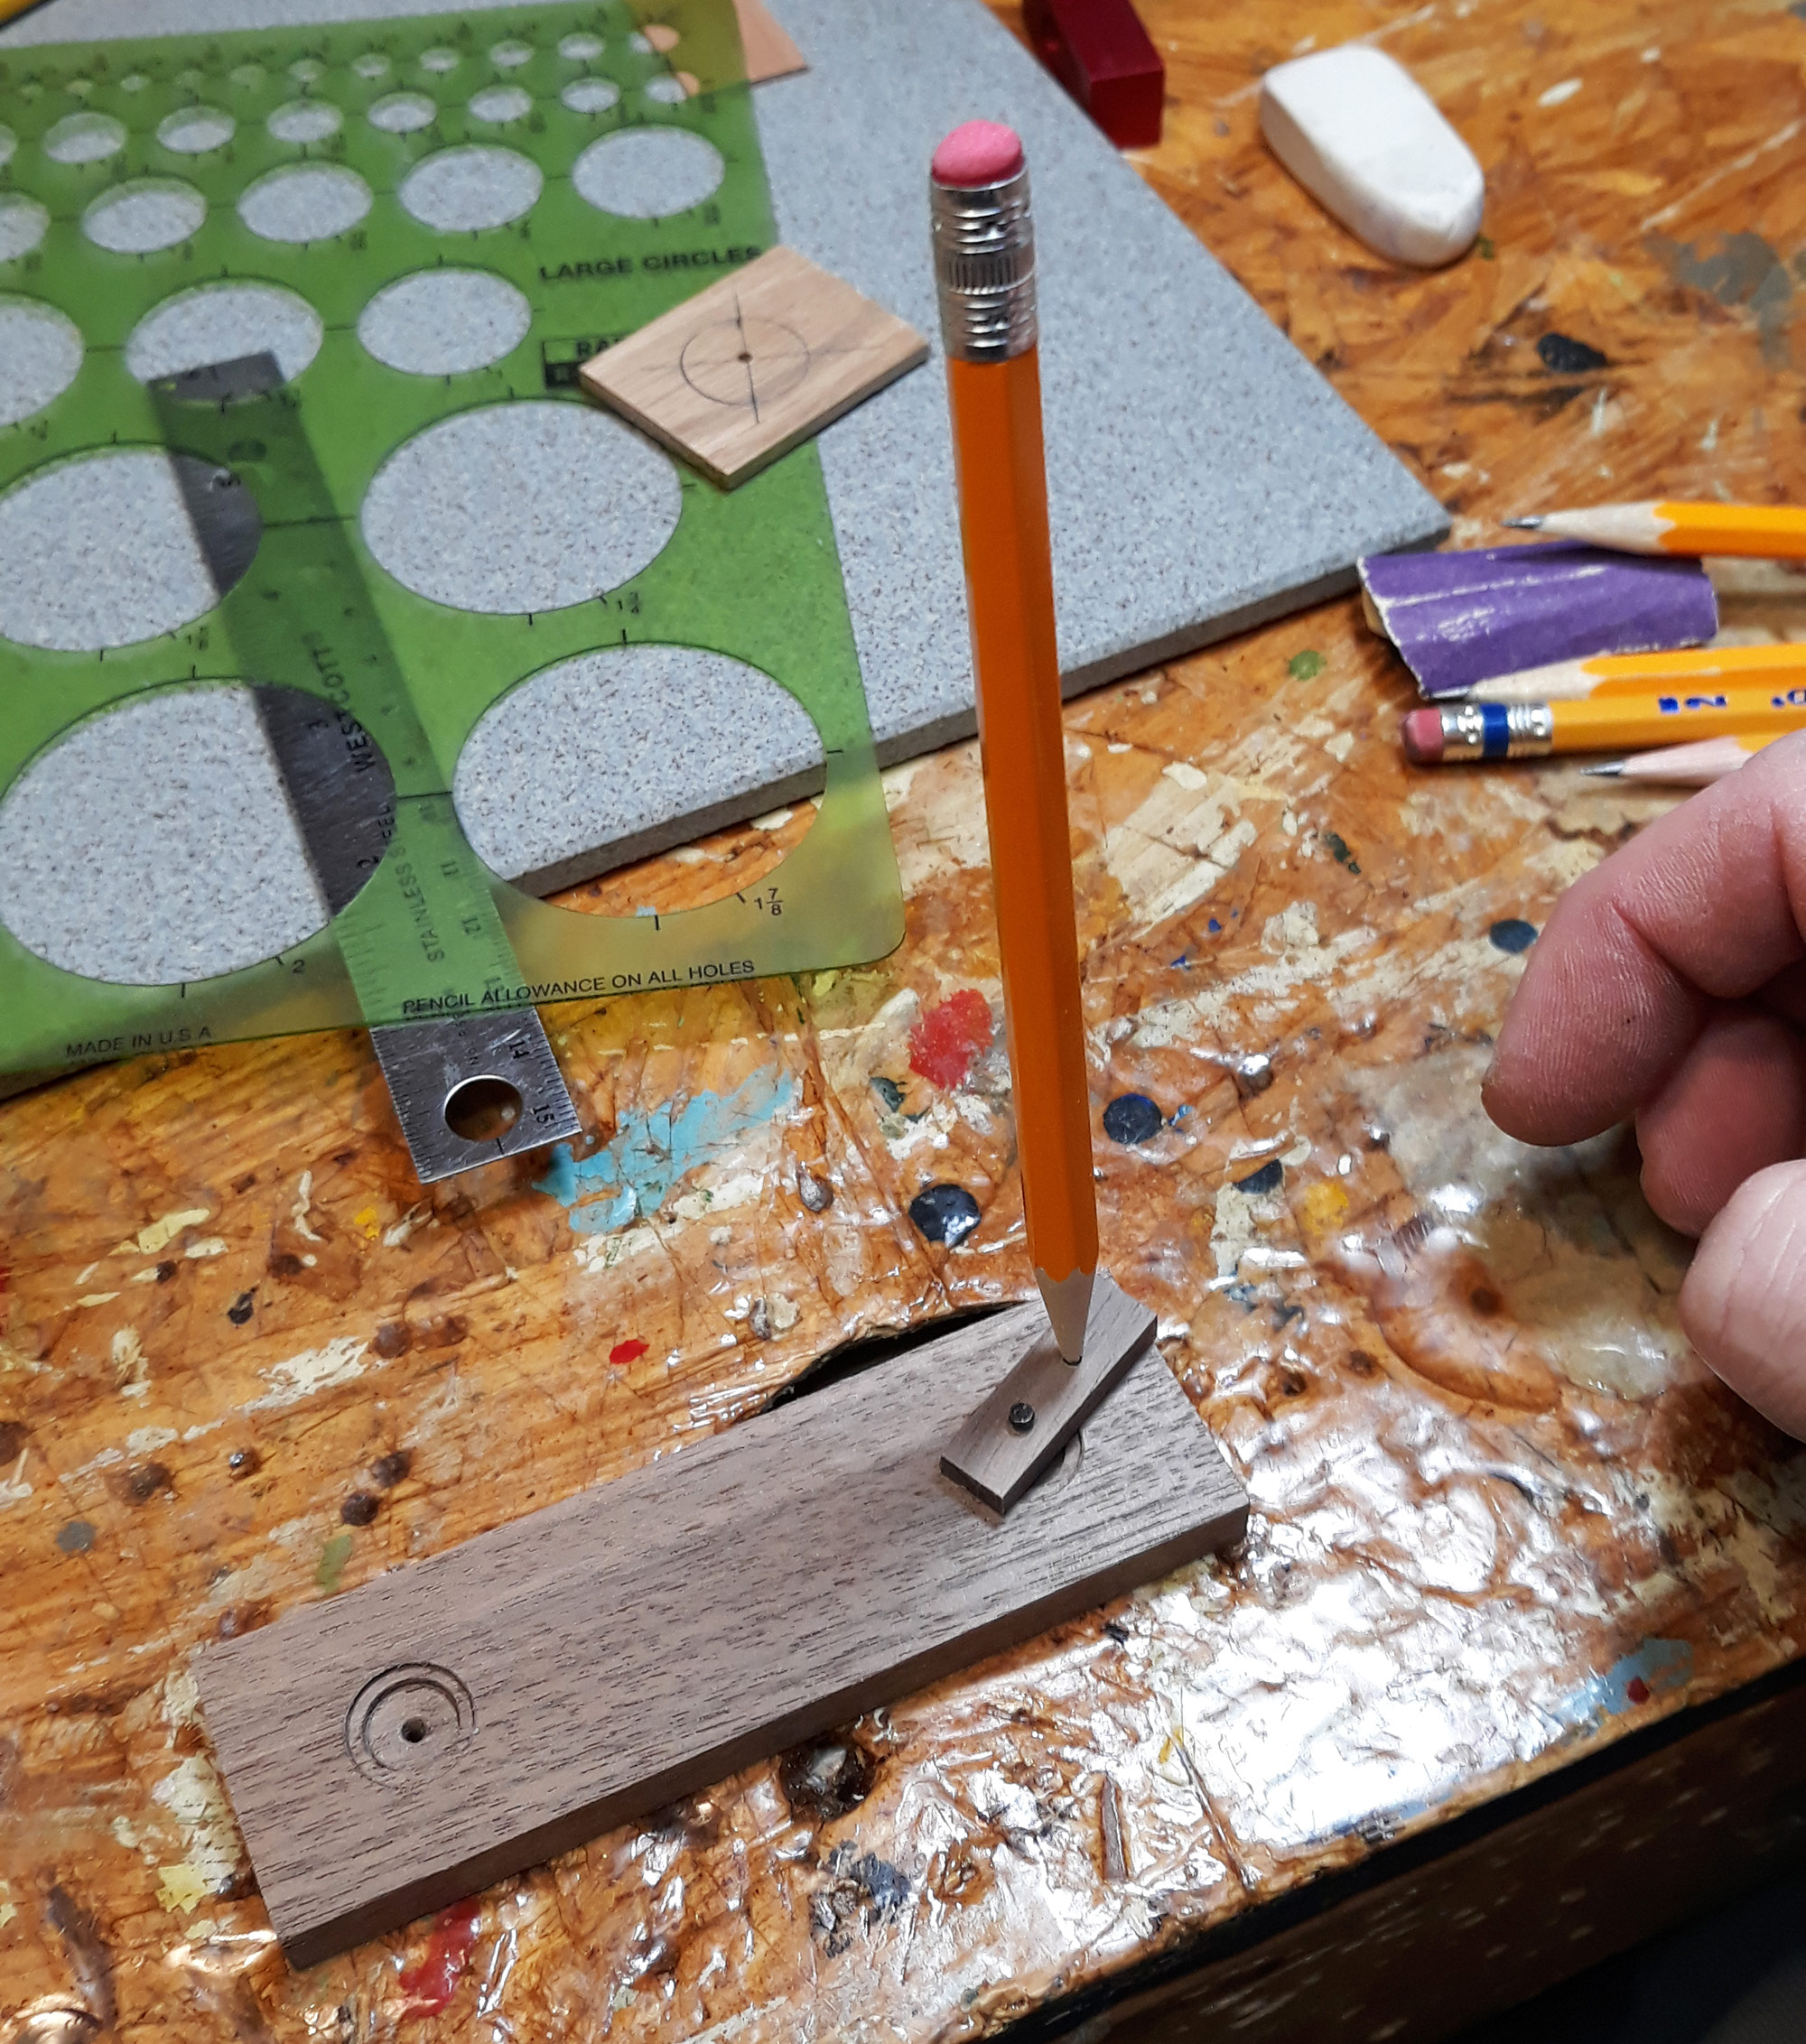
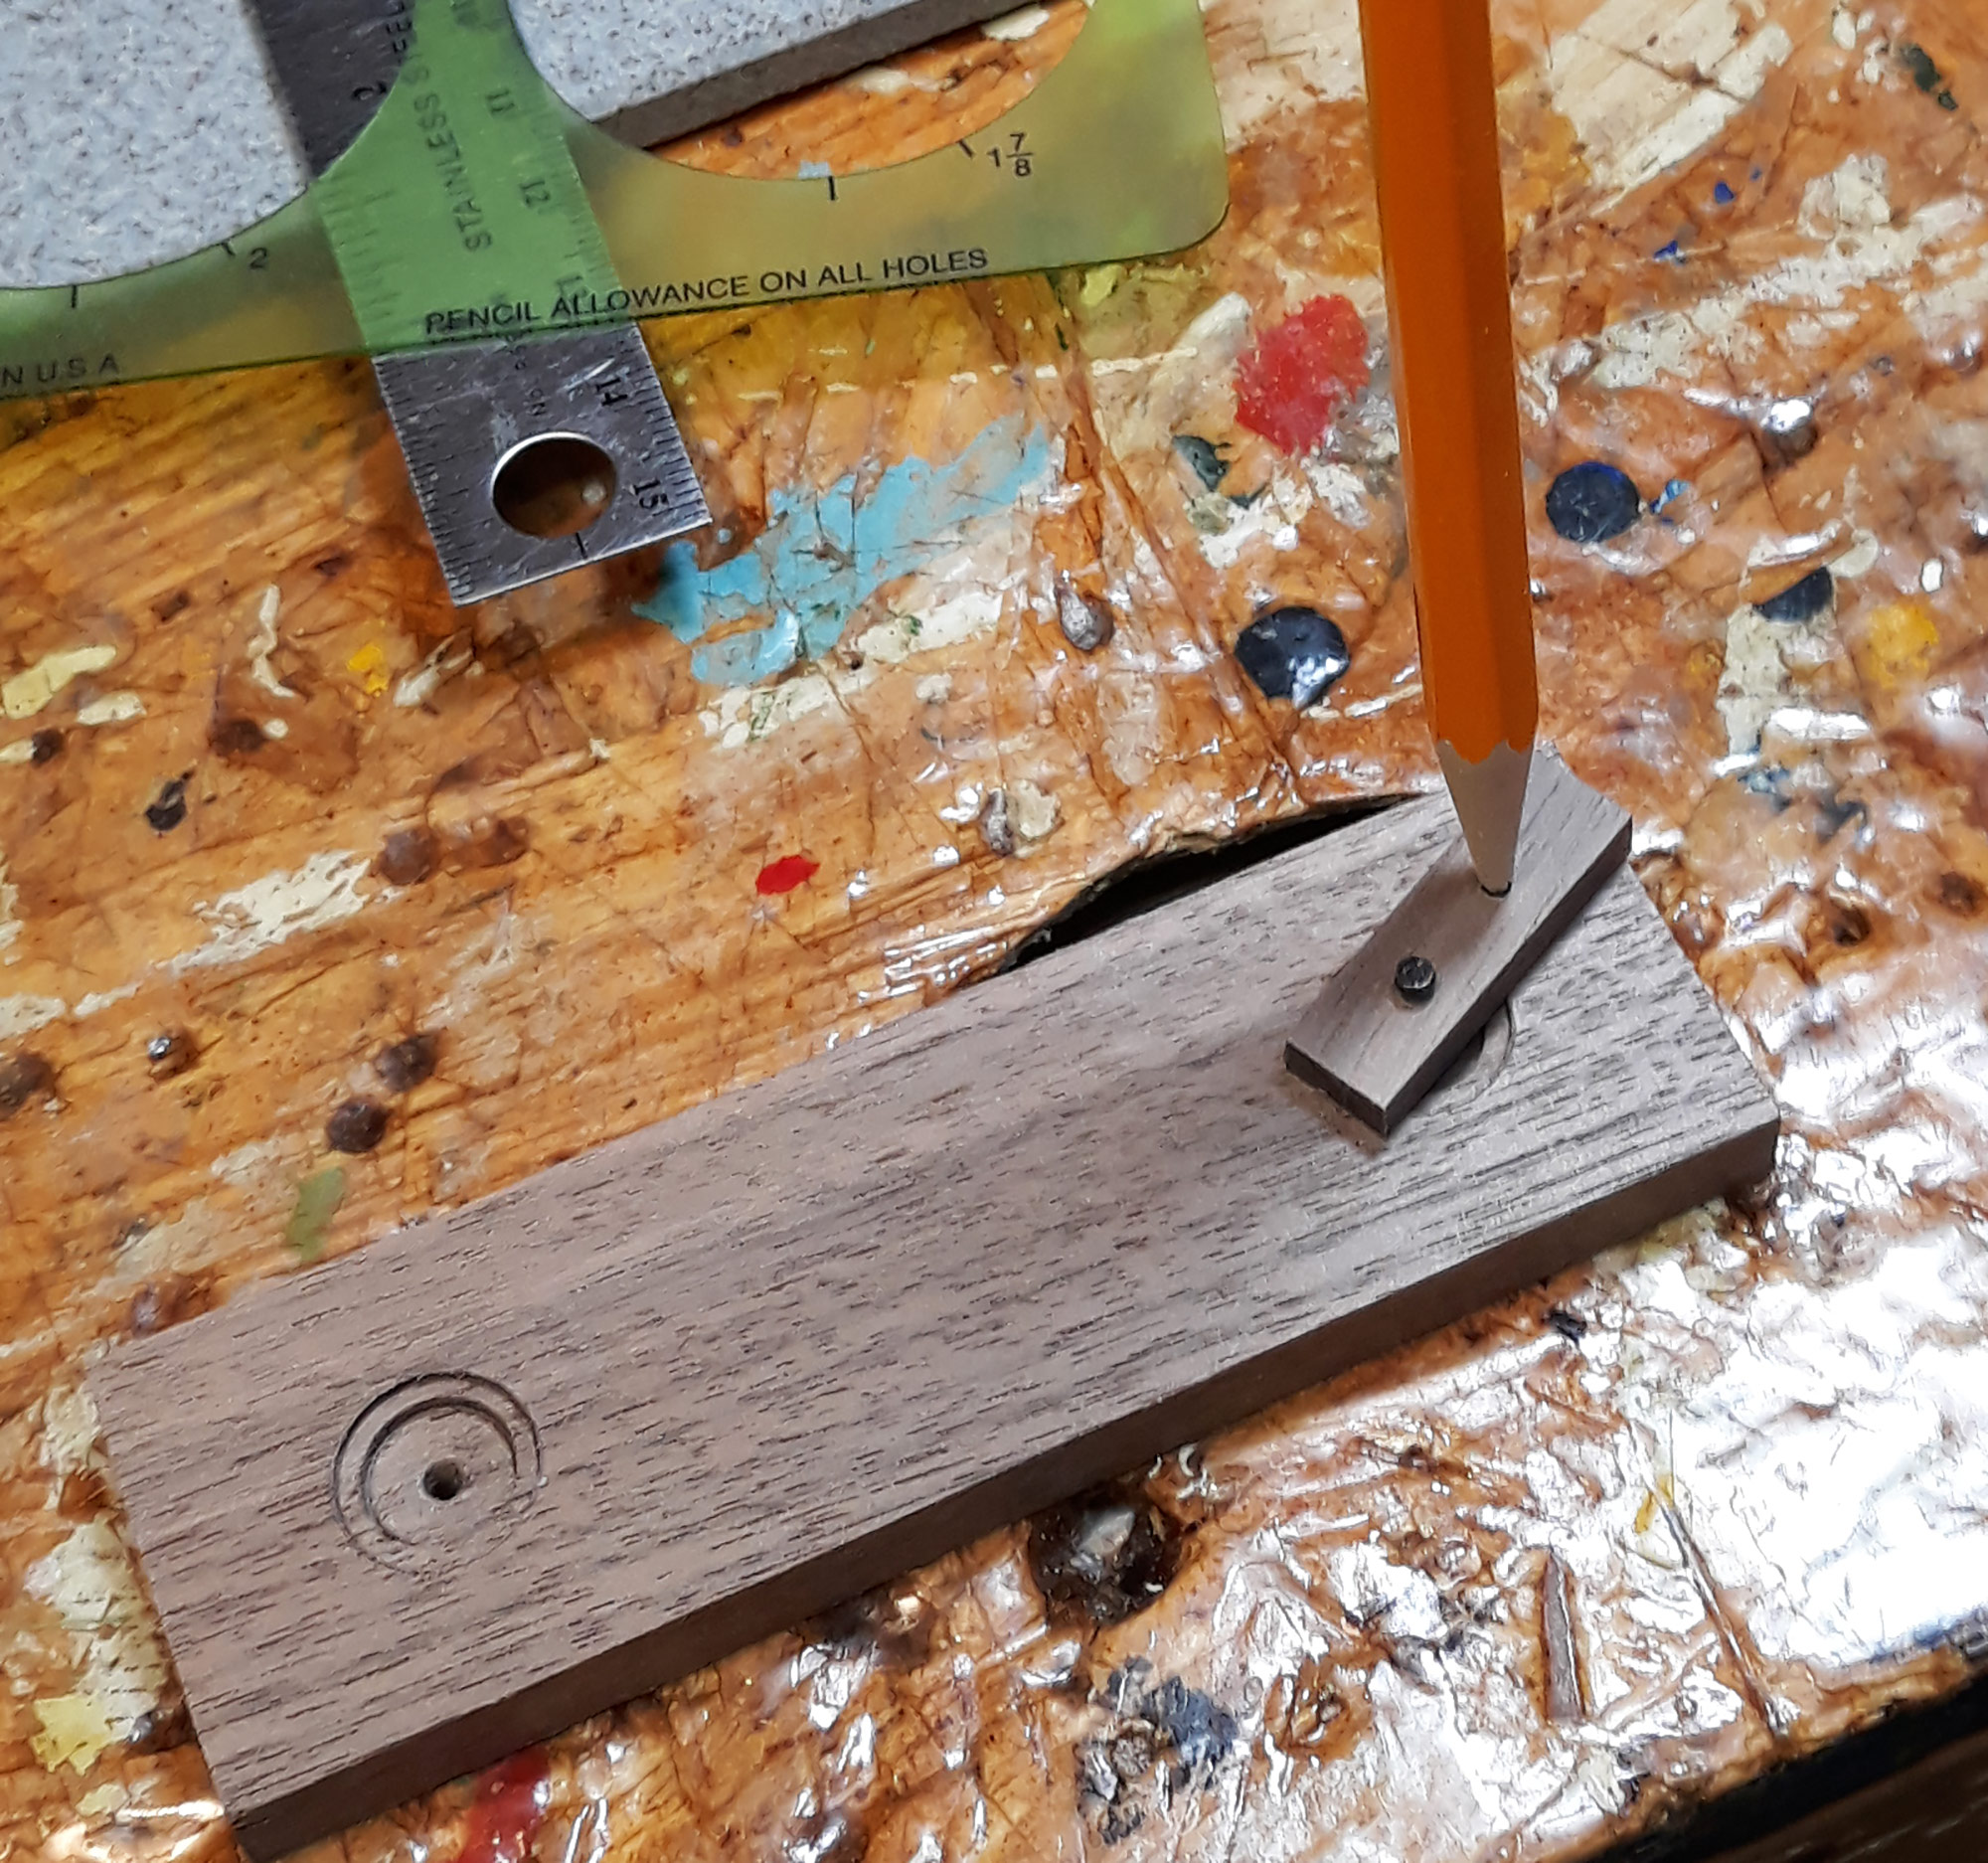
The pencil highlights the problem area. 
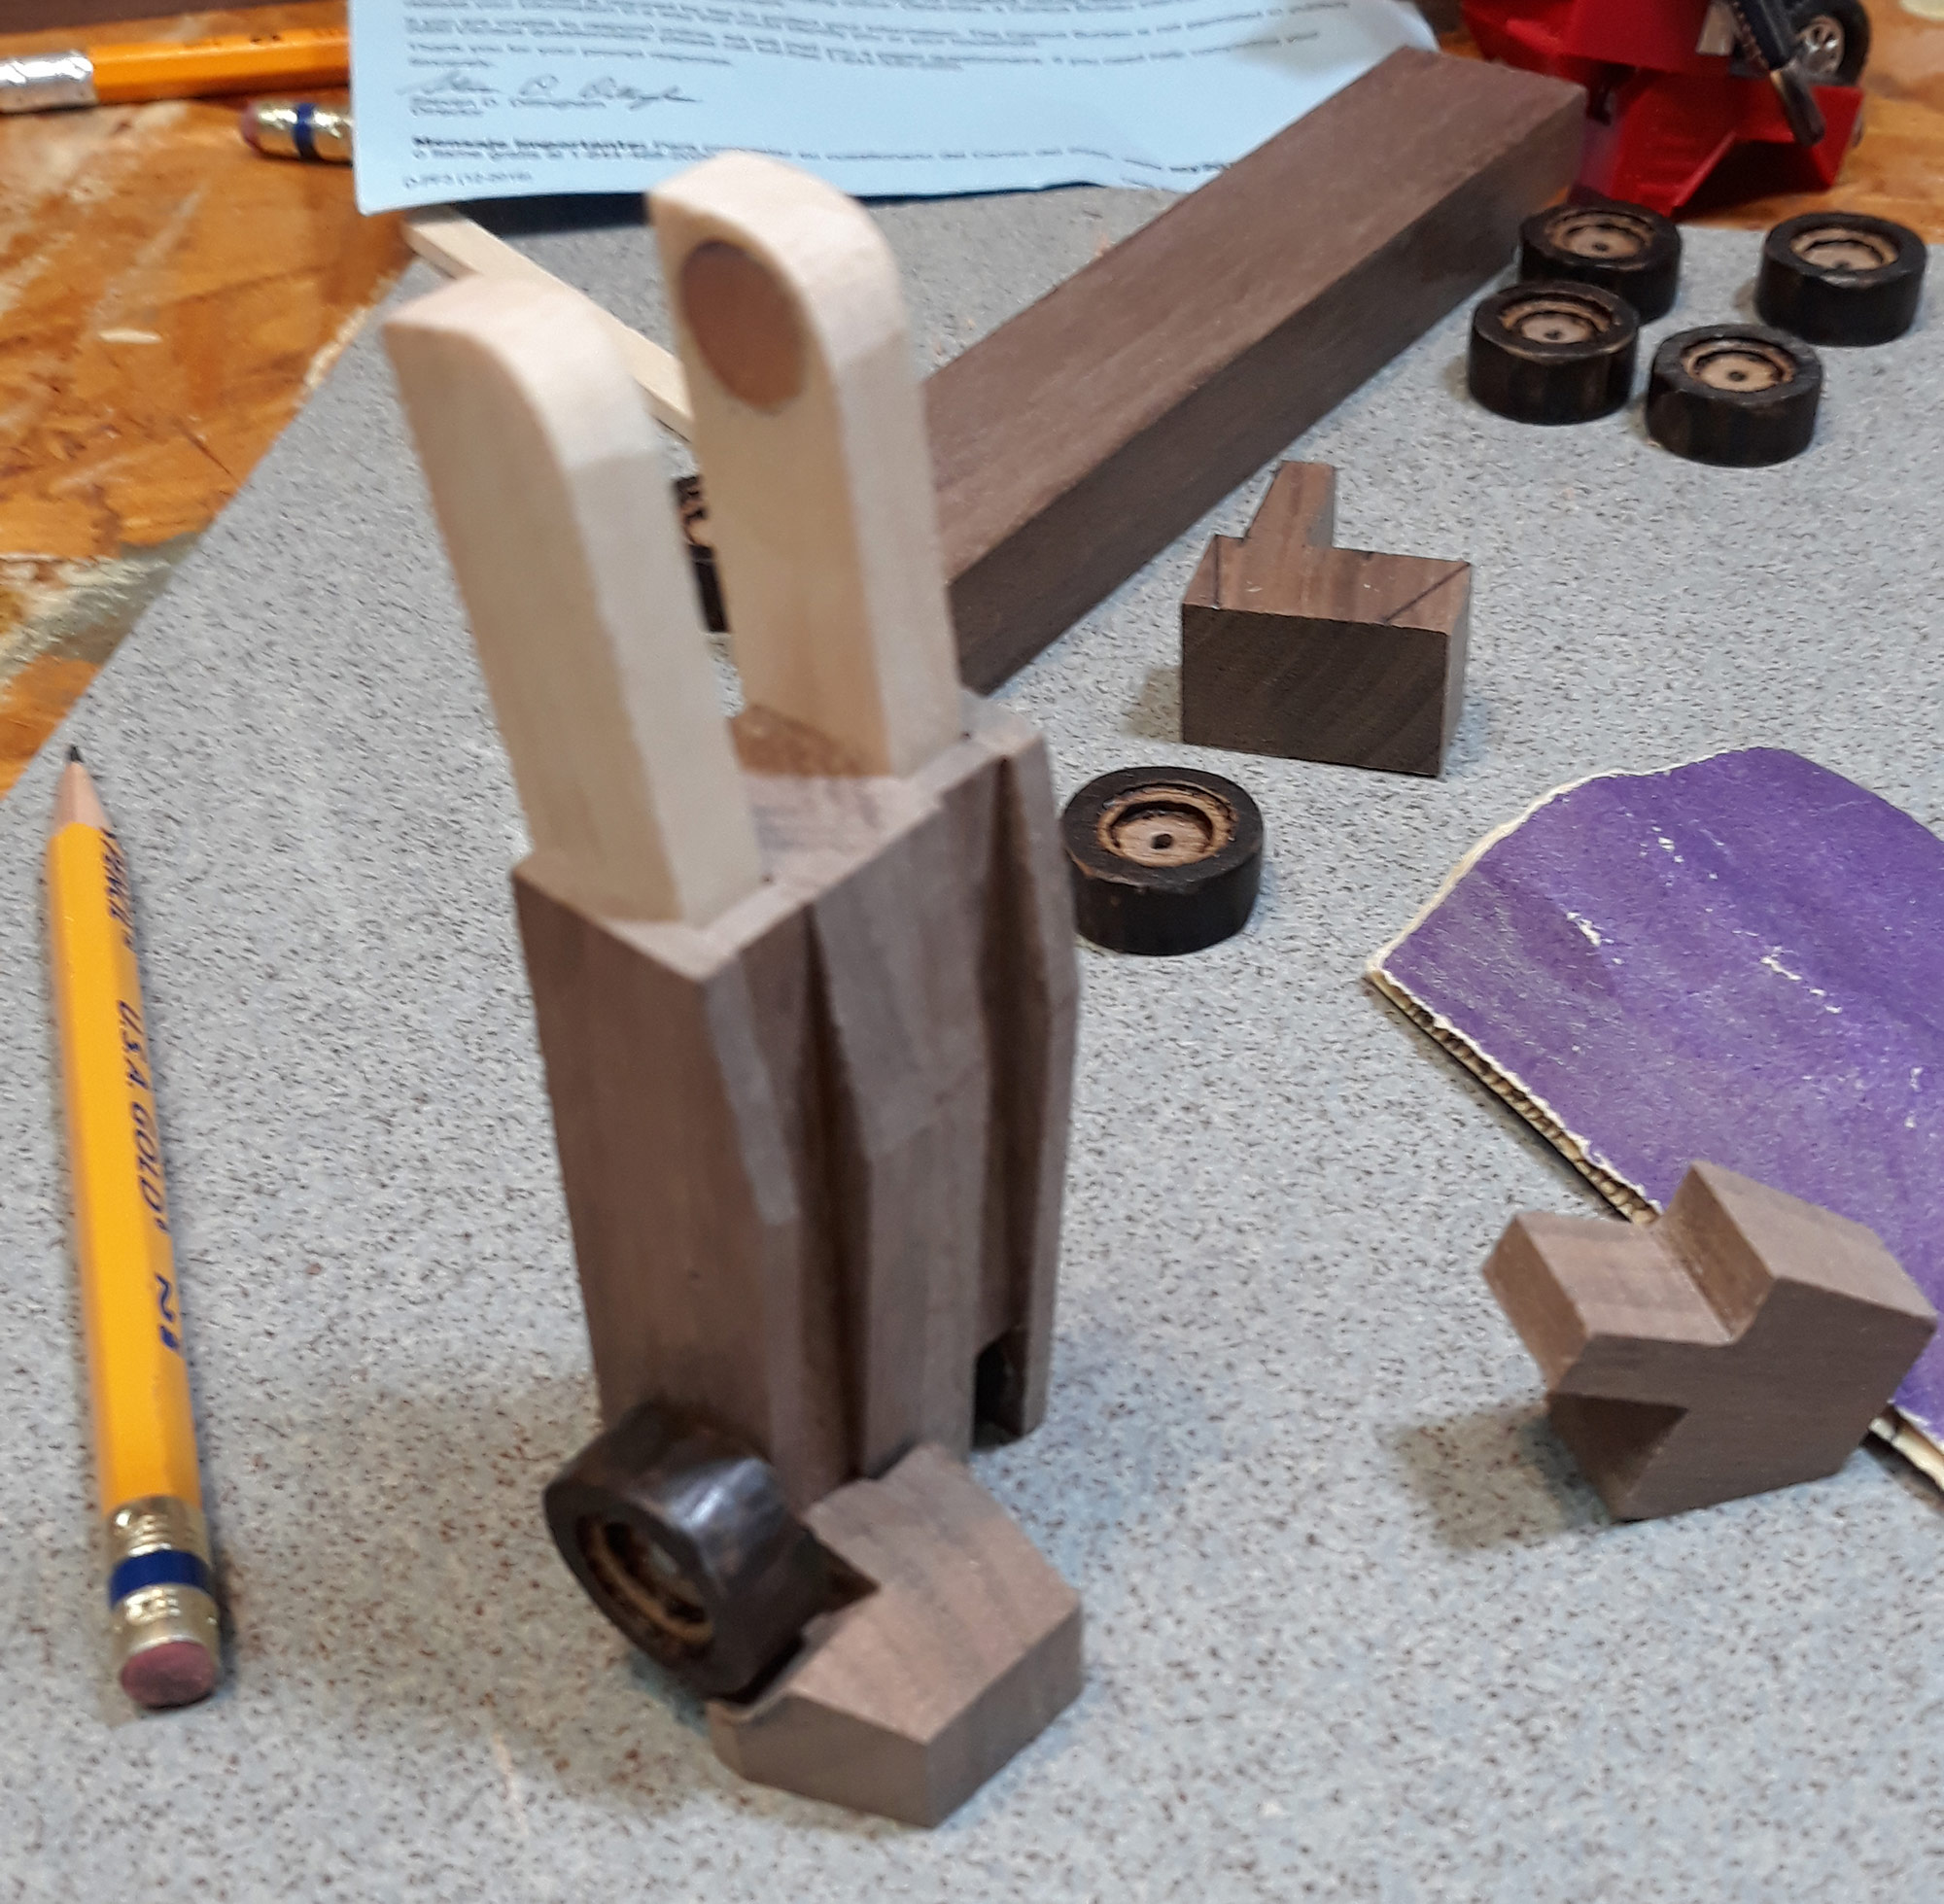
Boy oh boy! I did not know how much trouble the feet would be! I didn’t put them together in the computer model and did I regret it! 
It took three iterations to get a foot that that fit both the truck and robot. 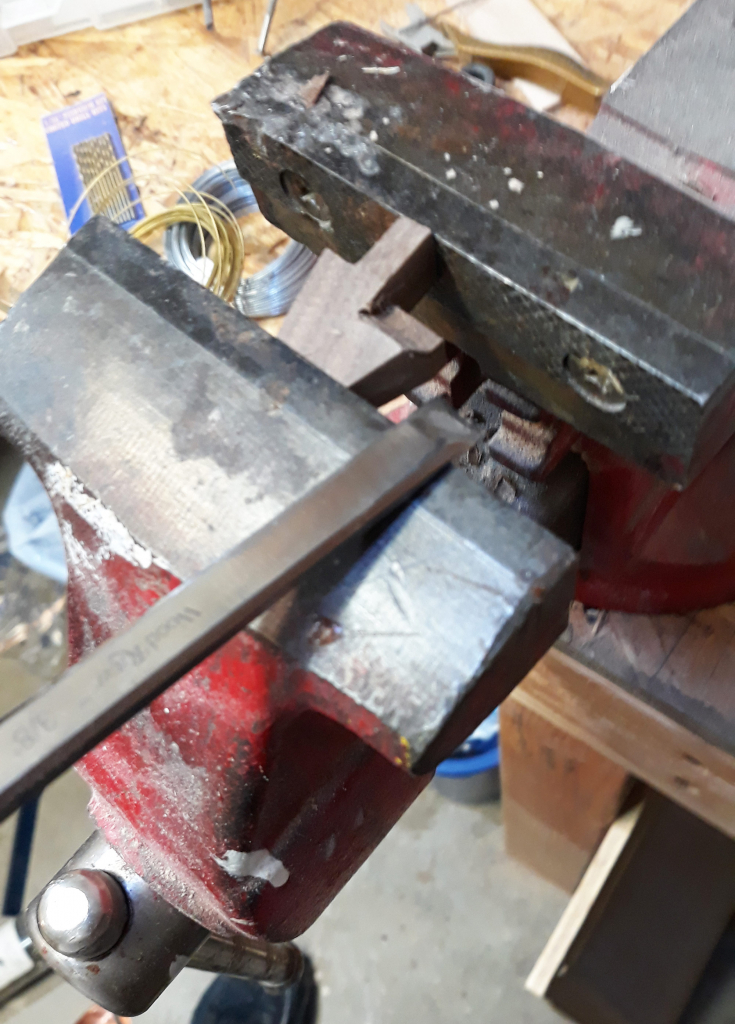
The scoop in the foot that accommodates the tire was chiseled out. 
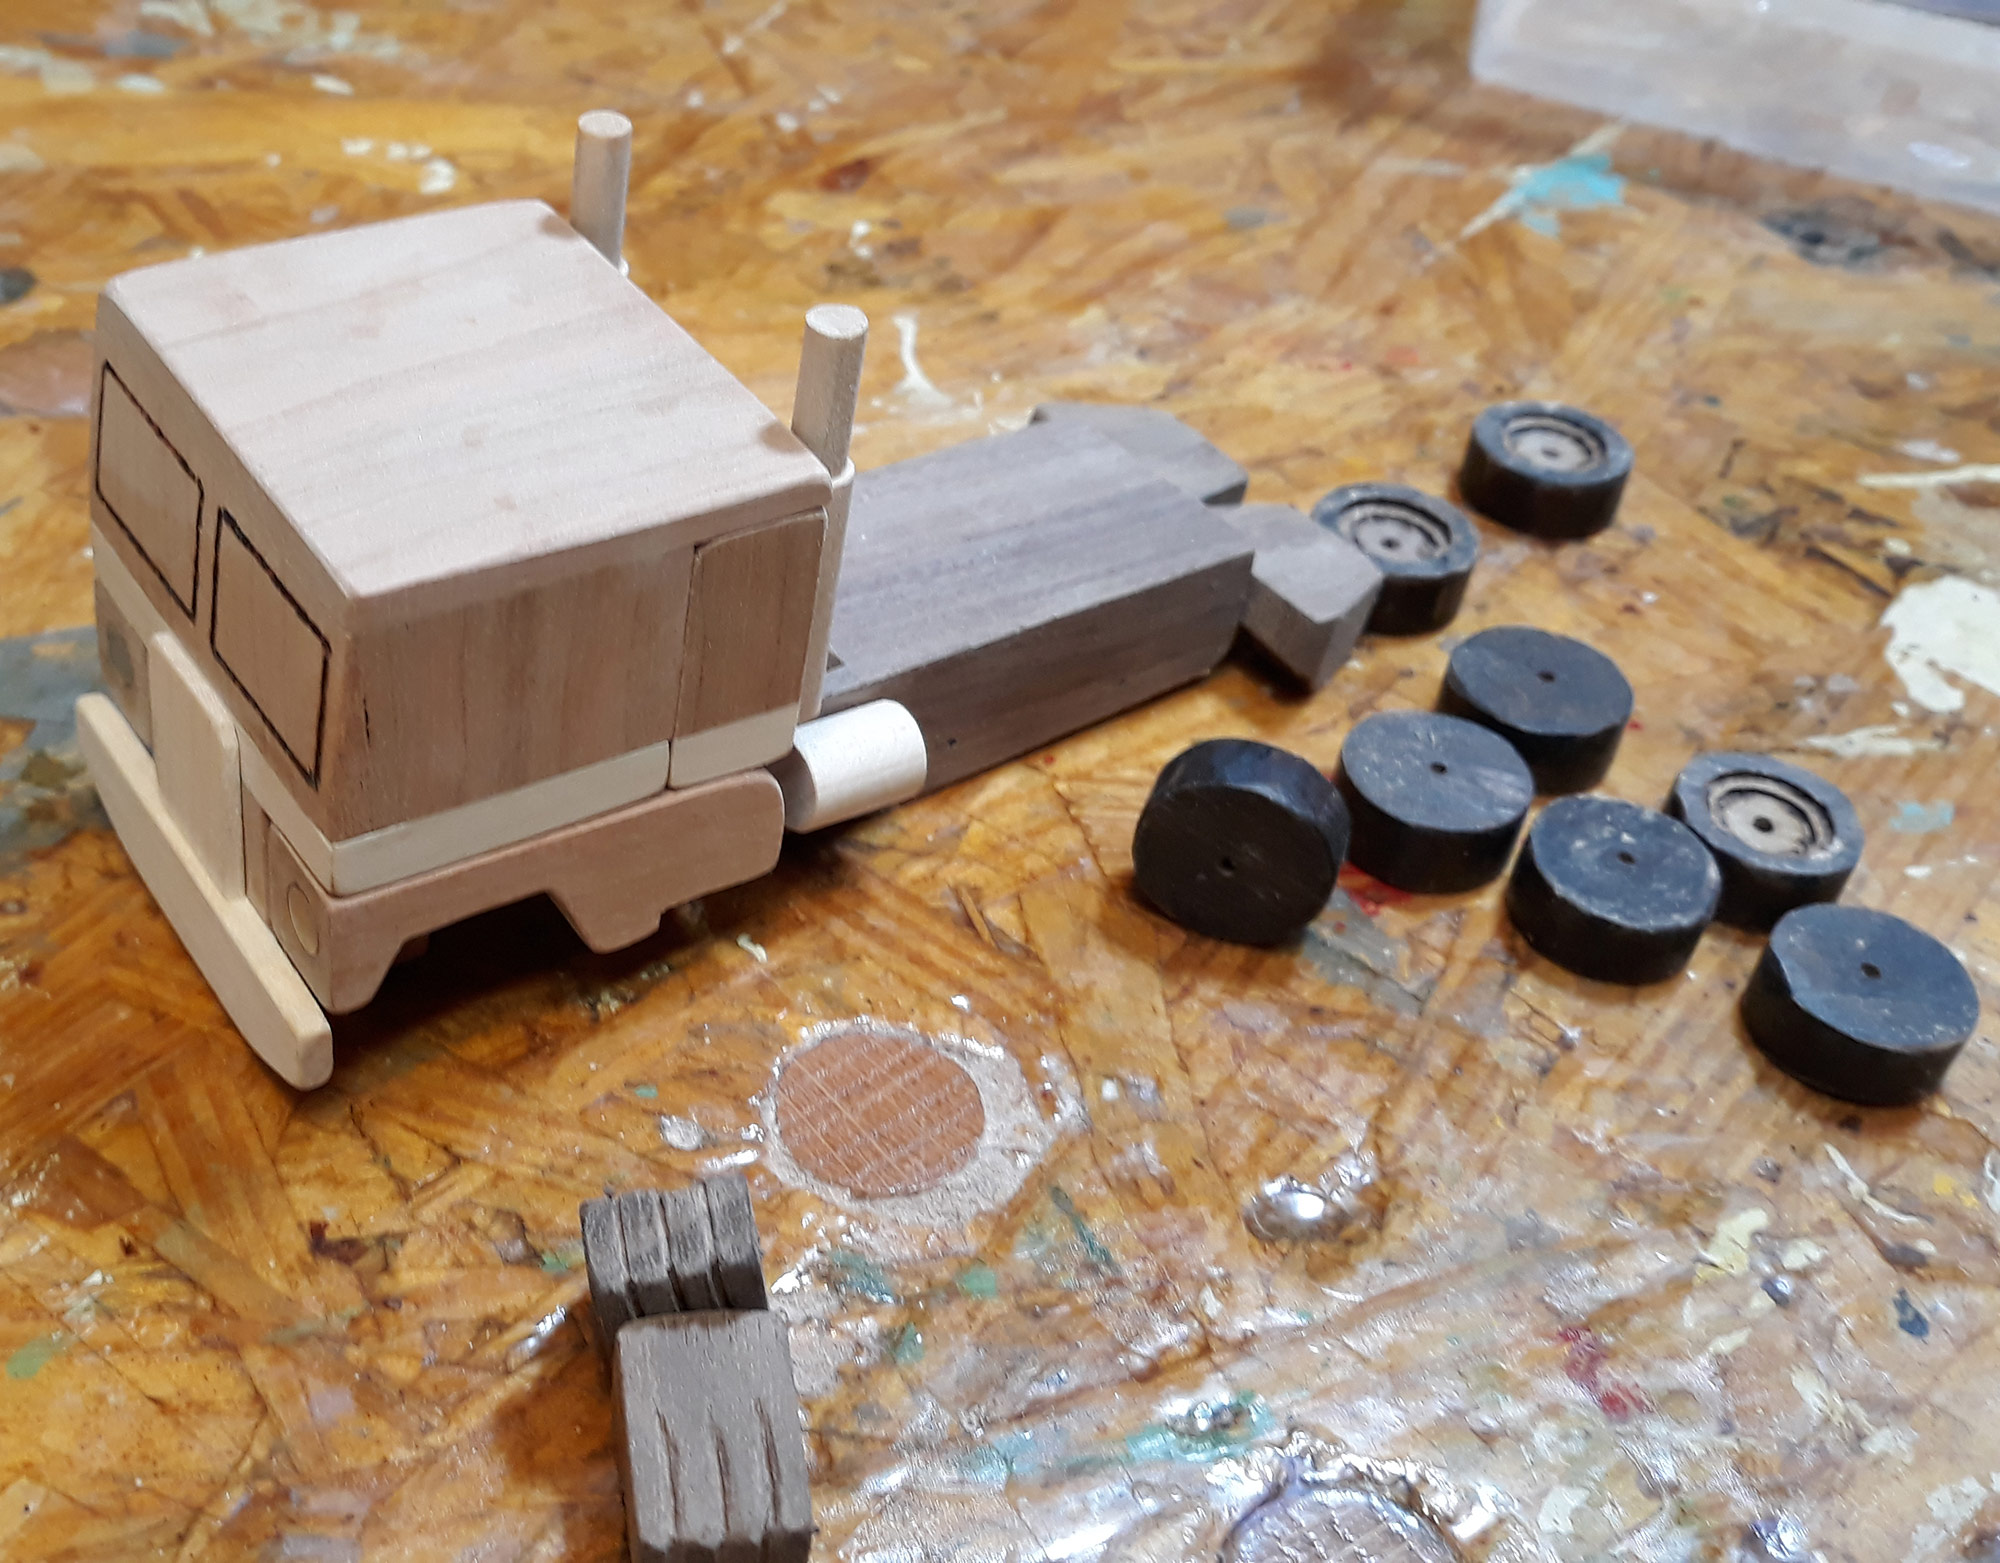
The front grill, chrome trim, exhaust stacks, and gas tanks have all been mad and attached. Similar to the head, I carved the hands. Everything is ready for finishing. 
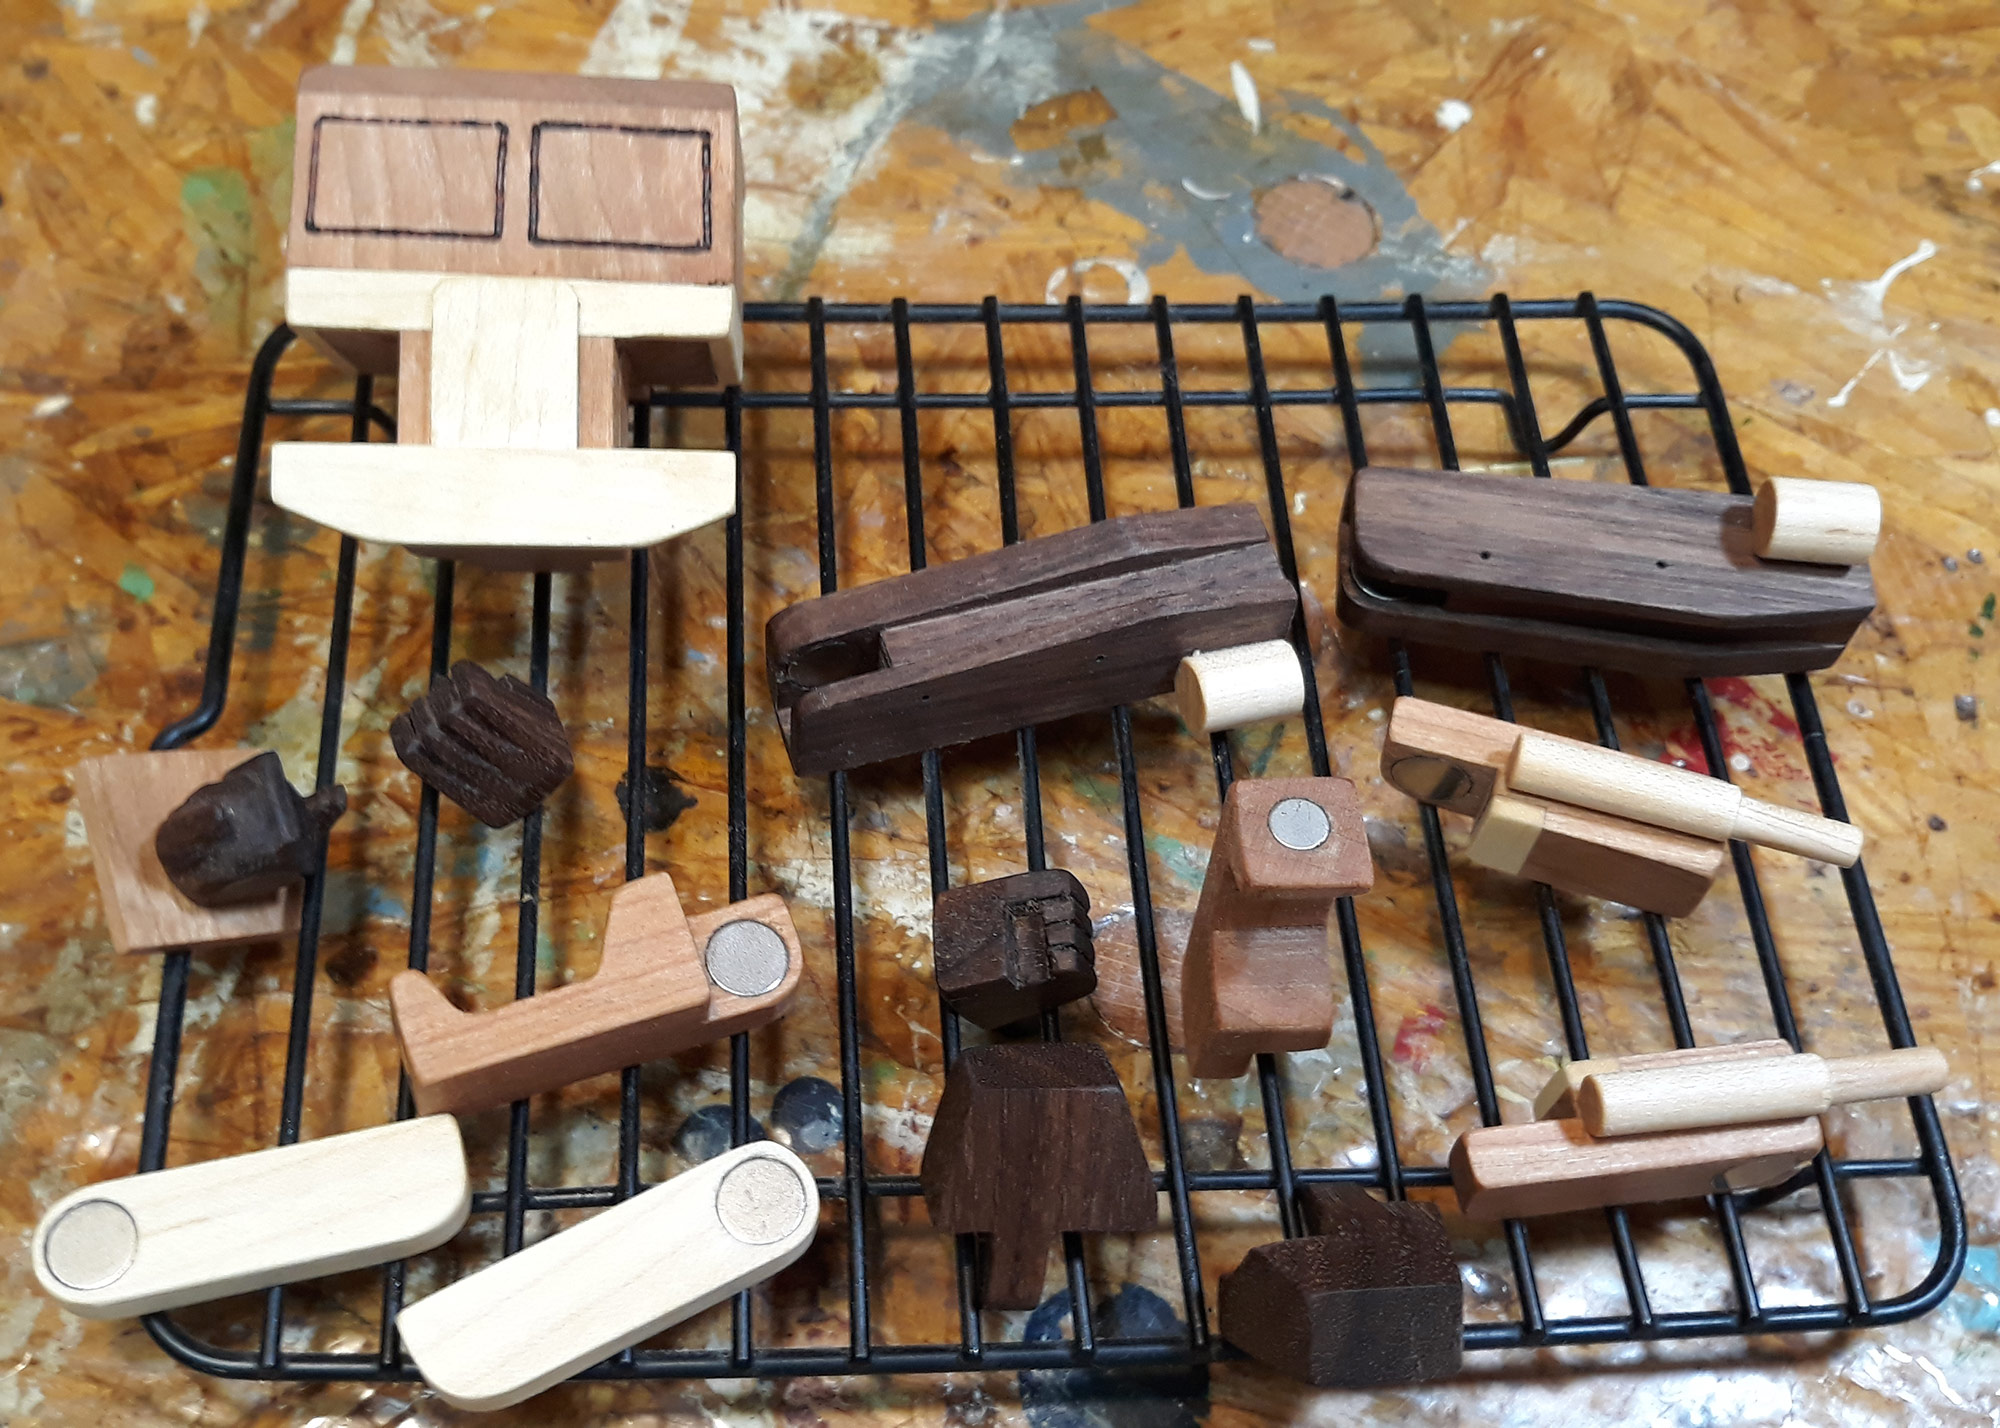
I finished all the pieces with linseed oil and left them to dry on this little rack. 
Wait! Why are there light colored wheels? After all that fuss with the original wheels (made from walnut wood), I didn’t like the way they turned out. So . . . . I made all new wheels from maple wood. The resulting contrast for the finished piece was worth all this extra effort (and delayed completion) at the end. 
There he is, all shiny and new!