Posts

wood train buildings

Throw Back Thursday – Too Many Train Buildings

Just because you make it, doesn’t mean they’re going to buy it.  Say like you make 300 and some odd little toy train accessory buildings for your first craft show (that’s modestly attended by the way).  Let’s say you make all these buildings.  Not everyone wants to buy them.  You can worry all you want that you’re not bringing enough product, but there’s no need to.  YOU WON’T RUN OUT.

toy railroad track and buildings

Ok.  I didn’t expect to sell 300 little buildings at my first [small] craft show, but there was like 12 different kinds of buildings, so there’s only 20 of each type . . .

We’ve had big runs on one items at shows before.  You know, big shows in the Fall when people can’t buy enough cool toys.

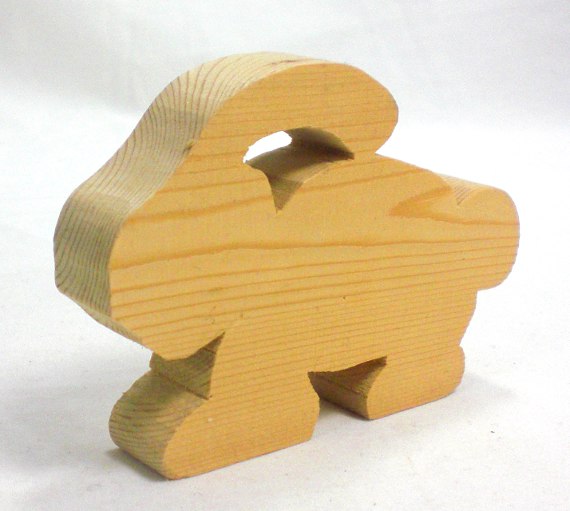
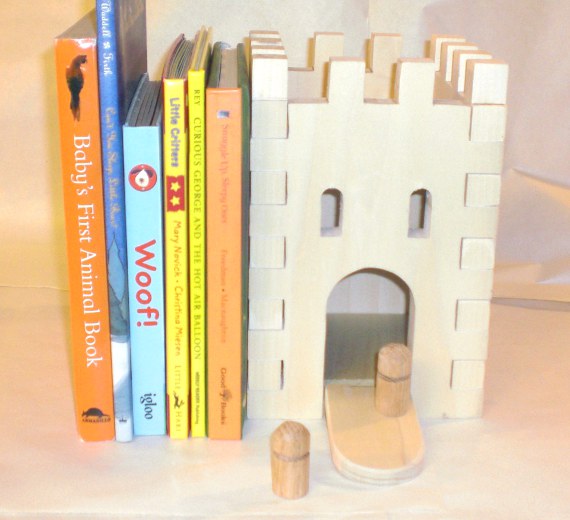
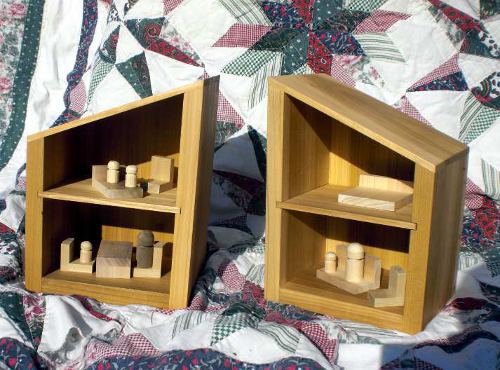
The train buildings were one of the first Happy Bungalow toys.  The thinking was:  everyone sells those little toy train track and magnetic trains, but accessories are hard to find.  And if you can find any buildings, they’re always painted.  How about some plain and simple accessory buildings?  Guaranteed to sell right?  We identified a product missing in the marketplace.  A NEED that all those business books always talk about.

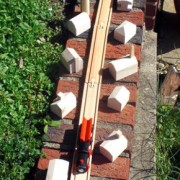
Being one of our first toy lines, it took a while to figure out just how to cut the wood safely.  The saws in our shop cut fingers just as easily as they cut wood – and these toys are so small – and if you don’t/can’t hold the wood firmly in place it will fly away from the machine at high speed.  So once we figured out the techniques and process we maximized our tool setup overhead and ran off a few hundred buildings.

toy railroad track and buildings

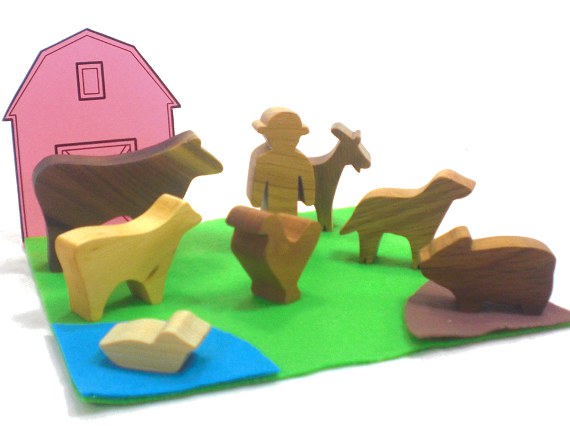
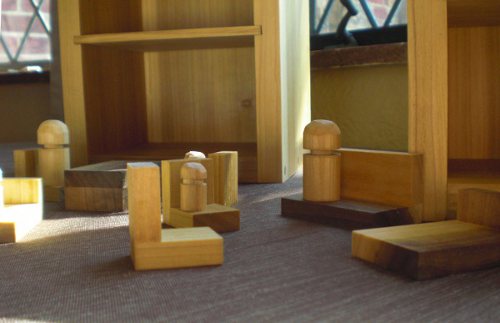
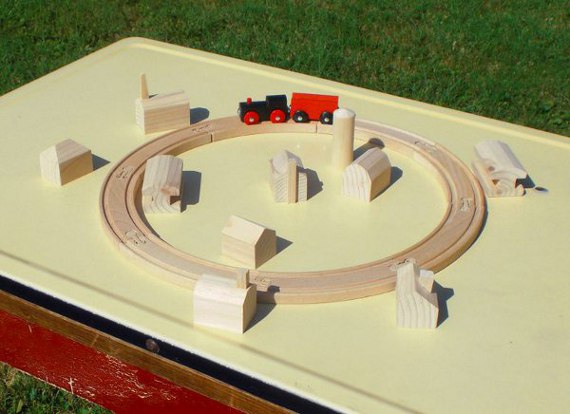
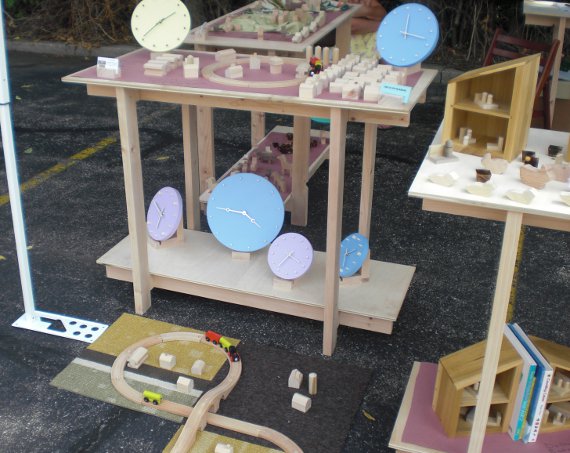
For our first show we put together a train demo display on the ground for the kids to play with (see below).  Then on the table above we lined up a few dozen of the buildings.  We really fussed over the best train layout too.  Probably went through a half dozen configurations beforehand (don’t miss those days).  So it was a lot of work, you follow?  And did it pay off?  Did it pay off?! The NUMBER ONE product people wanted to buy that day?

Yeah, the trains.  The dumb old trains.  The only thing on display that we didn’t make.  [insert Charlie Brown hopeless sigh]

This was the first and only show the train and tracks were ever displayed at.  The buildings come to shows from time to time, and they do well enough.  Though we still have a box full of the suckers.

first art show booth

For all the fussing about the layout we did come up with a cool idea for the table toppers – using a sort of butcher paper that we wrote little product descriptions and prices on.

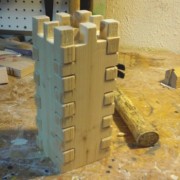
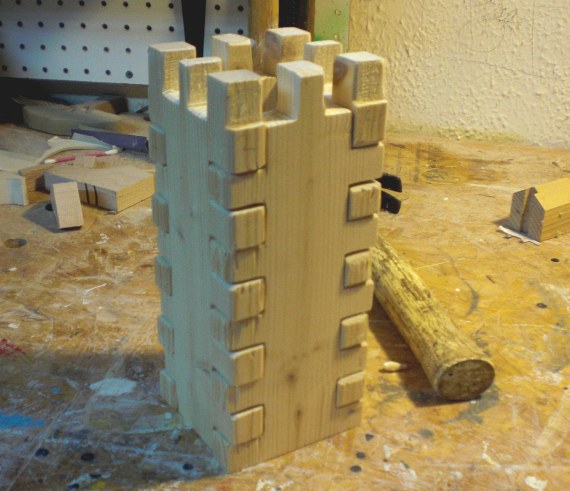
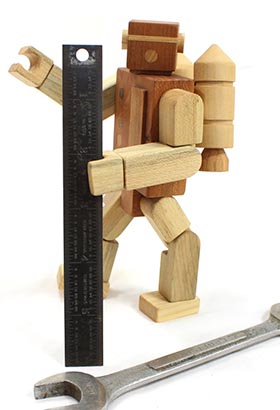
A note about the first two pictures.  They were part of our first photo shoot.  We drug furniture, ladders, props, and back drops out into the back yard.  Spent and afternoon shooting hundreds of pictures and another afternoon editing them.  Eek.

Read the rest of our Throw Back Thursday series here.

first wood toy

Throw Back Thursday – Bunny

Today we throw it back to just about the first Happy Bugnalow toy ever prototyped.  I think it was just about the first thing I ever made on a scroll saw.  This was made when Happy Bungalow was just starting up.  We were ordering a few pieces of new professional grade equipment, but still trying to make it by on the thinnest shoe-string budgets.  So this little animal was cut on a piece of pine that was hanging around the shop.

scroll saw rabbit

I drew from (cartoonish) memory the shape of the animal.  I was happy that others recognized the shape was a bunny, but disappointed in how lame the thing looked.  So I set about drawing animal profiles from real animals (usually from pictures, but occasionally from real life as in our bison toy).  When we fist started there were two primary animal lines:  farm and safari.

Since we’ve added to our shop woodlands animals, dinosaurs, and mythical animals (think unicorns).  In addition we’re working on adding water animals, Australian animals, and just about every other animal that can be rendered in wood.

scroll saw rabbit profile

Reproducing real life animals into small wooden form took some tweaking.  Legs were too thin, bellies to bulgy, and the like.  Legs are the biggest problem.  Like, have you ever seen how thin a horse’s legs are?  Or a chicken’s?  In the beginning there was a lot of tweaking and fussing to get the animals just right, but now,  I think we’ve made close to one hundred different animals so far, we usually nail it down pretty quick.

So kids, remember – what they say is true.  Practice Makes Perfect!  Or just a lot better.

farm animal wooden toys

Castle toy prototype

Throw Back Thursday – Castle Model

Last time on Throw Back Thursday . . .

digital castle bookend model

We dug up an early prototype of a castle bookend.  Well, here’s the computer model that preceded it.  Pretty neat looking, and probably pretty fun too, but none of them ever made it into production (read more about why in the original post).

I’ll ramble on a bit about computer models and prototyping.  We do all of our 3-D models in Sketchup.  It’s a free program that is super-handy, and relatively easy to learn.  I’m not the best self-taught computer person, but I figured out the basics of Sketchup in a day or so.  A few projects later and I was competent enough to do interior architectural models (I wasn’t always a toy-maker you know).  With computer models you can know exact dimensions, work out potential problems, and generate cut lists (how many and how long of pieces of wood you’ll need).

prototype castle bookend

Though, I like to work on the fly, working from simple sketches and physical protoypes (see an example in a post about toy car design and a bit about toy car construction).  So we don’t produce too many digital models anymore.  I will say though, if we were working on any sizable pieces, we would turn first to a computer model.

You can see in the built prototype that most everything is the same as the digital model.  The little dowel people were simplified and the upper windows were more real, but the physical castle was the same.  I probably went through 5 different hinge types for the little draw bridge.  That was tricky.

The Kids ended up with the castle prototypes, there’s a half dozen of them.  So we would hook all the individual wall pieces together (nothing was glued) and make super giant castles.  Never a roof though.  Inside the castle would sleep cars, princesses, blocks, and whatever else was around.  This was in the days when our oldest was figuring out how to go to sleep in a big kid bed by herself, so a lot of play time was devoted to putting her toys to sleep.

Liz and I don’t miss those battles of getting the two year old to go to sleep at night, but we sure do miss that play-time.  In case you’re wondering, we have discovered the secret to getting little kids to sleep at night – give them a sibling to sleep in the same room with.

Castle tower toy prototype

Throw Back Thursday – Castle Edition

wooden castle prototype

In recognition of Throwback Thursday we post this old prototype.  It’s one of about a dozen attempts at creating castle themed bookends.  I never figured out how to make them to the level of quality we strive for, and for the price we thought they could sell at.  The idea was for the bookends to be playable toys, outfitted with simple dowel people (much like the little peg people you see everywhere).

Perhaps we need to go back a little further.

Before Happy Bungalow was Happy Bungalow it was Kiddie Kottages.  When Liz and I were first dreaming up this business we were going to create playhouses for children (spurred on by the encouragement of friends, see the playhouse here).  We made notes and sketches.  We created 3D models of the playhouses.  We thought up just the right business name and registered domains (until recently kiddiekottages.com and kiddiecottages.com redirected to happybungalow.com).

And then we thought up some little products to accompany the playhouses.  The idea was that we’d make the playhouses and everything you needed to put in them.  So the original Happy Bungalow product line started out as accessories to Kiddie Kottages’ big playhouses.  But starting a new business and creating these multi-thousand dollar playhouses was too much, so we focused on the smaller pieces at first with the goal to move on to playhouses later.

We’ve pretty much given up on the playhouses for the immediate future, but some of those original products still hang on (our wooden animal toys being the most notable).  Much like the never realized castle bookends, the dollhouse bookends below went through extensive prototyping (and before that digital models you can read about here), but end the end it was hard to find a workable price-point for them.  It was also difficult to generate the level of quality (again at workable price point).  Though the shop has expanded its tooling, we might take another attempt at it.

dollhouse family

The simple little furniture did prompt a friend to ask if I could make some furniture for her daughter’s inherited dollhouse.  Well, that is a product line that has done quite well (read more dollhouse furniture posts here).

dollhouse bookends

So in the end the castle bookends never made it into production.  The corner joints (box joints) were the problem.  I was attempting to create a faux quoining (fancy architecture word for those stones that stick out on the corner of buildings).  Perhaps one of these days . . .