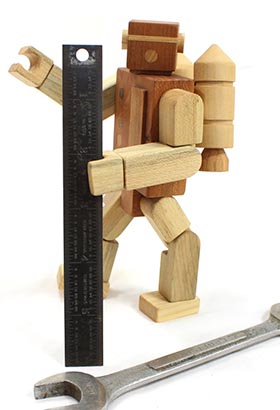
Posts

Homestead – Wooden Art

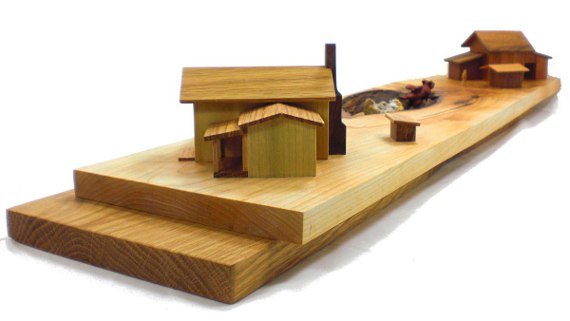
This is a companion piece to another wooden art piece I did:  “Pa Never Thought Much of the Sinkhole Until the Dragon Came Out of It”

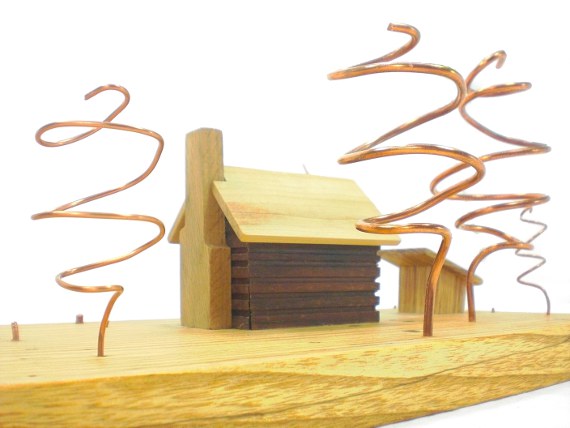
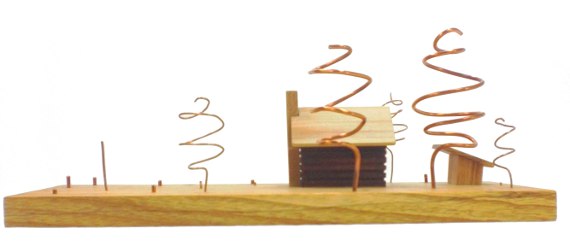
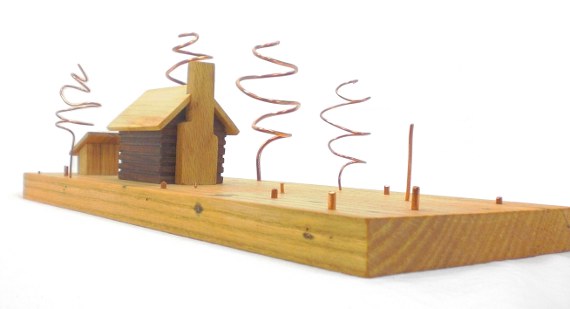
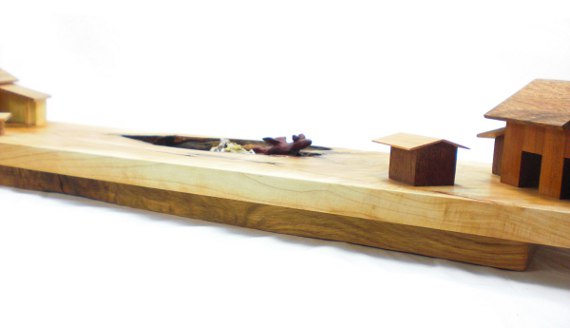
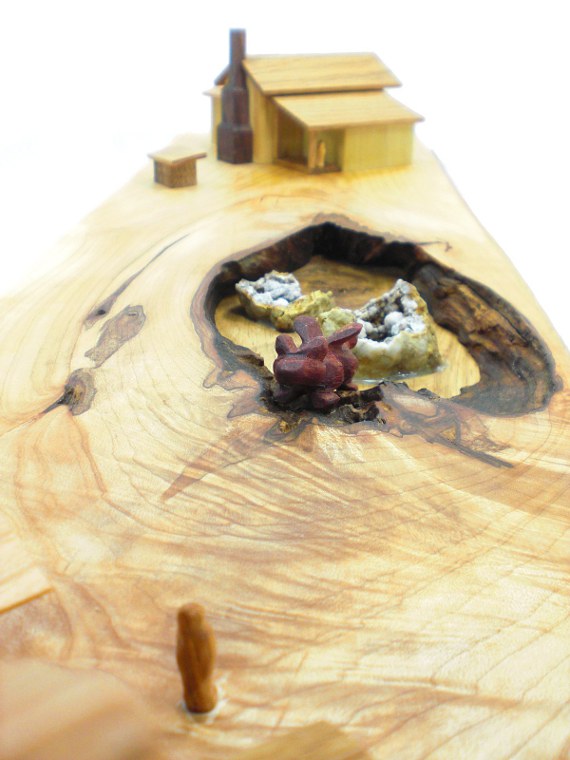
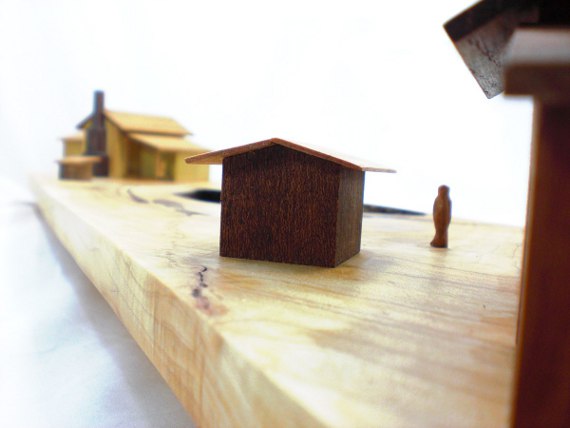
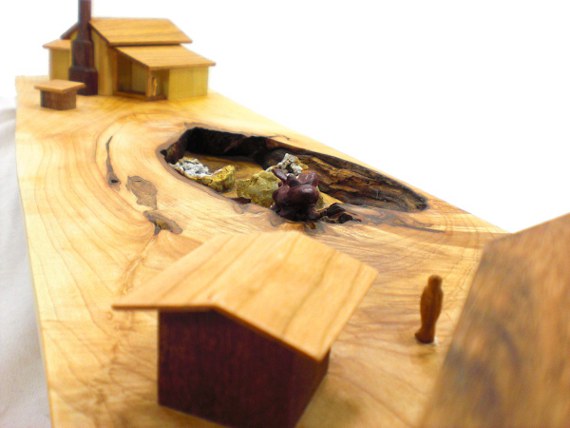
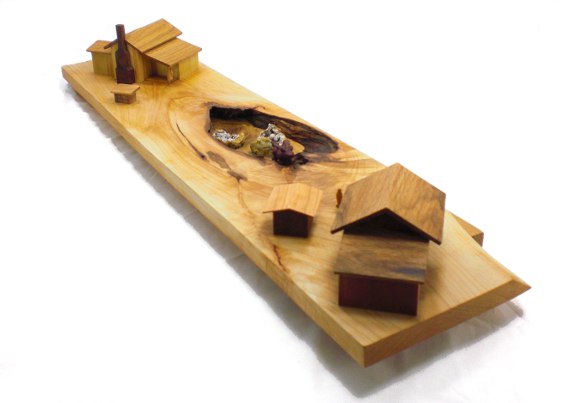
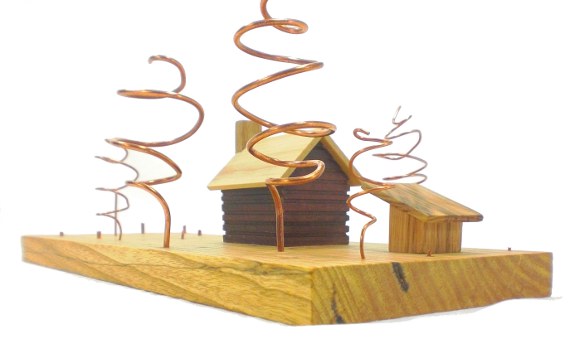
This piece, Homestead, is loosely related, or not at all related.  Copper and wood are the materials used, and are some of our favorite materials to make wooden toys from as well.wood art - log cabin - racoons eye viewwood art - log cabin with copper trees  Wood art - log cabin and outbuilding wood art - log cabin homestead

Pa and the Dragon

The full title:

“Pa Never Thought Much of the Sinkhole Until the Dragon Came out of It”

wood + geode + dragon

(scroll to the send for more yapping)

Happy-Bungalow-Pa-Sinkhole-Dragon-wood-sculpture-art-storytelling-art-artisan-alt008-570 Happy-Bungalow-Pa-Sinkhole-Dragon-wood-sculpture-art-storytelling-art-artisan-alt001-570 Happy-Bungalow-Pa-Sinkhole-Dragon-wood-sculpture-art-storytelling-art-artisan-alt006-570 Happy-Bungalow-Pa-Sinkhole-Dragon-wood-sculpture-art-storytelling-art-artisan-alt009-570 Happy-Bungalow-Pa-Sinkhole-Dragon-wood-sculpture-art-storytelling-art-artisan-alt007-570 Happy-Bungalow-Pa-Sinkhole-Dragon-wood-sculpture-art-storytelling-art-artisan-alt005-570 Happy-Bungalow-Pa-Sinkhole-Dragon-wood-sculpture-art-storytelling-art-artisan-alt004-570 Happy-Bungalow-Pa-Sinkhole-Dragon-wood-sculpture-art-storytelling-art-artisan-alt010-570

More about this piece:

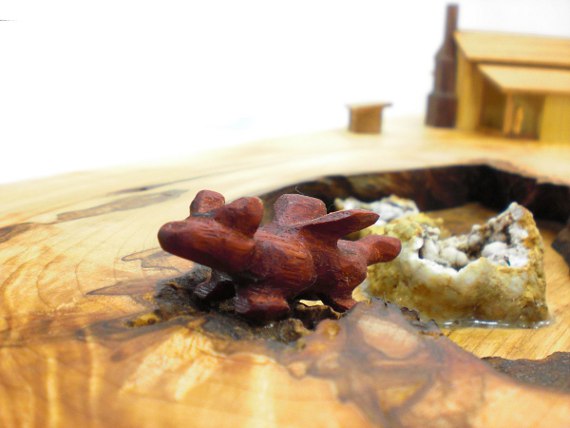
Pa stands outside the barn eying the infant dragon crawling from her egg.  Another figure watches the scene from the porch.

I sell at a weekly farmer’s market along with some guys selling rocks, minerals, and gems.  I picked up some pieces of quartz and some geodes.  What to do with them?  I started off with the quartz and channeling Renaissance Festivals past I thought of wizards and dragons.  So I start doodling castles and imaginary lands, but I wasn’t feeling it.

I liked the dragon idea though.  Then poof –  a farm hits me.  A dragon crawling out of a sinkhole!  I put down the pencil and start digging around the shop.  The top board is a piece of maple I had been saving for a furniture piece (a table), but I thought it made a great sinkhole.  A piece of oak made the perfect subterranean earth.

Originally the geode was to be the mouth of a cave, but the scale of the buildings and the process said the geode served better as an egg.  Pa thought the egg just another hunk of rock and earth.  The sinkhole a convenient dump.  Now though.  Now he doesn’t know what to make of it.

The geode is from an Indiana creek.  The top board is maple with natural knot hole.  The lower board is oak.  The other woods are a mix of poplar, walnut, hickory, cedar, oak (again), maple (again), walnut, and cherry.  While not built to scale, the buildings are roughly an eighth of an inch to a foot.

Abasement

wood + wax + copper

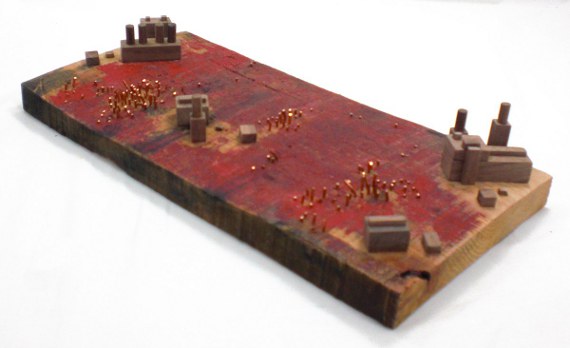
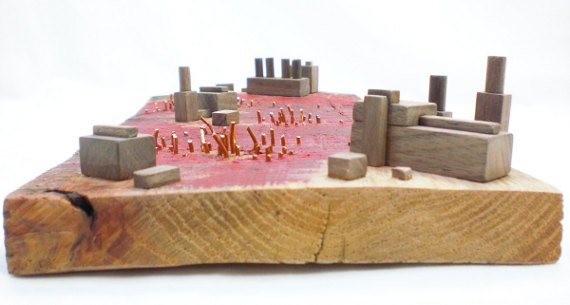
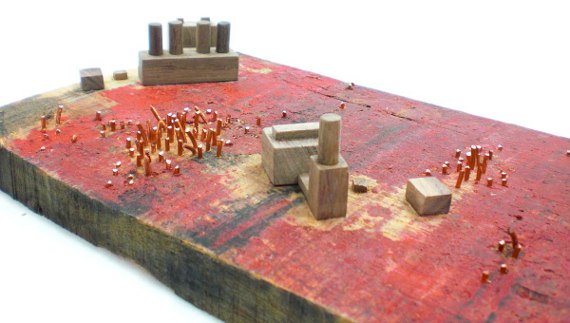
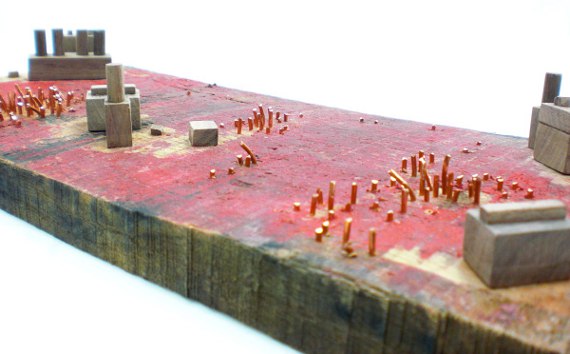
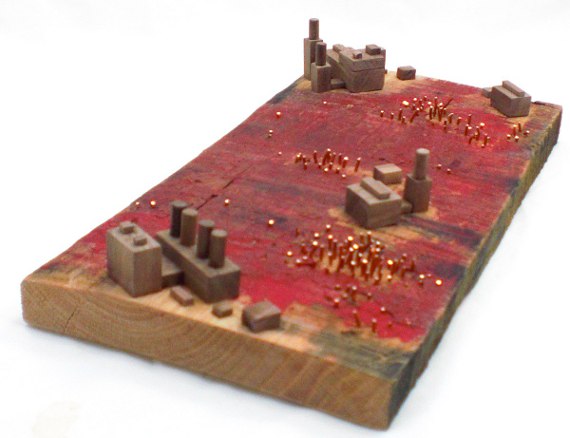
I’ve had this piece of wood laying around the shop for years now.  A slice of red oak covered in red wax.  When a tree is cut down and ripped into rough lumber the ends of the boards are coated in wax (or something similar) to prevent the wood from drying quickly.  This piece of lumber was overly slathered in wax – it’s different – it looks cool.  I kept it to the side.

So what you see is naturally unnatural.  I applied the little walnut structures and inserted the copper wire.  During the production of this piece I slightly damaged an existing flaw in the wood.  Care will need to be exercised to avoid further degradation.

Happy-Bungalow-Abasement-wood-sculpture-storytelling-wood-copper-wax-alt006-570 Happy-Bungalow-Abasement-wood-sculpture-storytelling-wood-copper-wax-alt002-570 Happy-Bungalow-Abasement-wood-sculpture-storytelling-wood-copper-wax-alt008-570 Happy-Bungalow-Abasement-wood-sculpture-storytelling-wood-copper-wax-alt007-570 Happy-Bungalow-Abasement-wood-sculpture-storytelling-wood-copper-wax-alt003-570 Happy-Bungalow-Abasement-wood-sculpture-storytelling-wood-copper-wax-alt004-570

Wood Clocks Process #4 – Finished Product

Missed the creation of the clocks?  Read part one, part two, and part three.

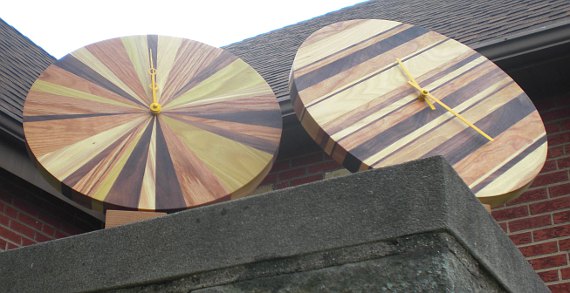
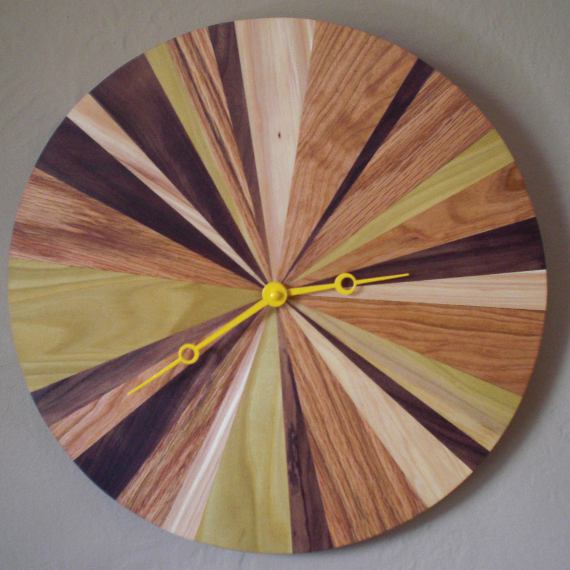
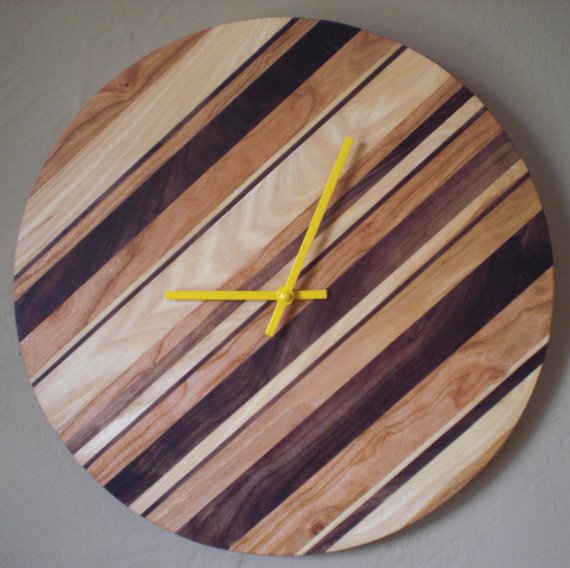
Hooray!  The hardwood clocks are finished (get it?  finished?), their dials have been painted, the movements installed, and the hangers hung.  Shown below is a strip clock (I’m open to catchier names) and the oh-so-cleverly named five grain clock (five different types of wood).  None of the wood was stained – the colors you see are natural.

Happy Bungalow Hardwood Clocks - Five Grain and Strip

A closer look at the five grain clock.  The darkest wood is walnut and the lightest is hickory.  The greenish wood is poplar.  The reddish wood with the wavier grain is cherry, and the reddish wood with the tighter grain is red oak.  The dials are metal and hand painted with yellow enamel paint.

Happy Bungalow Five Grain Clock

The strip clock only has three woods.  The dark is walnut and the lightest is hickory.  Cherry is the friendly red.  Once again, the dials were hand painted yellow.

Happy Bungalow Strip Clock

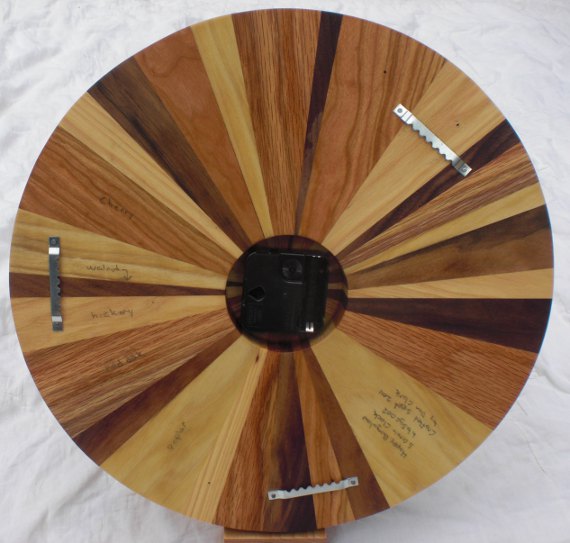
Below is the rear of the five grain clock.  Each clock has three separate hangers so you can mix up the position of the clock.  Of course after I attached the hangers I discovered you can’t willy-nilly put on the hangers – Twelve O’clock doesn’t coordinate with any position.  After some dial spinning and head scratching I figured it out and repositioned two of the hangers.  Oops (these clocks will have a discount in the etsy shop).

All of the woods are labeled on the back – no need to be a wood expert to impress your friends.  “Yes, this is cherry, and that is hickory.”  The clock crafted date and signature is listed as well.

Happy Bungalow Five Grain Clock

http://happybungalow.com/blog/2011/09/22/wood-clocks-process-3/

Wood Clocks Process #3

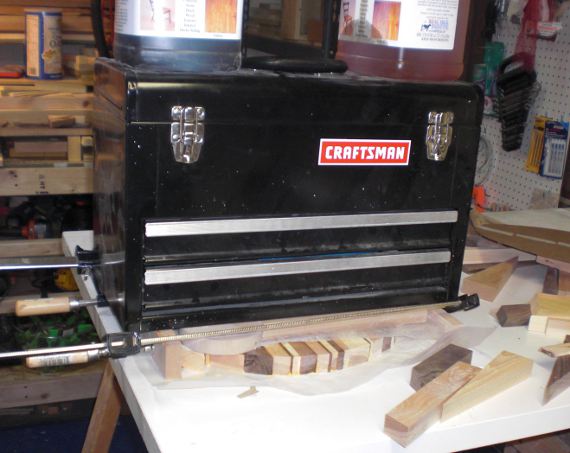
In the previous post our wood clocks were dry-fitted and glued-up (read the post here).  You may remember some dried up glue that leaked out of the joints.  The glue was knocked away with a sander as were any wood segments that were higher than the others.  Despite the best efforts of the heavy took box, some of the pieces moved up oh so slightly.  Ideally I’d run the clocks through a planer (mine isn’t wide enough) or a wide belt sander (nobody has dropped one off at the shop).  So I sand them down with a 1/3 sheet sander.
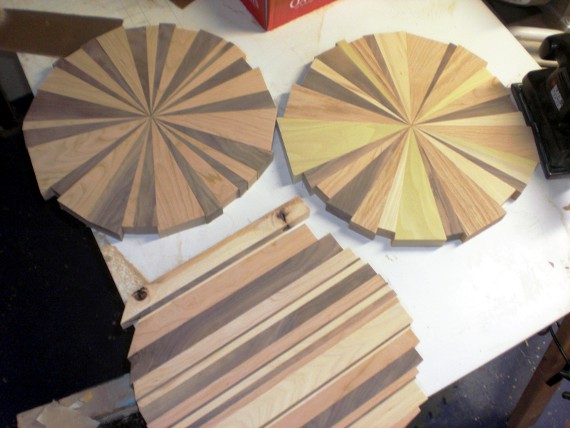
Happy Bungalow Wood Clock Process 10 Wood Clocks Post Sanding

The next step is to trim up the clocks.  I lay out the circle with my drafting compass (in the upper right in the picture below) and lay out a circle as big as the smallest wood segment.  In short – I make the clock as big as I can.  I trim the circles on the bandsaw, sand the edges smooth on a stationary belt sander, and bring them back to the table.

You can see how much sanding dulls the look of the wood.  I plane all my wood in the shop (three giant knives spinning really fast and slicing away wood) – which leaves the wood ultra smooth.  Sanding also smooths the wood, but instead of slicing the wood, the sanding compresses the grain of the wood, so it doesn’t look as crisp.  But don’t worry, we’re going to fix that during the finishing.
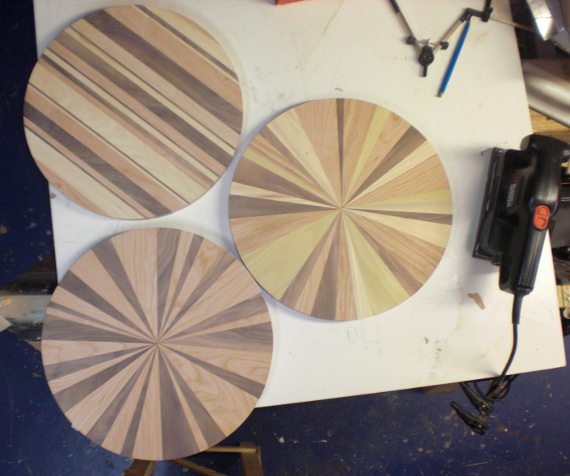
Happy Bungalow Wood Clock Process 11 Wood Clocks Cut To Circles

There’s one last step before the finishing – cutting holes for the clock movement (the gizmo that turns the clock hands).  I start with drilling a small hole through the center on the front.  Then I drill a big hole in the back (I’m thinking the Bungalow’s resident hamster may find some use for them).

This part’s a little tricky – drill too far and the clock is ruined.  Drill not far enough, and well – just drill some more.  Fortunately my 3-1/8 inch drill bit isn’t very fast.  Notice the clamps in the picture.  The clock must be clamped to something secure as the large drill bit creates a lot of torque.
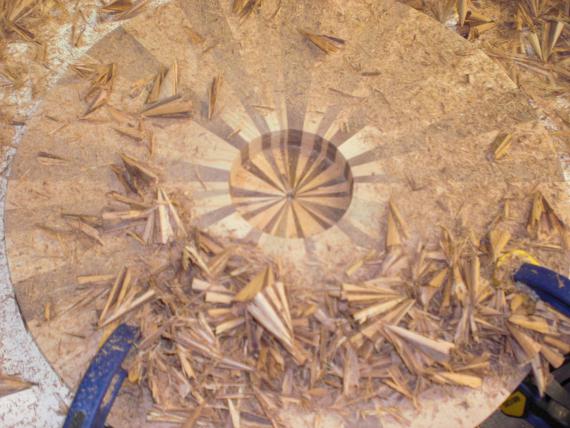
HappyB ungalow Wood Clock Process 12 Wood Clock Drilled For Clock Movement

Now the fun part – finishing.  I finish the clocks with pure tung oil – which penetrates the wood to protect it.  Pure tung oil is a legitimate natural finish.  The only thing in my tung oil?  Tung oil.  There’s no laundry list of additives and chemicals on the side of the jar.  The only thing I add is citrus solvent which thins the oil to aid penetration into the wood.

Citrus solvent?  It’s natural too – derived from oranges.  And it smells great – the whole shop smells like oranges.  The tung oil gives the wood a lot of pop and shows off the grain well.

Grain?  The upper left clock has alternating segments of walnut and cherry.  The lower clock has cherry, walnut, poplar, red oak, and hickory.  The strip clock has hickory, walnut, and cherry.
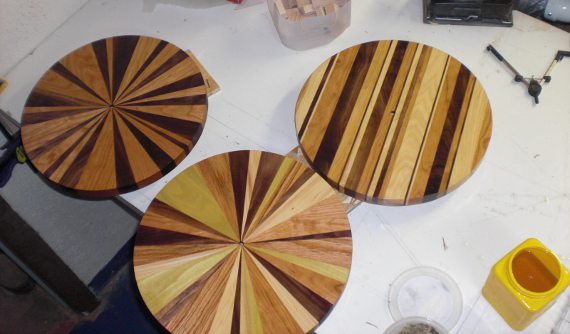
Happy Bungalow Wood Clock Process 13 Finished With Tung Oil

Read the fourth and final post here
Wood Clocks Process #2

In  part one of the wood clocks process series (read here) I talked about cutting a number of angled pieces of wood.  A box-full of wood pieces, in fact.  I lay all the pieces out on a table and go to work creating a pleasing composition.  With some fussing, this process goes easy until the clock circle is about seven-eigths full.  Then it’s time to trade out triangles here and there to make a 360 degree circle.  To make certain of this, I tape the pieces securely together.  Once I have a working circle I move some of the triangles around to fuss with the layout.

Happy Bungalow Wood Clock Process 06 Walnut Cherry Dryfit Layout

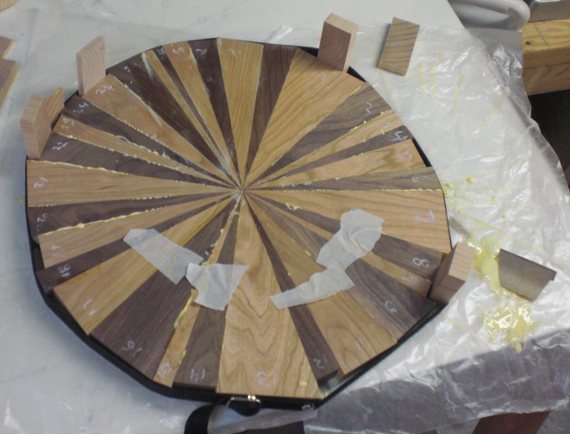
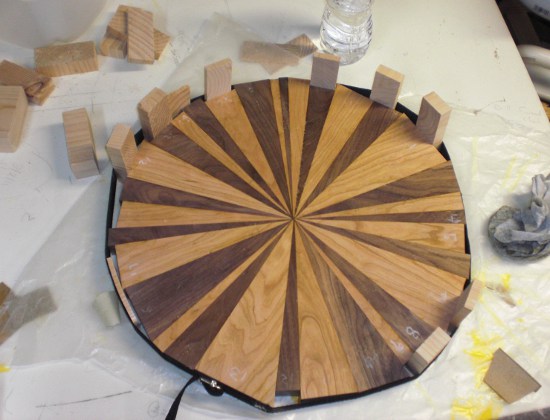
Next comes the glue.  I lay down some wax paper on the table to keep the clock from gluing itself to the table.  There’s between 25-35 pieces in each clock and each side needs glue applied evenly.  I have to move quickly so the glue doesn’t set before I’m finished.  You can see the glue squeezing out in the picture below – this is a good thing as it means the joints are filled.

Once all the glue is on and the pieces are in place I put a strap around everything – that’s the black band in the picture.  I cinch the strap then insert blocks of wood around the perimeter.  The blocks help to make up for the different lengths of wood and give added clamping pressure.  Then I wipe all the excess glue away with a damp cloth.

Happy Bungalow Wood Clock Process 06a Walnut Cherry Wet Glue

Next comes another sheet of wax paper and some MDF spacers to clear the wood blocks on the perimeter.  I pile on my heaviest tool box and anything else that’s heavy and handy.  This weight keeps the pieces flush.  You can see some glue squeezing out on the sides – but this isn’t a problem as the clock will be trimmed later.

The picture shows a wood-strip clock being glued up – more on that below.

The clock dries for a while before the weight is removed.  You can see a little glue that leaked through, but it’s nothing a little sanding won’t clear up.

Happy Bungalow Wood Clock Process 07 Walnut Cherry Glueup

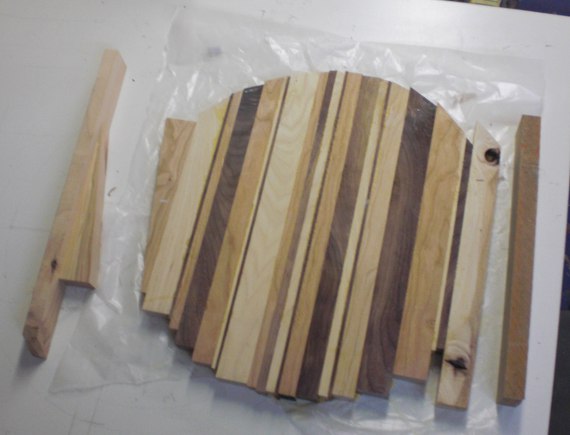
The picture below is one of the wood-strip clocks.  It’s like the other clocks except it only has one angle, so there’s much less math involved.  I lay out the strips, then cut each strip roughly to length so I don’t loose any more wood than necessary.  On the left you can see a rejected angle piece and a buddy angle that I used to clamp everything together.

The strip clocks don’t need the belt clamp – just a pair of bar clamps (and the heavy weight on top).  More on trimming, sanding, and finishing in the next post.

Happy-Bungalow-Wood-Clock-Process-09-Strip-Clock-Post-Glueup

Read the next post in the series here

New Blog

I’ve been working for a few weeks (eek, has it been THAT long?) on a new WordPress blog for happybungalow.com.  WordPress will give me more flexibility and capabilities than my previous blog software.  BUT – I had to learn some new web programming and remember some other programming I had forgotten.

Now you can comment on the posts you see here.  Go ahead, comment away.

I’ll have some new pictures and blogs up shortly.  Some exciting stuff is in the pipeline.

See all of our completed products for sale at our etsy shop

New Stuff in the Works

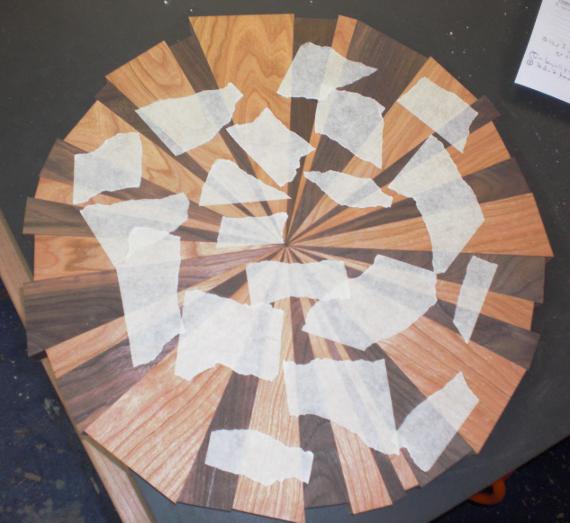
This week is new product week (and next week and probably the next). On the drawing board: chessboard, serving trays, nifty clocks, plywood graphic paintings, jewelry boxes, and whatever else shows itself. I’m putting together a mockup for a wood starburst clock (see picture below) – trying to figure out how to build the thing. There’s 30+ pieces that need to fit exactly, and while I could draw it to exact dimensions and angles, I don’t think those angles would translate to the finished piece. So I figure I’ll trial and error the operation until I figure out the best method.

Anyway – I liked the mockup – thinking it would look good on a wall by itself. So I’m going to take all the little pieces and transfer the angles to pieces of cherry and glue up with the walnut strips. Now I have to figure out how to glue all the little pieces together just so.


Happy Bungalow Wall Art In Progress

Yesterday I was working on some plywood graphic paintings. I’ve done a few before and like the way they turn out – I figure some other people might too. It’s delicate work and as long as I don’t think about it my hand doesn’t shake – but then it does and I have a little oops. My instant reaction? I look up at the top of the painting for the UNDO button. It’s not the first real life mistake that I’ve looked for a digital correction for.