Wood Clocks Process #2
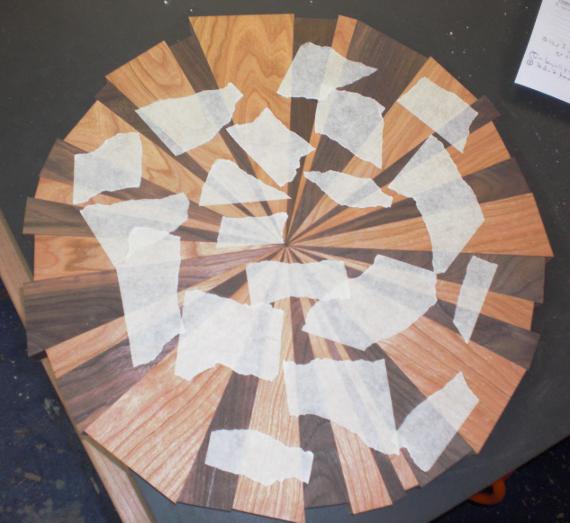
In part one of the wood clocks process series (read here) I talked about cutting a number of angled pieces of wood. A box-full of wood pieces, in fact. I lay all the pieces out on a table and go to work creating a pleasing composition. With some fussing, this process goes easy until the clock circle is about seven-eigths full. Then it’s time to trade out triangles here and there to make a 360 degree circle. To make certain of this, I tape the pieces securely together. Once I have a working circle I move some of the triangles around to fuss with the layout.
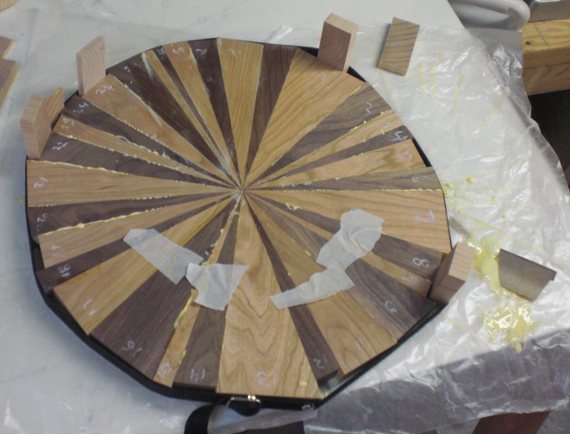
Next comes the glue. I lay down some wax paper on the table to keep the clock from gluing itself to the table. There’s between 25-35 pieces in each clock and each side needs glue applied evenly. I have to move quickly so the glue doesn’t set before I’m finished. You can see the glue squeezing out in the picture below – this is a good thing as it means the joints are filled.
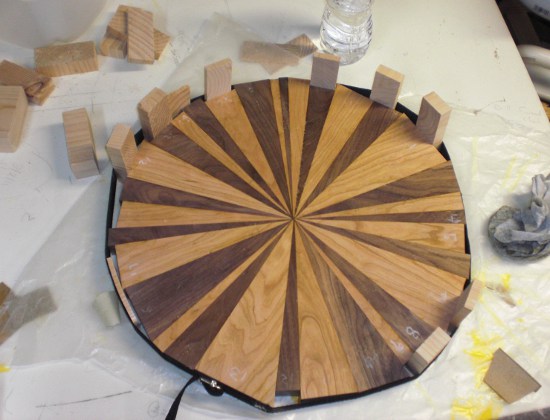
Once all the glue is on and the pieces are in place I put a strap around everything – that’s the black band in the picture. I cinch the strap then insert blocks of wood around the perimeter. The blocks help to make up for the different lengths of wood and give added clamping pressure. Then I wipe all the excess glue away with a damp cloth.
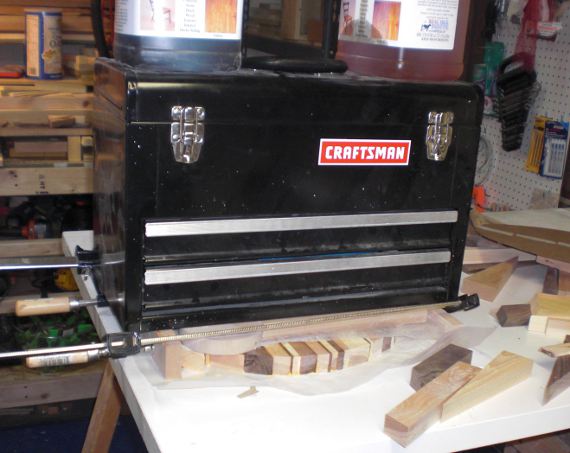
Next comes another sheet of wax paper and some MDF spacers to clear the wood blocks on the perimeter. I pile on my heaviest tool box and anything else that’s heavy and handy. This weight keeps the pieces flush. You can see some glue squeezing out on the sides – but this isn’t a problem as the clock will be trimmed later.
The picture shows a wood-strip clock being glued up – more on that below.
The clock dries for a while before the weight is removed. You can see a little glue that leaked through, but it’s nothing a little sanding won’t clear up.
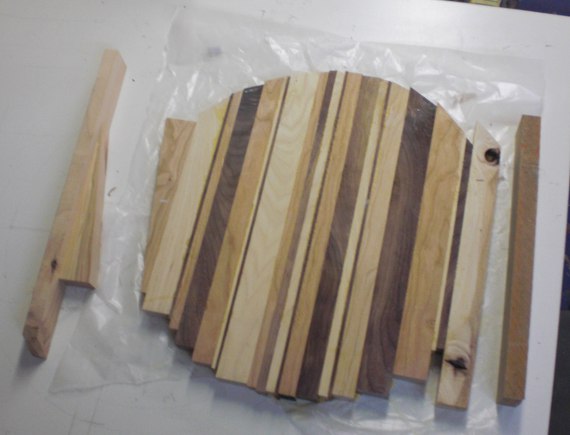
The picture below is one of the wood-strip clocks. It’s like the other clocks except it only has one angle, so there’s much less math involved. I lay out the strips, then cut each strip roughly to length so I don’t loose any more wood than necessary. On the left you can see a rejected angle piece and a buddy angle that I used to clamp everything together.
The strip clocks don’t need the belt clamp – just a pair of bar clamps (and the heavy weight on top). More on trimming, sanding, and finishing in the next post.
Read the next post in the series here

