Wood Clocks Process #3
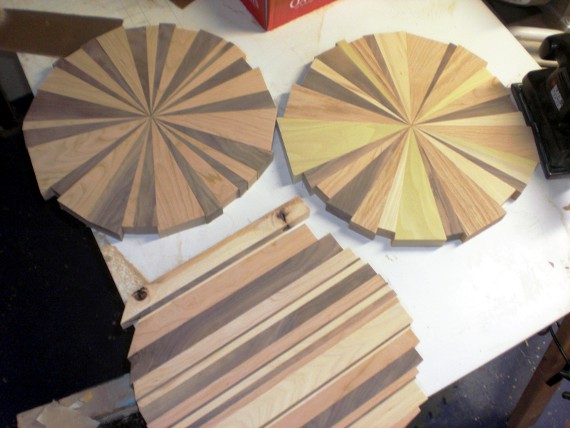
In the previous post our wood clocks were dry-fitted and glued-up (read the post here). You may remember some dried up glue that leaked out of the joints. The glue was knocked away with a sander as were any wood segments that were higher than the others. Despite the best efforts of the heavy took box, some of the pieces moved up oh so slightly. Ideally I’d run the clocks through a planer (mine isn’t wide enough) or a wide belt sander (nobody has dropped one off at the shop). So I sand them down with a 1/3 sheet sander.
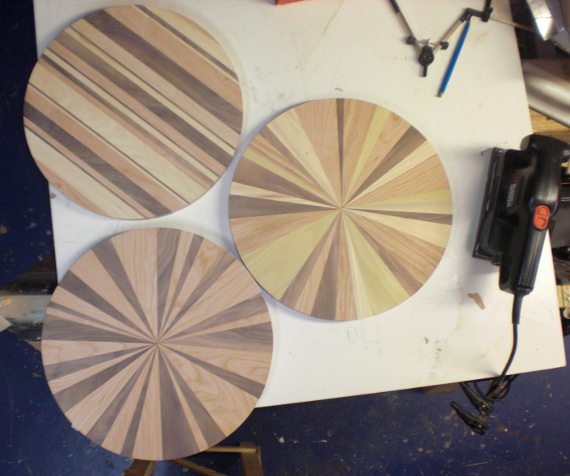
The next step is to trim up the clocks. I lay out the circle with my drafting compass (in the upper right in the picture below) and lay out a circle as big as the smallest wood segment. In short – I make the clock as big as I can. I trim the circles on the bandsaw, sand the edges smooth on a stationary belt sander, and bring them back to the table.
You can see how much sanding dulls the look of the wood. I plane all my wood in the shop (three giant knives spinning really fast and slicing away wood) – which leaves the wood ultra smooth. Sanding also smooths the wood, but instead of slicing the wood, the sanding compresses the grain of the wood, so it doesn’t look as crisp. But don’t worry, we’re going to fix that during the finishing.
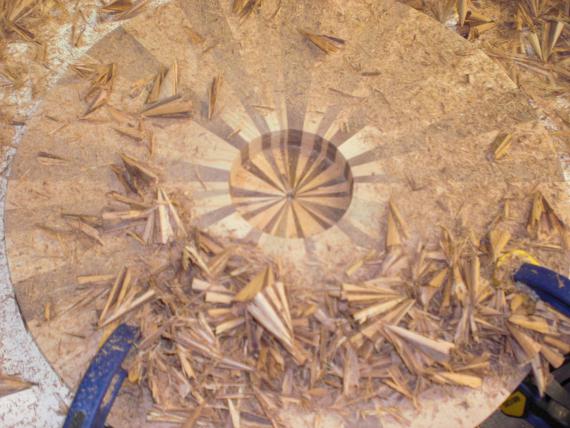
There’s one last step before the finishing – cutting holes for the clock movement (the gizmo that turns the clock hands). I start with drilling a small hole through the center on the front. Then I drill a big hole in the back (I’m thinking the Bungalow’s resident hamster may find some use for them).
This part’s a little tricky – drill too far and the clock is ruined. Drill not far enough, and well – just drill some more. Fortunately my 3-1/8 inch drill bit isn’t very fast. Notice the clamps in the picture. The clock must be clamped to something secure as the large drill bit creates a lot of torque.
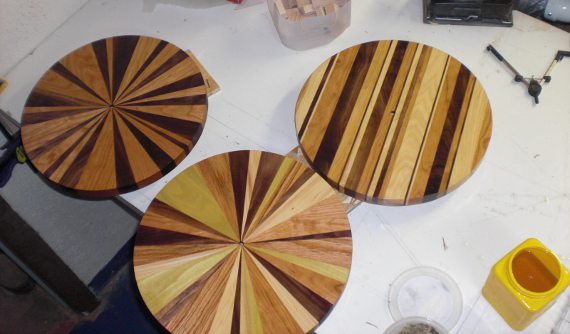
Now the fun part – finishing. I finish the clocks with pure tung oil – which penetrates the wood to protect it. Pure tung oil is a legitimate natural finish. The only thing in my tung oil? Tung oil. There’s no laundry list of additives and chemicals on the side of the jar. The only thing I add is citrus solvent which thins the oil to aid penetration into the wood.
Citrus solvent? It’s natural too – derived from oranges. And it smells great – the whole shop smells like oranges. The tung oil gives the wood a lot of pop and shows off the grain well.
Grain? The upper left clock has alternating segments of walnut and cherry. The lower clock has cherry, walnut, poplar, red oak, and hickory. The strip clock has hickory, walnut, and cherry.
Read the fourth and final post here

